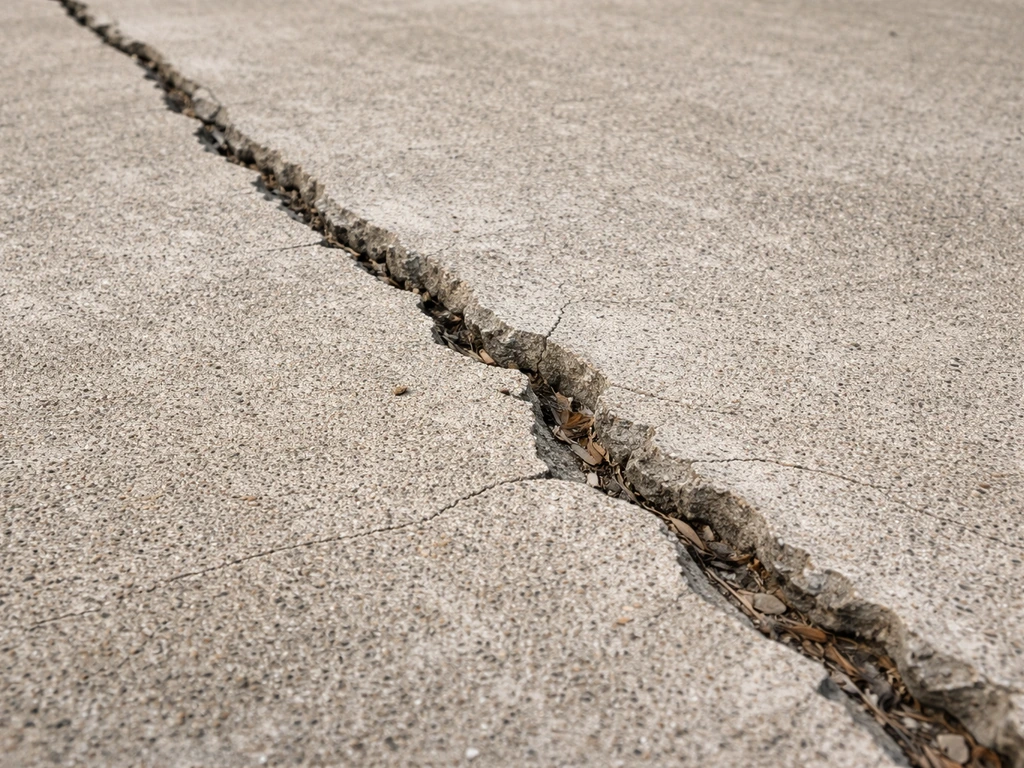
You can rejuvenate most worn patio pavers yourself in a weekend or two by following a specific sequence: diagnose what you're actually dealing with, clean correctly without destroying your joints, fix any settling or drainage issues, refill the joint sand, and then seal if it makes sense for your situation. Skip any of those steps or do them out of order and you'll either waste money or make things worse. Here's the full process.
How to Rejuvenate Patio Pavers: DIY Steps, Fixes, and Sealing

Talia Lang
6 Jul 2026
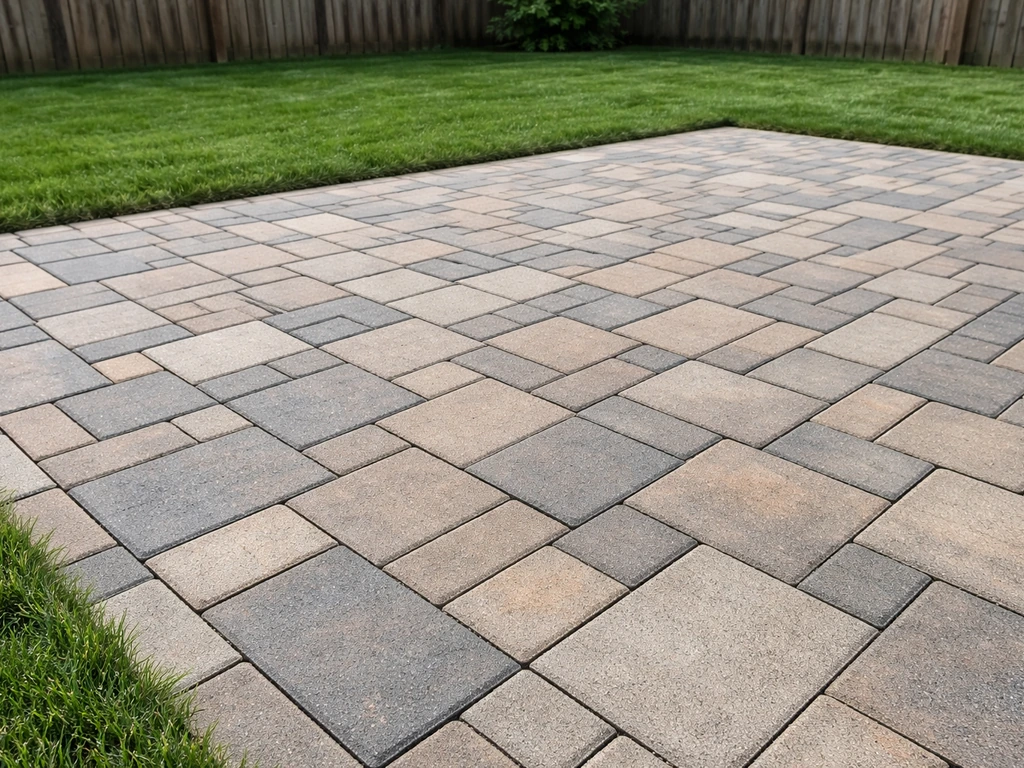
Diagnose before you do anything else
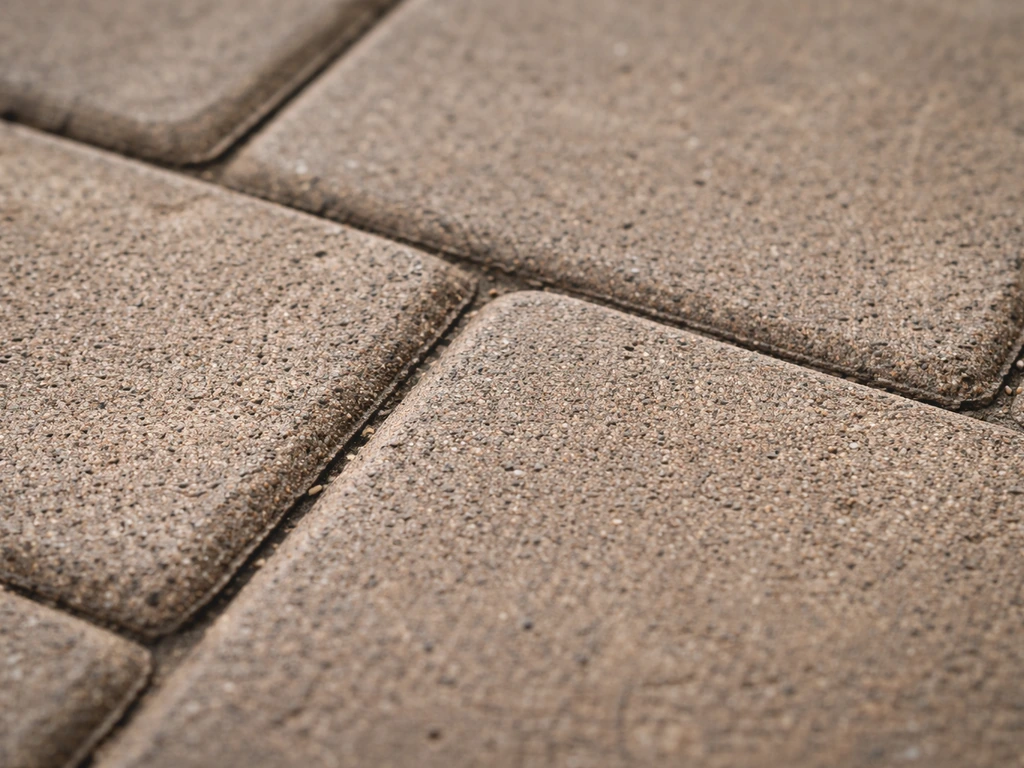
The number-one mistake people make is grabbing a pressure washer and going to town before they know what they're dealing with. Different problems need different fixes, and some 'cleaning' approaches will actively make certain problems worse. Spend ten minutes walking your patio and figuring out what you actually have.
Dirt and general grime
If your pavers look uniformly dull, brownish, or grimy but the color is consistent, you're probably just dealing with embedded dirt, pollen, and general surface buildup. This is the easiest fix: a good clean and possibly a sealer will make a dramatic difference.
Efflorescence (white or grey powdery film)
Efflorescence shows up as a white or grayish powdery coating, often blotchy or streaky. It's caused by naturally occurring salts inside the concrete dissolving in moisture, migrating to the surface, and being left behind as a white powder or film when the water evaporates. It's especially common on new or recently wet pavers. Pressure washing alone won't reliably remove it, and sealing over it is a serious mistake because a film-forming sealer will trap it underneath and cause a milky haze that's a nightmare to fix. You need a dedicated efflorescence cleaner for this, not just soap and water.
Algae, moss, and biological growth
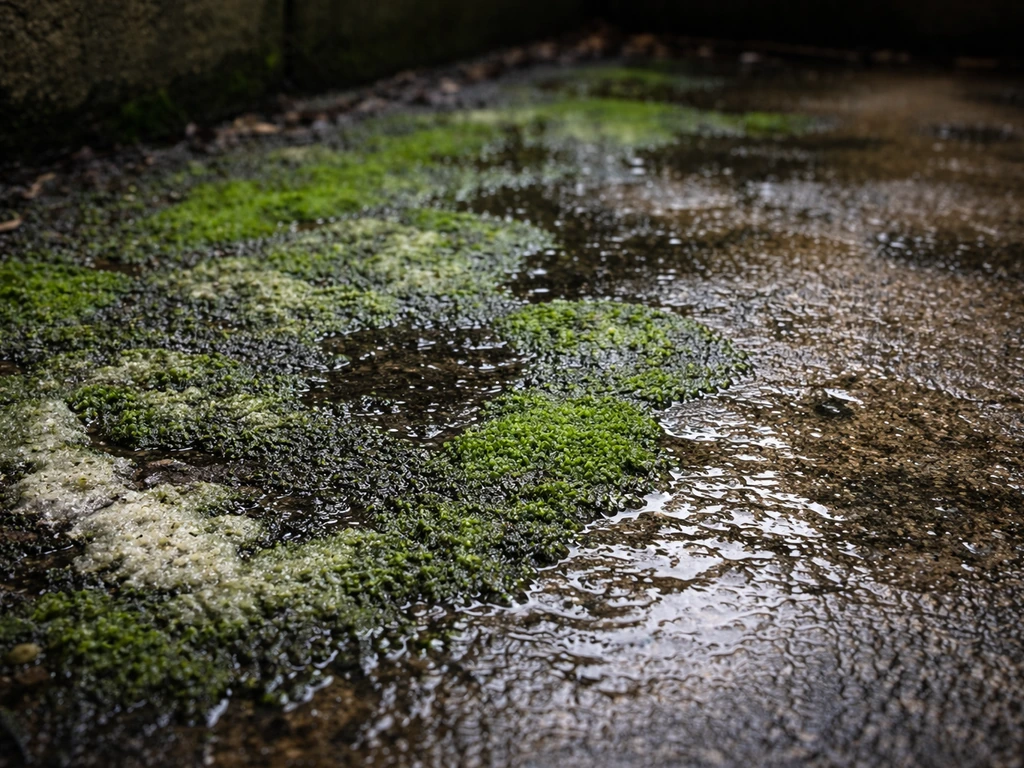
Green, black, or slippery patches are almost always algae, moss, or mildew, and they thrive anywhere there's persistent moisture and shade. You'll often see them in low spots that don't drain well, or on the north-facing side of the patio. This is a cleaning and drainage problem. Clean off the growth, but also understand why it keeps coming back, because if you have a drainage issue, it will return every year.
Rust, orange, or brown staining
Orange-brown stains that follow the path of water, especially near metal furniture legs, planters, or irrigation heads, are rust stains. They come from iron particles deposited by water running over metal fixtures or from iron-rich compounds in the paver aggregate itself oxidizing. Regular cleaners won't touch these. You need an efflorescence and rust remover specifically formulated for this, and even then stubborn stains may need multiple treatments.
Failed joints and missing sand
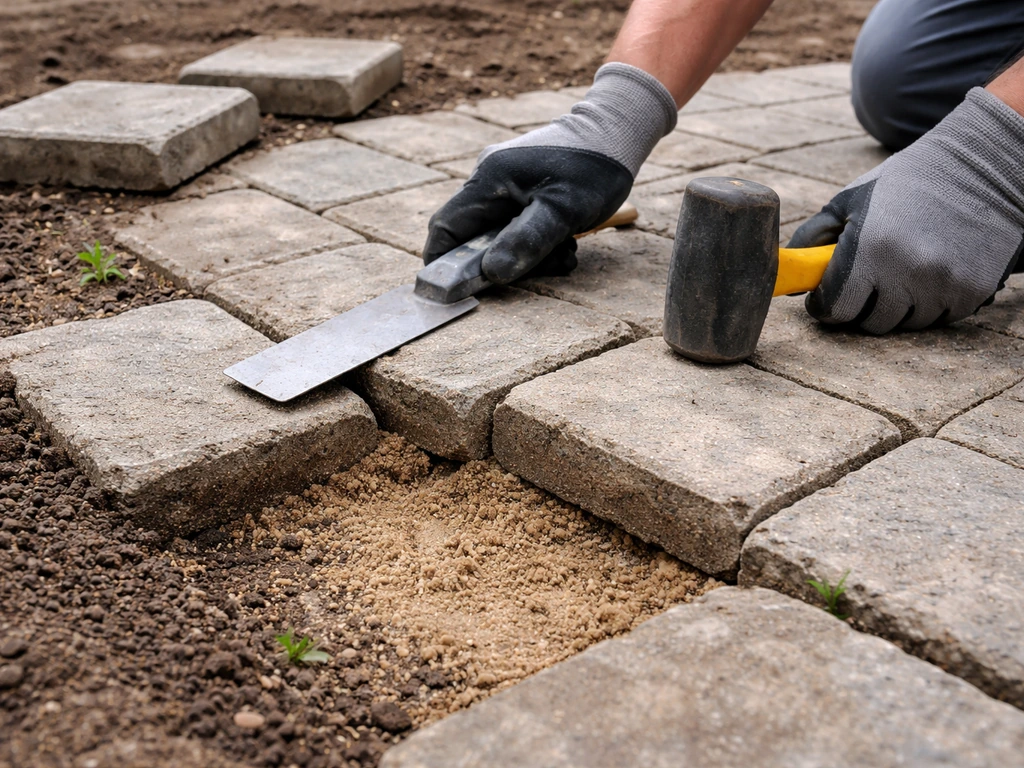
Look closely at the gaps between pavers. If you can see soil, weeds are growing freely, pavers wobble when you step on them, or there are obvious depressions and uneven spots, your joint sand has eroded out. This is extremely common after years of pressure washing, heavy rain, or irrigation runoff. Missing joint sand is what turns a stable interlocked pavement into one that shifts, settles, and lets weeds take over. You can't skip straight to sealing in this situation.
Sunken or rocking pavers
If individual pavers or whole sections have sunk, tilted, or shifted, the problem is below the surface. It's either inadequate base compaction from the original install, washout from poor drainage (a leaking downspout or irrigation line nearby is a classic cause), or frost heave in cold climates. Cleaning won't fix this. You need to lift those pavers and address what's underneath.
Cracked or spalled paver faces
If the surface of the paver itself is flaking, chipping, or cracked through, that's physical paver damage, not just a surface finish problem. Surface spalling can sometimes be masked with sealer but not fixed by it. Depending on severity, individual pavers may need to be replaced.
Clean safely and effectively
Once you know what you're dealing with, cleaning comes first, before any repair or sealing work. The goal is to remove everything down to the actual paver surface without damaging the joints or the paver faces.
Pre-rinse
Start with a thorough pre-rinse using a garden hose. This loosens surface debris and wets the pavers before you apply any cleaner, which helps prevent cleaners from drying too fast on hot days. Sweep off any loose debris first so you're not pushing it around with water.
Detergent and spot treatment
For general grime, a pH-neutral paver cleaner or a diluted dish soap solution scrubbed in with a stiff bristle brush works well. For efflorescence, use a purpose-made efflorescence cleaner like Techniseal Paver Prep. These products are formulated to dissolve calcium carbonate deposits without attacking the paver surface. Apply in manageable sections, around 200 square feet at a time, scrub, let it dwell per the product instructions, and rinse thoroughly. For rust stains, a product like QUIKRETE Efflorescence and Rust Remover targets the iron chemistry specifically. Always rinse completely after treatment and let the surface dry fully before checking whether a second application is needed.
Pressure washer do's and don'ts
A pressure washer is useful for rinsing and can help with surface cleaning, but it's one of the most common causes of joint sand loss. Use a wide fan nozzle (25 or 40 degrees), keep the wand moving, and don't hold it close to the joints. Repeated high-pressure blasting directed into the joints will blow the sand out, and once that sand is gone, your paver interlock fails. Keep pressure moderate, aim along the paver surface rather than directly into the joints, and never use a zero-degree (pinpoint) nozzle on pavers. If your joints are already low on sand, go easy with the pressure washer and plan on replenishing the sand after cleaning regardless. To repair a pea gravel patio, check for washouts, fix drainage first, then re-level and re-fill with the right gravel and compact it properly.
Remove growth and stains
Algae and moss
Apply a dedicated algae and mildew cleaner formulated for outdoor hardscapes, or a diluted bleach solution (about one part bleach to ten parts water) on concrete pavers. Let it sit for 10 to 15 minutes, then scrub with a stiff brush and rinse well. For thick moss, scrape it off manually first before applying cleaner. Keep in mind that if you don't address the drainage or shade conditions causing the growth, you'll be doing this every season.
Rust stains
Rust stains require an acid-based rust remover. Follow the product directions carefully, rinse completely, and inspect after drying. Stubborn rust may need two or three treatments. If the source of the rust (a metal planter, a sprinkler head spraying iron-rich water) isn't removed or addressed, the stain will return.
Organic stains (leaves, berries, oil)
Organic stains from leaves, berries, or food often respond to a degreaser or enzyme-based cleaner. Oil stains are tougher and may need a commercial degreaser worked in and left to dwell before scrubbing. Always rinse thoroughly after any treatment. Some deep oil stains will lighten significantly but may not disappear entirely.
Fix what's happening under and between the pavers
This is the part most DIYers skip, and it's why their patios look great for one season and then right back to a mess the next. Once you’ve corrected the problem causing the look to fade, you can use this approach to figure out the best way to make an old patio look better with cleaning, resanding, and sealing decisions that match your situation. If your pavers are uneven, sunken, rocking, or have visible gaps in the joints, you need to deal with the structural issues before you resand or seal.
Pull weeds from the joints
Pull or cut weeds at the root. A flathead screwdriver or a weeding tool works well in narrow joints. Don't just spray and leave them, because dead plant matter in joints just retains moisture. Get them out physically, then treat the joints with a paver-safe weed killer if there's regrowth. The best long-term solution is to refill joints with polymeric sand after, which makes it much harder for weeds to get established.
Re-level sunken or rocking pavers
Lift sunken or rocking pavers using two flathead screwdrivers or paver pullers, working from the joint. Once lifted, look at the bedding sand underneath. A properly installed paver system has a bedding sand layer of about 3/4 inch to 1 inch sitting on top of a compacted gravel base. If the bedding is thin, compacted to almost nothing, or completely washed out, that's your problem. Add clean coarse bedding sand, screed it flat using a straight board, re-seat the paver, and check for level. If an entire section has dropped significantly or the base gravel itself has shifted or washed away, you have a base failure that cleaning and resanding won't fix (more on that in the last section).
Find and fix drainage problems
Before you put pavers back, check whether water is pooling in that area. A patio should have a slope of at least 1/8 inch per foot away from the house. If water consistently settles in one area after rain, that's why you're getting settlement, algae, and eroded joints there. Look for downspouts, irrigation lines, or gutters that might be directing water toward the patio. Fix those issues first, or the same problems will come back within a year or two.
Resand and re-joint for stability and drainage
After cleaning and fixing any structural issues, refilling the joints is the most important step for long-term paver performance. Jointing sand is important for interlocking concrete pavers because it helps allow some movement of the pavers without losing jointing, which is especially relevant when rain, frost, or wind affect the pavement. If you are working with a pea gravel patio instead of pavers, the resurfacing steps are different, so review the process for how to resurface a pea gravel patio before you start. This is what keeps everything locked together, prevents weeds, and allows the surface to drain properly.
Polymeric sand vs. regular jointing sand
| Feature | Regular Jointing Sand | Polymeric Sand |
|---|---|---|
| Weed resistance | Low (weeds establish easily) | High (hardens to resist growth) |
| Ant resistance | Low | Better than regular sand |
| Durability | Erodes over time, needs topping up | Hardens after activation, longer-lasting |
| Joint dimensions needed | Any | Typically 3/8 inch wide and deep minimum |
| Application requirements | Simple dry fill and sweep | Must be applied on bone-dry pavers |
| Risk of haze | None | Will haze if excess not fully removed before wetting |
| Cost | Low | Moderate to higher |
| Recommendation | Basic maintenance top-up | Best for rejuvenation and long-term performance |
For a proper rejuvenation, polymeric sand is the better choice. It contains a polymer binder that activates when you mist it with water and then hardens as it cures, locking the joints in place and making it much harder for weeds and ants to move in. Regular sand works fine for a quick top-up but will erode again and let weeds right back in.
How to apply polymeric sand correctly
- Wait until pavers are completely dry, ideally after two or three dry days. Applying polymeric sand to damp pavers is one of the most common mistakes, and it prevents proper bonding.
- Pour polymeric sand over the dry surface and sweep it into the joints using a push broom. Work in multiple passes from different directions.
- Use a plate compactor (or a rubber mallet for smaller areas) to help settle the sand deeper into the joints. Add more sand and sweep again.
- Sweep off ALL excess sand from the paver faces before activating. Any residue left on the surface will cause a milky haze after wetting that is difficult to remove.
- Mist the surface gently with water according to the product instructions. Do not blast it with a hose or you'll wash the sand back out. The goal is to activate the polymer, not saturate the joints.
- Allow the recommended cure time before foot traffic. Most products need at least 24 to 48 hours, longer in cool or damp conditions.
Check your edge restraints
While you're doing all this, check the plastic or metal edge restraint strips along the perimeter of your patio. These are what keep the outer pavers from migrating outward over time, which in turn keeps sand in the joints. If edge restraints are missing, broken, or have come loose from their spikes, sand and pavers will keep spreading no matter how many times you resand. Reattach or replace them before you finish. This is a detail that gets overlooked constantly and then people wonder why their joints are empty again two years later.
Seal or don't seal: making the right call
Sealing is optional. Plenty of paver patios perform fine for decades without sealer. What sealer does is enhance color, reduce staining, and (if you choose a jointing stabilizer type) help lock in joint sand. What it doesn't do is fix underlying problems, and applied incorrectly it can create new ones.
When sealing makes sense
- You want richer, enhanced color (a wet-look or satin finish sealer delivers this)
- Your pavers are in an area prone to staining (near grills, cars, or heavy foot traffic)
- You want to extend the life of your new joint sand by slowing erosion
- Your pavers are in good structural condition with clean, dry joints
When NOT to seal
- You have active efflorescence that hasn't been fully cleaned off (sealing over it will trap it)
- Your pavers or joints are damp or recently wetted
- You just installed polymeric sand: wait at least 24 to 72 hours after activating the sand, and many professionals recommend waiting 30 to 90 days to allow any remaining efflorescence to come to the surface and get cleaned before sealing
- Your paver base has structural problems that haven't been fixed
Choosing a sealer
There are two main categories: penetrating sealers and film-forming (topical) sealers. Penetrating sealers soak into the paver surface and are typically invisible, breathable, and forgiving. They protect against moisture and staining without changing the look much. Film-forming sealers sit on top of the surface and deliver the glossy or wet-look finish, but they can trap moisture and calcium deposits underneath if the surface wasn't perfectly clean and dry when applied, leading to the milky haze problem. For most DIYers, a penetrating sealer is the safer choice and less likely to go wrong. If you want enhanced color and you're confident your surface is genuinely clean and dry, a quality topical sealer can look great. Whatever you choose, make sure it's rated as breathable or vapor-permeable if you live in a climate with freeze-thaw cycles.
Surface prep before sealing
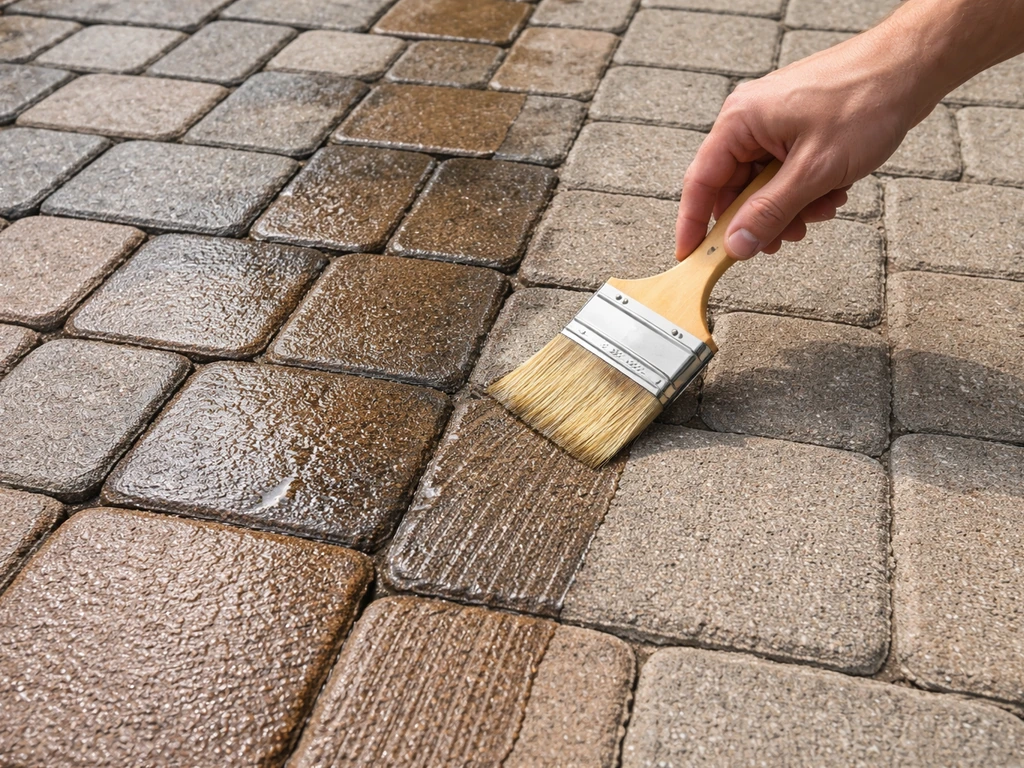
The surface must be fully clean, free of efflorescence, completely dry, and the joints must be set (cured polymeric sand, if used). Techniseal’s TDS for SMARTSAND notes that blank" rel="noopener noreferrer">polymeric sand requires complete drying to polymerize, and that drying time depends on warmth and dryness versus cool or damp conditions, along with joint-width considerations. Apply sealer in thin, even coats on a day that's between about 50 and 90 degrees Fahrenheit with no rain forecast for at least 24 hours. Two thin coats are better than one thick one. Don't let sealer pool in low spots or joints.
When rejuvenation isn't enough
Cleaning, resanding, and sealing will transform a patio that just needs maintenance. But there are situations where those steps are band-aids on a deeper problem, and doing them will just delay the inevitable while costing you time and money.
Signs you need base repair or professional help
- Multiple large sections of the patio have sunk or tilted, not just one or two individual pavers. This points to widespread base failure, not surface maintenance.
- After re-leveling a paver, it sinks again within a season. That means the base beneath it is unstable, often from washout or insufficient original compaction.
- Water consistently pools on the patio surface after rain and you can't establish positive drainage without significant regrading.
- There's visible heaving in a pattern that tracks with tree roots or frost lines, and it's getting worse each year.
- The compacted gravel base (which should be 4 to 6 inches deep under the bedding sand) is missing, inadequate, or has been compromised by water infiltration from a leaking downspout or irrigation line.
- Pavers themselves are cracking, crumbling, or showing deep spalling across large areas, which means the units themselves need replacement, not just cleaning.
If you're seeing base failure across a significant portion of your patio, the honest answer is that you need to lift the pavers, regrade and compact the base properly, and reinstall. That's a more involved project, closer to a repave than a rejuvenation. A full repave is usually needed when the base has failed, not just when the joints are tired. It's absolutely a DIY job if you have the right tools (plate compactor, laser level or string lines, and the time), but it's a different scope of work than what this guide covers. If the drainage issue involves the grading around your house foundation, that's territory where a landscape contractor or drainage specialist is worth the call.
Your realistic plan and materials list
Here's how to think about the timeline and what you'll need. For a standard 200 to 400 square foot patio with typical wear, two weekends is realistic: one for cleaning and structural fixes, one for resanding and sealing once everything is dry.
Materials to have on hand
- Stiff bristle push broom and a hand scrub brush
- Garden hose with adjustable nozzle
- Pressure washer (optional, use carefully) with a 25 or 40 degree fan nozzle
- pH-neutral paver cleaner or dish soap for general cleaning
- Efflorescence cleaner (Techniseal Paver Prep or similar) if you have white deposits
- Rust and efflorescence remover (QUIKRETE or equivalent) for rust stains
- Algae and mildew cleaner for biological growth
- Coarse bedding sand (for re-leveling sunken pavers)
- Polymeric sand sized for your joint width (check the product's joint dimension specs before buying)
- Edge restraint spikes to re-secure any loose perimeter restraints
- Penetrating or topical paver sealer (optional, based on your goals)
- Paver puller or two large flathead screwdrivers for lifting pavers
- Rubber mallet and a long straight board for screeding bedding sand
Quick decision framework
| What you see | What it is | What to do |
|---|---|---|
| Dull, uniformly dirty surface | Embedded grime | Clean with detergent, reseal if desired |
| White or grey powdery patches | Efflorescence | Efflorescence cleaner first, then reseal only after fully clean and dry |
| Green, black, or slippery patches | Algae or moss | Algae cleaner, check drainage, resand joints |
| Orange-brown stains near metal or irrigation | Rust | Rust remover, address source of iron deposit |
| Weeds in joints, loose pavers | Failed joint sand | Remove weeds, refill with polymeric sand |
| One or two sunken or rocking pavers | Localized bedding failure | Lift, re-level bedding sand, reseat |
| Large sections sunken or tilted | Base failure | Base repair needed, consider professional help |
| Pooling water after every rain | Drainage or grading problem | Fix drainage slope before any other work |
Start with the diagnosis, work through the steps in order, and don't rush to seal. The pavers that look best long-term are the ones where someone took the time to actually fix what was wrong underneath before making the surface pretty. If you're weighing whether this is a rejuvenation job or something bigger like a full repave or a base overhaul, the decision framework above should give you a clear answer before you buy a single bag of sand.
FAQ
Can I seal over efflorescence if I remove the powder first?
Yes, but only after the surface salts and residues are fully addressed and the patio is bone-dry. If you still see white haze or powdery efflorescence after cleaning and rinsing, wait and treat again first, because most sealers will either not stop the problem or will lock the haze in place (making it harder to remove later).
How do I apply polymeric sand so it cures properly without washing out?
For joint refilling, polymeric sand needs moisture to activate, but you still must avoid over-wetting. Mist lightly, then re-mist in small passes, and stop once the sand has darkened and the joints are fully filled, then do not hose the area for at least a day. Overwatering can wash binder out and lead to premature joint failure.
Should I seal immediately if I plan to resand next week?
If the pavers are rocking, uneven, or there are gaps that keep widening, sealing will not stop movement. You should prioritize edge restraints, base/bedding correction, and re-leveling first, then seal only after you are satisfied with drainage and joint height. Sealing too early can also trap debris and make future lift-and-reset work harder.
Is it ever okay to use a pressure washer during paver rejuvenation?
Yes, but not the way you might think. A wide fan nozzle can be used for final rinsing with moderate pressure, keep it moving, and never blast directly into joints. If the joints are already low on sand, minimize pressure washing and plan to replenish sand afterward, otherwise you will accelerate washout.
How can I make sure my cleaner or rust remover won’t discolor my specific pavers?
Don’t assume the paver surface is the same throughout. Some pavers are more porous or have different aggregate finishes, so test cleaners and rust removers in a small hidden area first, wait for full dry, then re-check color and texture before treating the whole patio.
What should I check if weeds return after I resand and clean?
If weeds keep coming back quickly, it usually means either joint sand has eroded again, edge restraints are failing, or water is repeatedly pooling in one spot. Pulling weeds alone is temporary. The durable fix is removing roots, repairing drainage, restoring joint material (ideally polymeric sand), and confirming restraints are intact.
My rust or efflorescence treatment didn’t fully work on the first try, what’s the safest next step?
Patch testing and patience are key. If a second treatment is needed, re-clean only the affected areas, rinse thoroughly, and ensure full drying before the next application. Most homeowners over-apply in one day, which increases the risk of residues that later cause hazing or uneven appearance.
How do I know whether sealing will actually improve the patio or just hide problems for a while?
Not always. If the pavers have any ongoing movement, flaking/spalling, or recurring staining from a continuing water source, sealing is mostly cosmetic and can make problems look “worse” over time. Rejuvenation is effective when color loss is mostly from surface grime, but structural or moisture-source issues need repair first.
Can I apply sealer on a sunny day if rain is not expected?
Yes, because sealer performance depends on substrate temperature and evaporation rate. Avoid sealing on very hot, windy, or direct-sun conditions even if the forecast says no rain, since fast drying can cause streaking. Aim for mild temperatures and allow the full cure time between coats.
What should I do if the patio looks hazy or blotchy after sealing?
If you see wet-looking streaks, milky haze, or a slippery film after sealing, stop and let it cure fully, then assess whether residue was trapped or the product is not compatible with your surface. The fix often involves the wrong-sealer removal step, not just another coat, so identify the sealer type and ensure the original cleaning was complete before trying to correct it.
Next Article
How to Fix Cement Patio Cracks: Diagnose and Repair
Diagnose concrete patio crack types and repair with the right sealant or patch, from prep to curing and prevention.