If your patio tile is cracked, your fastest safe fix depends on two things: what kind of tile you have and whether the crack is a surface problem or a sign of something moving underneath. Hairline cracks in grout are a 20-minute repair. A fractured porcelain tile sitting on a failing mortar bed needs to come out. Get those two situations confused and you'll be back out there fixing the same spot again in six months.
How to Fix Cracked Patio Tiles Step by Step DIY Guide

Talia Lang
7 May 2026
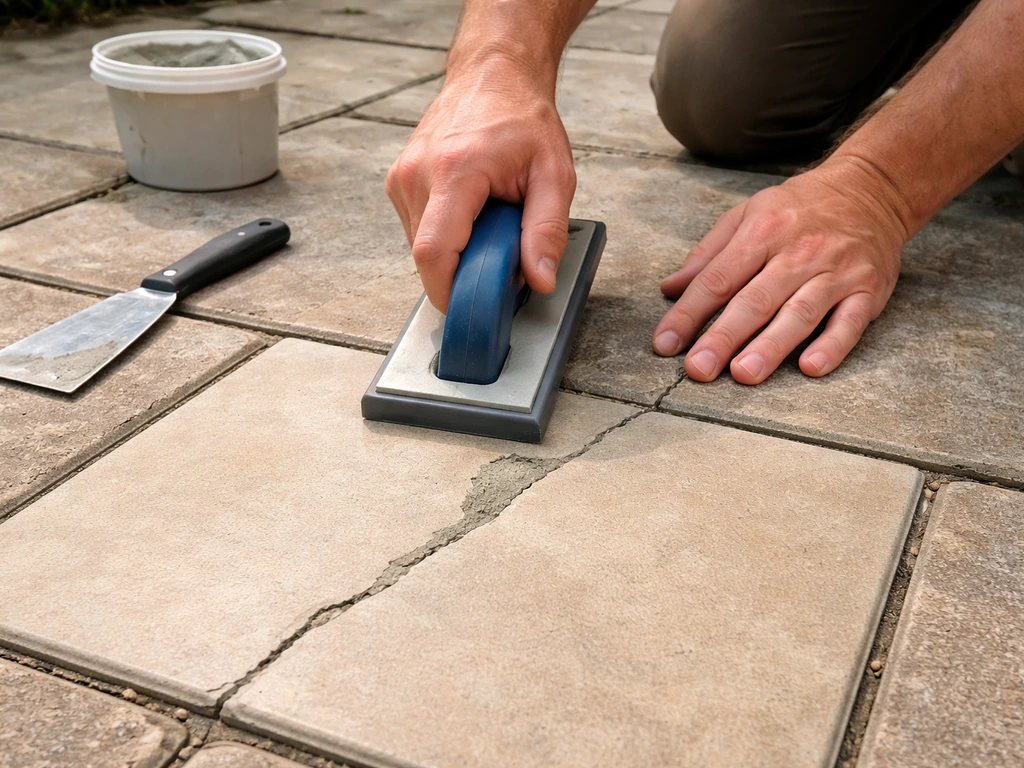
Figure out what you actually have before touching anything
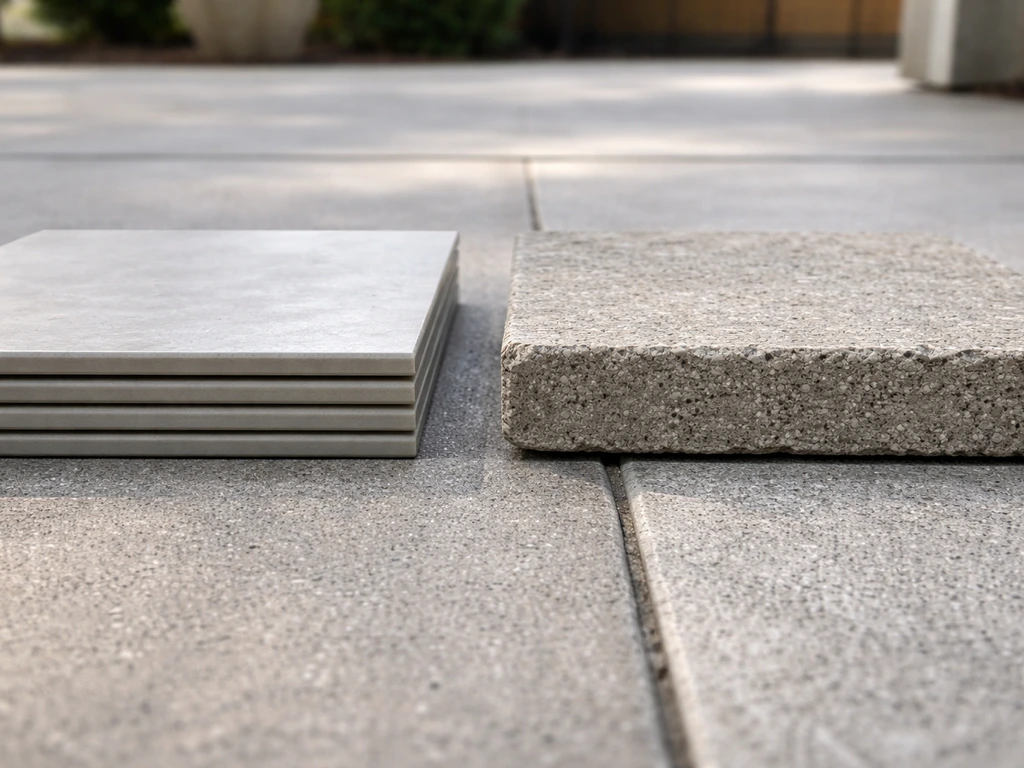
Start by identifying your tile type. Porcelain and ceramic tiles are thin (typically 3/8 to 3/4 inch) and are set in mortar or adhesive on a solid substrate like concrete. Concrete pavers are much thicker, usually around 2 3/8 inches (60 mm) for residential use, and sit on a compacted gravel base of 4 to 6 inches topped by about 1 inch of bedding sand. The repair paths for these two systems are completely different, so misidentifying your tile type wastes time and money.
Once you know what you have, categorize the damage. Press down on each cracked tile with your foot or hand. Does it rock, flex, or feel hollow when you tap it with a screwdriver handle? That tile is debonded, meaning it has lost contact with the mortar below. A debonded tile cannot be surface-patched in any meaningful way. It needs to come out. If the tile is firmly bonded and only has a hairline crack or the grout joint is the only thing failing, you have repair options worth trying. If you decide you are in the repair-options zone, you can also look up how to edge porcelain patio so the surrounding edges stay supported and less likely to crack again repair options.
- Hairline crack in grout only: grout repair or grout removal and regrouting
- Hairline crack through tile, tile solid and flat: epoxy injection or color-matched filler
- Full fracture through tile, tile still bonded: epoxy repair or replacement depending on severity
- Tile rocks, lifts, or sounds hollow: removal and replacement required
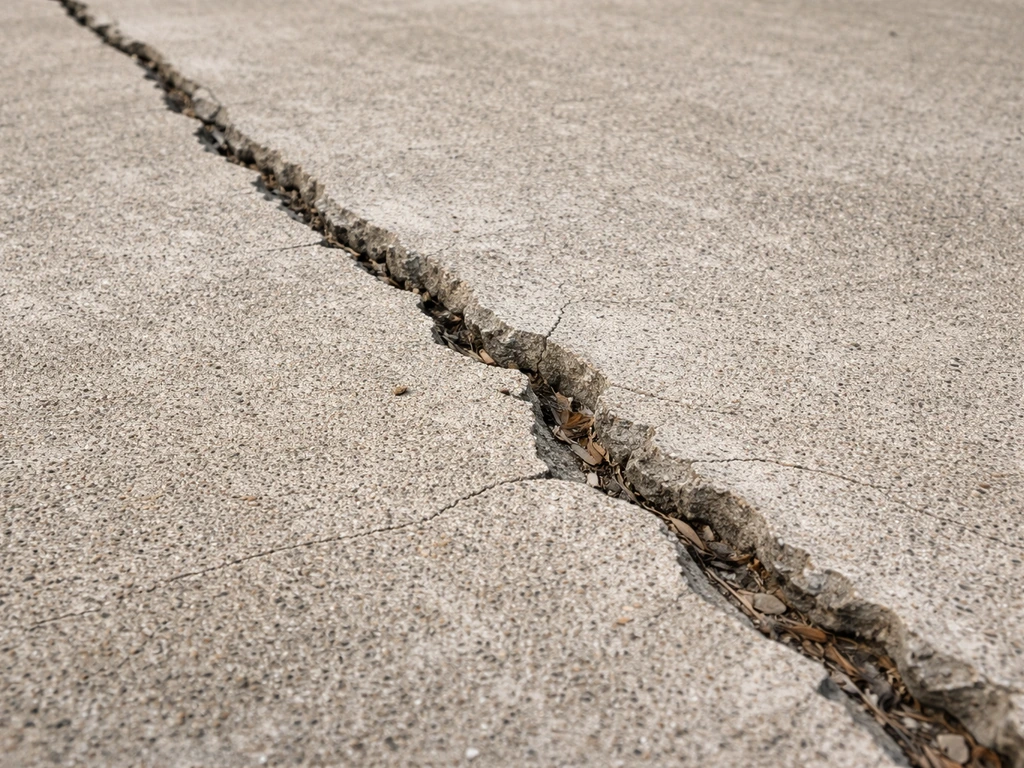
- Multiple tiles cracking in the same area: likely a subbase or drainage problem underneath
The most common causes of cracked patio tiles are freeze-thaw cycles (water gets under or into the tile, freezes, and expands), a poorly compacted subbase that lets the tile shift, missing or too-small expansion joints that leave no room for thermal movement, water pooling under the tile from drainage issues, and failed mortar or adhesive that was either the wrong product (indoor-only) or applied incorrectly. To remove and reset porcelain patio tiles correctly, you need to know how to cut and extract them without damaging the surrounding substrate how to cut porcelain patio tiles. Knowing the cause matters because if you don't fix it, the new tile will crack the same way.
Safety checks and what you should not do
Before anything else, check whether any cracked tile has sharp, lifted edges. Cracked porcelain especially creates razor-sharp shards that cut through gloves. Wear thick work gloves and eye protection any time you're chipping out grout or handling broken tile. If tiles are significantly heaved or lifted above the surrounding surface, they're a trip hazard and should be addressed right away rather than left for later.
Here's what not to do. Don't walk heavily on a debonded or cracked tile before you've assessed it. Flexing a cracked porcelain tile breaks it further and can crack adjacent tiles. Don't use indoor tile adhesive or standard caulk to patch outdoor tiles. Indoor adhesives are not rated for moisture cycling or freeze-thaw, and they'll fail within one season. Don't overfill a crack with epoxy and assume it's structural. Epoxy filler in a crack that's still moving will just crack again. And don't skip cleaning the crack before you fill it. Any dust, oil, or loose material left inside a crack prevents adhesion and guarantees failure.
Your repair options at a glance
There are three realistic DIY paths, and choosing the right one early saves a lot of frustration.
| Repair Method | Best For | Durability | Blends In? |
|---|---|---|---|
| Grout repair or re-grout | Cracked or crumbling grout joints only | Good if movement is stopped | Yes, with matched grout color |
| Epoxy crack filler | Hairline to narrow cracks in bonded tile | Moderate, not structural | Partial, visible on dark tile |
| Tile removal and replacement | Debonded, broken, or heaved tile | Best long-term option | Depends on finding a matching tile |
Grout repair is the easiest fix and often the only fix needed when the tile itself is intact. Epoxy injection or color-matched crack filler works reasonably well on hairline cracks in solid, bonded tile, though it rarely disappears completely on polished or dark porcelain. Full tile removal and replacement is more work but it's the only method that actually addresses structural failure, and it's the right call far more often than most guides will admit.
Tools and materials you'll need
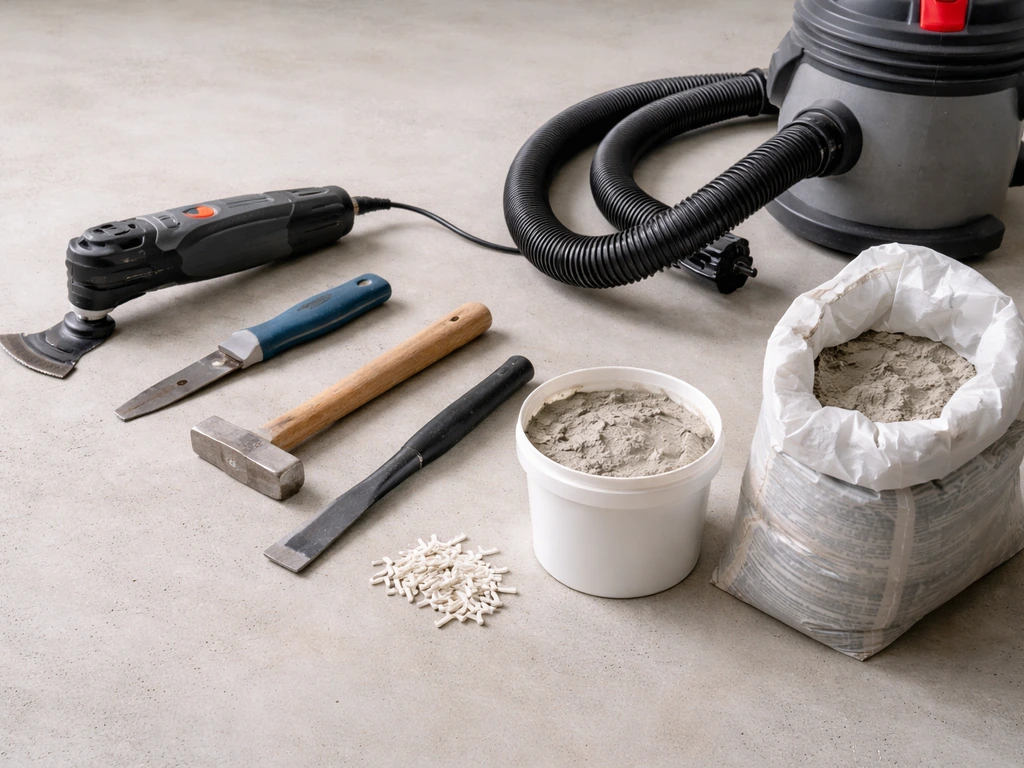
Get everything together before you start. Stopping mid-repair to run to the hardware store is how projects get left half-done and end up worse than before.
- Grout saw or oscillating multi-tool with grout removal blade
- Cold chisel and hammer (for removing broken tile or old mortar)
- Margin trowel and notched trowel (for applying thinset)
- Rubber mallet
- Level or straightedge
- Bucket and mixing paddle (or drill with paddle attachment)
- Stiff-bristle brush and vacuum for cleaning out cracks
- Exterior-rated epoxy crack filler or two-part tile epoxy (for surface repairs)
- Polymer-modified thinset mortar rated for exterior/freeze-thaw use
- Sanded or unsanded grout to match existing (check joint width: unsanded for joints under 1/8 inch, sanded for wider)
- Grout float and sponge
- Tile spacers
- Replacement tile (order extras if you can match your current tile)
- Penetrating sealer appropriate for your tile type (optional but recommended)
- Safety glasses and thick work gloves
The most important material choice is your mortar. For outdoor tile work, use a polymer-modified thinset specifically rated for exterior use and freeze-thaw conditions. Standard gray thinset from the back corner of the hardware store is often fine for interiors but may not be formulated for outdoor moisture cycling. Check the bag for an exterior or freeze-thaw rating. If you're resetting concrete pavers rather than mortar-set tile, you'll also need coarse bedding sand.
Prep: the step most people skip
Clean the crack or the removal area thoroughly. Use a stiff brush or vacuum to remove all loose debris from inside cracks. For surface repairs, wipe the crack with a damp cloth and let it dry completely before applying epoxy. For tile removal, chip out all old mortar from the substrate and from the back of any tile you plan to reuse. The substrate needs to be flat, solid, and free of loose material for new thinset to bond properly. Check the surface with a level. If the substrate has a dip or hump of more than 1/4 inch over 10 feet, you need to address that before relaying tile.
Step-by-step: surface repair vs. remove and replace
Grout repair and hairline crack filling
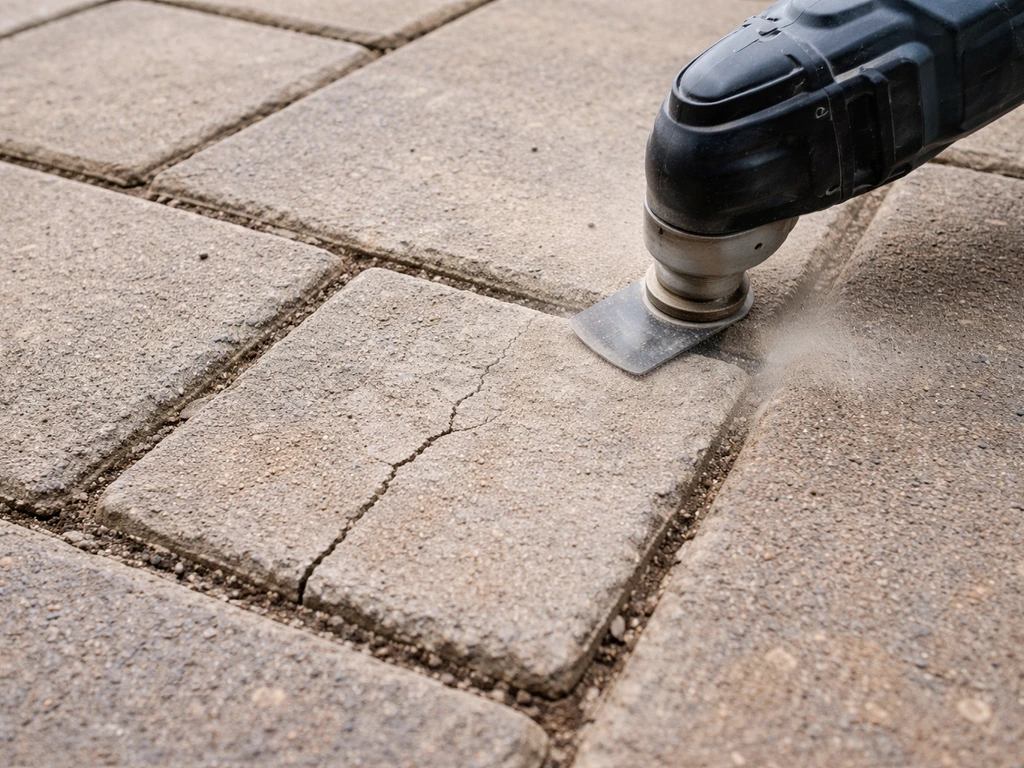
- Use a grout saw or oscillating tool to remove cracked or crumbling grout to a depth of at least 1/4 inch. Don't just apply new grout on top of old, it won't bond.
- Vacuum and brush out all loose debris from the joint.
- Mix new grout to match the existing color and consistency. For joints wider than 1/8 inch, use sanded grout.
- Pack the grout firmly into the joint with a grout float, pressing at a diagonal to fill fully.
- Wipe off excess with a damp sponge (not soaking wet) once the grout begins to firm up, usually 15 to 30 minutes depending on temperature.
- Allow to cure for at least 24 hours before foot traffic, 72 hours before heavy use.
- For a hairline crack through tile (not grout), use a two-part exterior epoxy filler. Mix per directions, press into the crack with a putty knife, wipe flush, and let cure fully before walking on it.
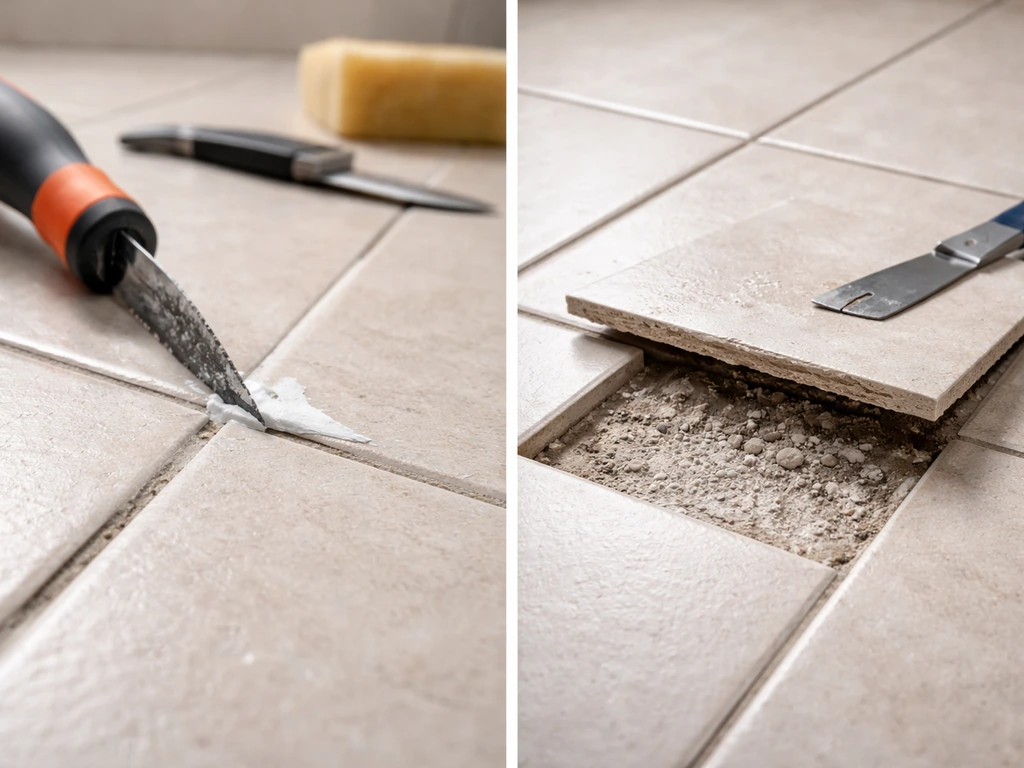
Full tile removal and replacement
- Remove grout from all four sides of the damaged tile using a grout saw or oscillating tool. Go deep enough to free the tile edges.
- Score the surface of the tile with a grout saw or angle grinder to reduce the chance of it shattering across adjacent tiles when struck.
- Place a cold chisel in the center of the tile and strike firmly with a hammer to break it apart. Work from the center outward and remove pieces carefully.
- Chip out all remaining mortar from the substrate using the cold chisel. The surface needs to be flat and clean.
- Dry-fit your replacement tile to check sizing and height relative to surrounding tiles. Add or remove base material as needed.
- Mix exterior-rated polymer-modified thinset and apply to the substrate with a notched trowel, combing in one direction.
- Also back-butter the tile itself with a thin coat of thinset for full coverage outdoors.
- Set the tile, press firmly, and use a rubber mallet to tap it level with surrounding tiles. Check with a straightedge.
- Insert tile spacers to maintain consistent joint width.
- Allow thinset to cure for a minimum of 24 hours (48 is better in cool weather) before grouting.
- Grout the joints as described above and allow to cure fully before use.
For concrete pavers specifically: instead of thinset, you're excavating the failed paver, adding or removing bedding sand to correct the height, resetting the paver, and compacting the sand around it. No mortar required in most sand-set systems.
If the underlying problem is what's really broken
Replacing tile over a bad subbase is one of the most common and frustrating patio repair mistakes. If multiple tiles in a section are cracking or lifting, or if you can see that the substrate has dipped or heaved, you have a subbase problem that no surface fix will solve. Common culprits include poorly compacted fill soil that has settled over time, inadequate gravel depth (outdoor patios generally need 4 to 6 inches of compacted crushed stone under the bedding layer), and missing or clogged drainage that lets water pool and saturate the base.
Freeze-thaw damage is especially common in climates that cycle below freezing. Water gets into any gap, freezes, expands, and lifts the tile. The cycle repeats until the tile cracks or pops off entirely. If this is your situation, simply replacing the tile does nothing. You need to eliminate the water pathway, which may mean improving drainage slope (a minimum of 1/8 inch per foot away from the house is standard), repairing or installing expansion joints to give the tile system room to move, and ensuring the subbase is stable and draining freely.
Expansion joints are also frequently missing or too narrow. Tile expands and contracts with temperature, and without adequate joints, that movement goes directly into the tile surface as cracking. International Masonry Institute’s detailing guidance for TCNA Method EJ171C covers expansion-joint detailing for tile expansion joint type work expands and contracts with temperature. If your patio has no expansion joints at all, every repair you do is a temporary measure until you add them.
Finishing, sealing, and being honest about color matching
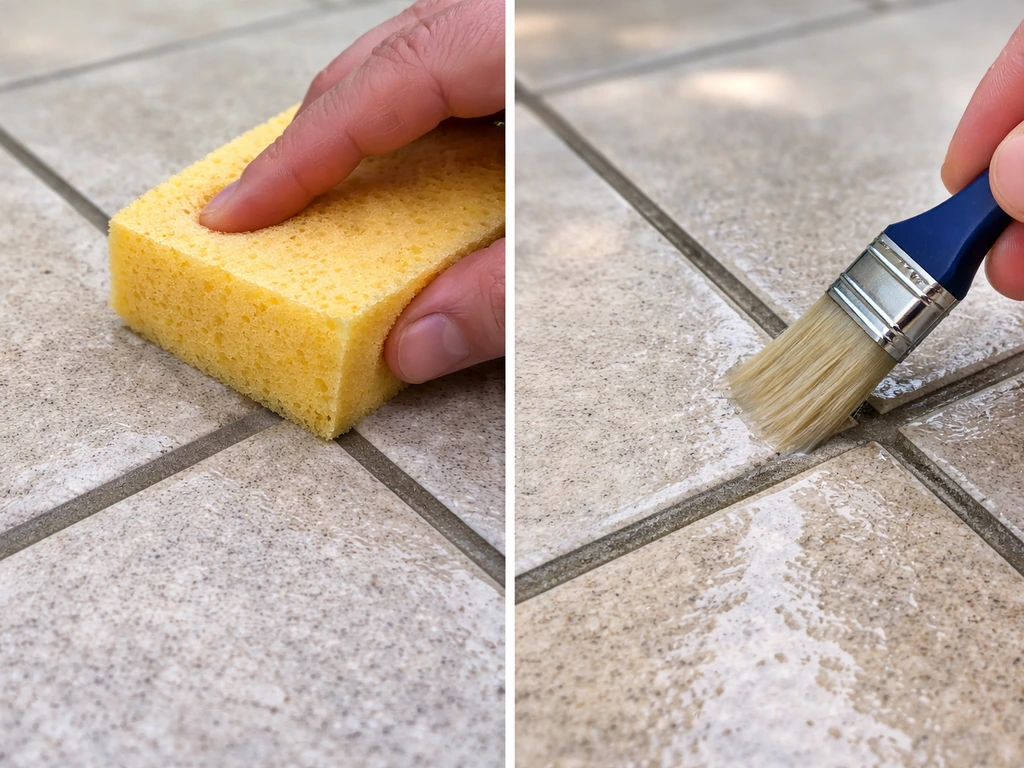
Once the grout has cured (typically 72 hours at minimum, longer in cool or humid weather), clean the entire repaired area with a damp sponge to remove any grout haze. On porcelain, grout haze comes off easily. On textured or unglazed tile, you may need a dedicated grout haze remover.
Sealing is optional but often worthwhile outdoors. For unglazed ceramic, natural stone tile, or sanded grout, a penetrating sealer significantly reduces water absorption and makes the surface easier to clean. Porcelain tile, which has water absorption of 0.5% or less by definition, doesn't need a surface sealer and generally won't absorb one. The grout joints on a porcelain patio, however, can still benefit from a grout sealer.
Be realistic about color matching. New grout almost never matches aged grout perfectly. It will lighten and shift as it cures, and weathered grout has picked up years of color variation. The best approach is to buy a small quantity of several close grout colors and test a patch in an inconspicuous spot. Replacement tile is even harder to match exactly, especially if the original tile is discontinued. If blending matters to you, replacing a full section rather than one tile is far more likely to look intentional. Some variation is inevitable, and it's worth setting that expectation before you start rather than being disappointed with a technically solid repair.
Maintenance and when to stop DIYing
Once your patio is repaired, a small amount of regular attention goes a long way. Clear standing water after heavy rain. Keep grout joints clean of organic debris, which holds moisture and accelerates deterioration. Reseal grout joints every one to three years depending on exposure. Check for any new rocking or hollow tiles each spring, especially after a hard winter, and address them early before they become a bigger problem.
Call a professional when the damage is widespread, when the subbase has clearly failed or is settling unevenly, when you're dealing with structural cracking in a patio that's also a load-bearing surface, or when drainage is actively directing water toward a foundation. Those situations go beyond tile repair. A contractor who specializes in hardscaping will be able to excavate, regrade, and rebuild the base properly. Spending money there is almost always better than repeatedly repairing the surface while the real problem gets worse underneath. If you're finding that a single cracked tile is just the beginning of a broader replacement job, the guide on how to replace patio tiles covers the full remove-and-reset process in more detail.
FAQ
How can I tell if a hairline crack is just grout or a problem with the tile itself?
Lift a grout edge with a fingernail or small tool at the crack line. If the grout alone is loose, you can often regrout after cleaning. If the tile surface shows a visible line that continues across the tile body, or the tile sounds different and feels hollow when tapped, the crack is likely in the tile bed and a reset or replacement is usually required.
Should I patch cracks in cold weather or right before freezing temperatures?
Avoid freeze-thaw conditions while thinset, grout, and crack fillers cure. If temperatures will drop below freezing within the first 24 to 48 hours, postpone the repair or use products rated for low-temperature curing. Otherwise, you risk poor bond strength and early failure.
Can I use a grout repair product to “hide” a crack on porcelain?
You can fill the visible joint or hairline surface damage, but it may not look seamless on polished or very dark porcelain. If the tile is firmly bonded but only grout is failing, regrouting and matching grout color is realistic. If the tile is debonded or rocking, cosmetic grout filling will not prevent recurrence.
What’s the safest way to test whether a tile is debonded without making it worse?
Use gentle pressure checks first, push with a gloved hand, then lightly tap with the handle of a screwdriver rather than striking the tile. If you feel movement, hear a hollow sound, or see lifted edges, stop and plan for removal. Repeated flexing can crack adjacent tiles and expand the damaged area.
How deep should I remove grout or mortar before filling or resetting?
For grout-only repairs, remove loose grout back to solid material and clean down to clean, sound edges. For tile resets, chip out failed mortar thoroughly until the substrate is flat and free of loose particles, and remove any residue on the tile back you plan to reuse. If old mortar remains, thinset can’t form a proper mechanical bond.
Why do my crack repairs fail even though I used epoxy or filler?
Most failures come from movement, poor cleaning, or wrong expectations. Epoxy cannot “structure” a tile that is rocking or sitting on a failing bed. Also, dust, oil, or leftover loose material in the crack prevents adhesion. If the tile section continues to lift in the same spot, the underlying subbase or water pathway still needs correction.
How do I deal with cracked tile edges that look like they are lifting only on one side?
Lift on one side usually means the tile is partly debonded or the base is uneven. Before filling anything, check the whole tile for rocking with light pressure and verify the adjacent tiles. If you can feel a height difference, you’ll likely need to remove and reset to correct thickness and support, not just patch the crack.
Do I need to add expansion joints when I replace only one tile?
If your patio system currently lacks joints where movement should occur, one-tile work won’t stop new cracking nearby. At minimum, make sure the tile aligns with existing joint lines and does not bridge them. If you discover joints are missing or too narrow, add or upgrade them for that section so the repair is not fighting thermal movement.
What slope should a patio have so water does not pool under tiles?
A common target is at least 1/8 inch of fall per foot away from the house. After rainfall, look for slow-draining spots near the cracked area, standing water, or streaking at joints. If water is pooling, fixing drainage and the base stability matters as much as the tile itself.
Can I reinstall cracked tiles using the same mortar bed if I cleaned it well?
Reusing an old mortar bed is risky if it has failed or has dips and ridges. If multiple tiles cracked in a region, assume the bed or subbase is compromised. New thinset bonds best to a clean, flat, solid substrate. If you find soft areas, voids, or unevenness beyond about 1/4 inch over 10 feet, plan on rebuilding the base layer.
How do I prevent tile cracking when I’m resetting pavers or sand-set systems?
Make sure bedding sand height is corrected before setting, then compact sand around the paver properly. Avoid relying on patching products or adhesives for sand-set patios, since many systems are designed to move slightly and drain through the base. After placement, sweep the correct joint sand into gaps and do not over-wet and wash it out before it stabilizes.
How long should I wait before walking on or driving over the repaired area?
Wait at least the cure window recommended by your specific products, and do not rush the first load onto resets. For grout work, allow typical minimum cure time around 72 hours before heavy exposure. For resets and thinset, follow the thinset cure time on the bag, since cool or humid weather can require longer.
Is sealing required after I fix cracked patio tiles?
Sealing is often optional, but it depends on the materials. Porcelain usually does not need surface sealing due to its low water absorption, while unglazed ceramic, natural stone, and sanded grout commonly benefit from penetrating sealer. Even with porcelain, grout joints can still benefit from grout sealer for easier cleaning and reduced water penetration.
When should I stop DIY troubleshooting and call a pro?
Call help when cracks are widespread across a section, when tiles keep rocking or lifting after rework, when you see ongoing drainage issues near the foundation, or when the patio base appears uneven or unsettled. If you suspect structural cracking or settlement beyond a tile-spot issue, rebuilding the base and regrading is usually the only durable fix.
Next Article
How to Fix Cement Patio Cracks: Diagnose and Repair
Diagnose concrete patio crack types and repair with the right sealant or patch, from prep to curing and prevention.