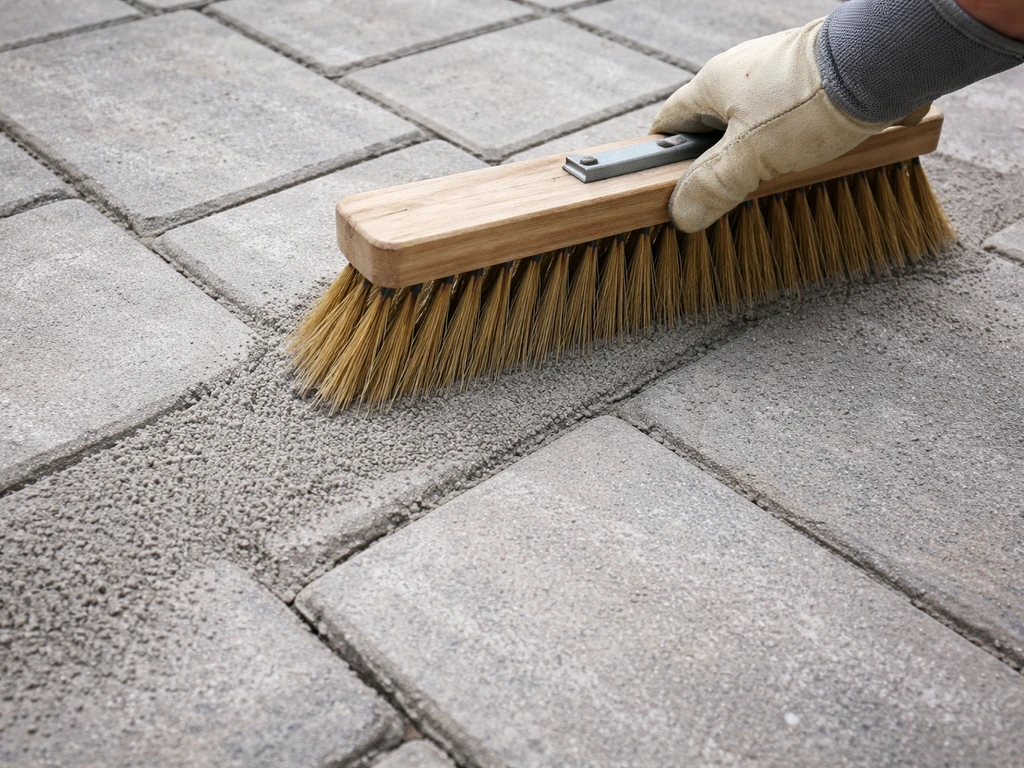
To grout patio slabs with sand and cement, mix 4 parts washed sharp sand to 1 part ordinary Portland cement, pack it firmly into clean, dry joints with a pointing trowel, strike it slightly below the slab surface, and keep traffic off for at least 24 hours. That's the core of it. The rest of this guide covers everything that determines whether the job actually lasts: joint prep, getting the consistency right, avoiding cement haze on your slabs, curing in real outdoor conditions, and fixing the things that most commonly go wrong.
How to Grout Patio Slabs With Sand and Cement

Talia Lang
6 Jul 2026
When sand-and-cement grout is the right choice
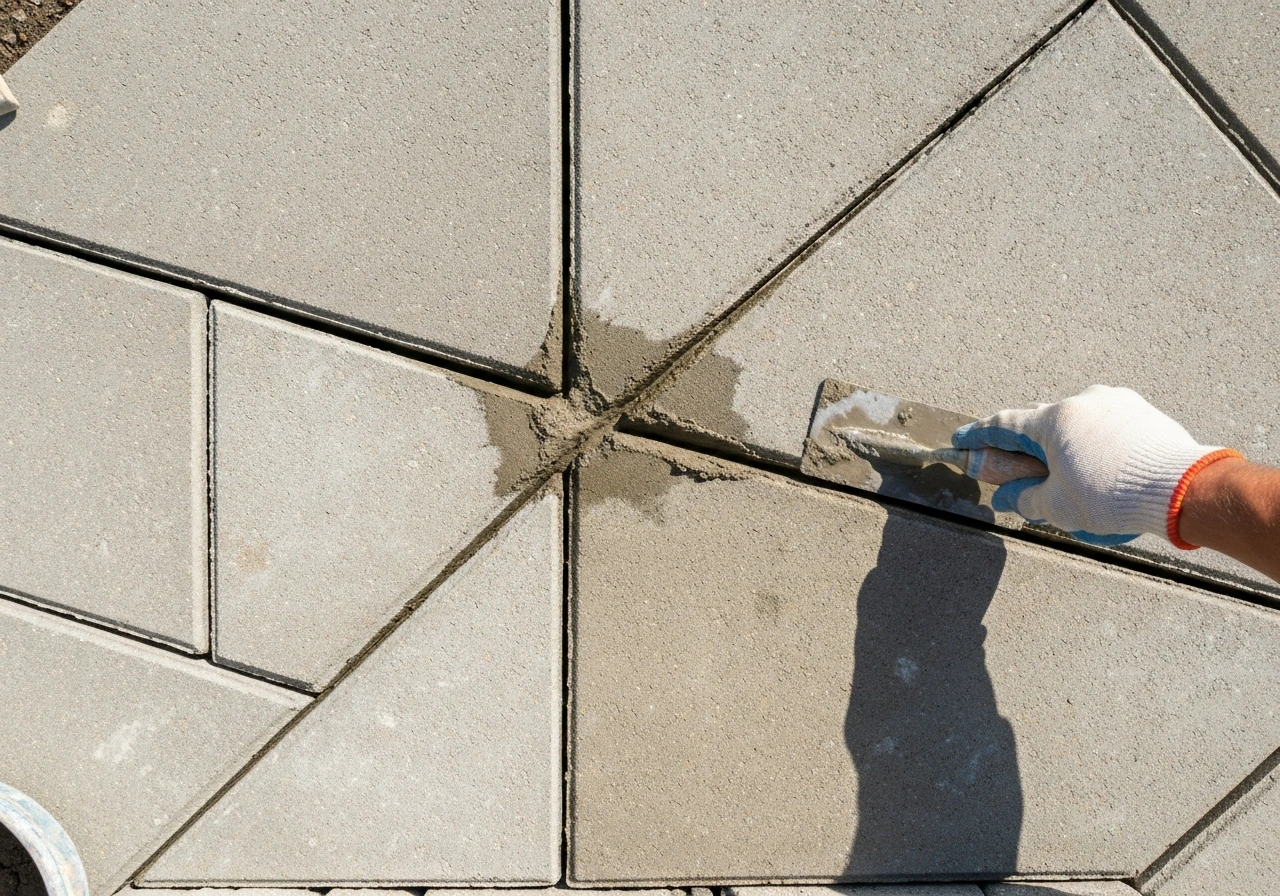
Sand-and-cement pointing is the go-to for most standard concrete or natural stone patio slabs with joints wider than about 5 mm. It's affordable, widely available, and genuinely durable when mixed and applied correctly. Where it really earns its place is on patios with variable joint widths, uneven gaps, or joints that have already failed multiple times with brush-in jointing compounds. If you've watched a kiln-dried sand or off-the-shelf jointing product wash out every couple of years, switching to a properly packed sand-and-cement mix is usually the right call.
That said, it's not always the best option. Porcelain slabs and some polished or very smooth natural stones can pick up cement haze that's genuinely difficult to remove, especially on textured surfaces where residue sits in the grain. NCC Streetscape also cautions that cement-based joint mortars can leave cement haze on paving, including difficult-to-remove haze on porcelain, and can stain porous or sensitive stone surfaces. For those materials, a resin-based or proprietary flexible jointing compound is often safer. Sand-and-cement is also a poor fit for very narrow joints under about 5 mm, where you simply can't pack mortar in solidly enough to hold. For flexible block paving systems that rely on kiln-dried jointing sand to allow slight movement between pavers, cement-based pointing is the wrong product entirely. Stick to sand-and-cement on: standard concrete slabs, Indian sandstone, natural limestone and granite (with some care), and reconstituted stone flags with joints of 5 mm or more.
Tools, materials, and the right sand-to-cement ratio
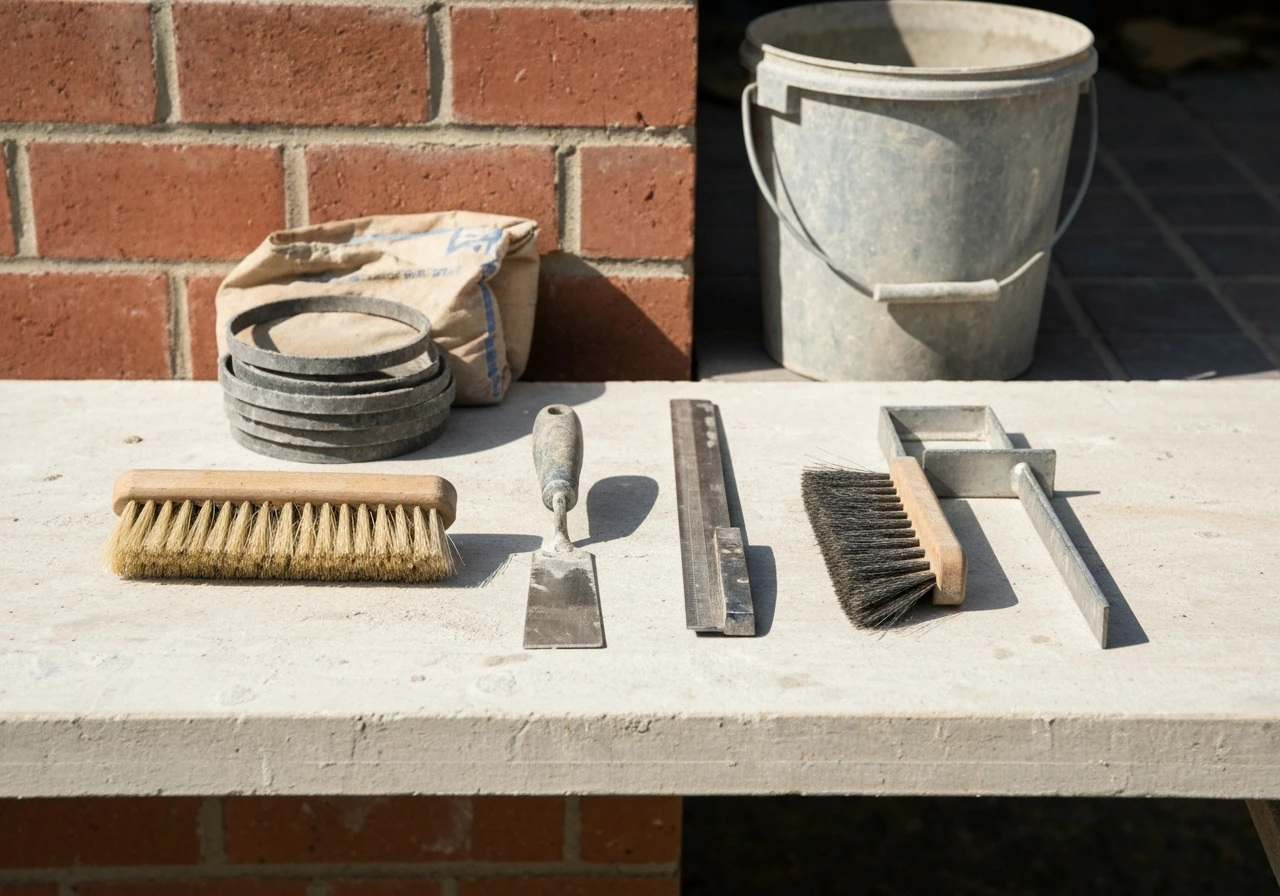
You don't need much kit, but having the right tools makes the difference between a tidy job and one that takes twice as long and still looks rough. If you don't have a pointing tool, you can still pack and shape joints by hand using a small trowel or even the edge of a gloved finger, then strike them cleanly once the mortar skins slightly. Here's what to gather before you start:
- Pointing trowel (small, for packing mortar into joints)
- Gauging trowel (for mixing and loading mortar)
- Jointing iron or plugging chisel (for striking and finishing joints)
- Stiff brush or old chisel (for clearing out old joint material)
- Soft-bristle brush (for sweeping excess off slab faces)
- Rubber mallet (for tapping any slightly raised slabs back down before you start)
- Mixing bucket or tub
- Clean water in a separate bucket
- Sponge or damp cloth (for wiping slab faces before residue dries)
- Washed sharp sand (also called building sand — not kiln-dried, not soft play sand)
- Ordinary Portland cement (OPC)
For the mix ratio, 4 parts sand to 1 part cement by volume is the standard for most patio jointing work. This gives you a mix that's workable, sets firmly, and bonds well. If you're dealing with a high-traffic area like a driveway apron or a step surround that takes a lot of foot traffic and loading, drop to 3:1 sand to cement for extra strength. Don't go stronger than 3:1 without a reason, richer mixes shrink more as they cure, which means more cracking. Mix it to a firm, damp crumble. It should hold its shape when squeezed in your fist but not feel wet or sticky. Think damp earth, not paste. This is what's known as a semi-dry or buttered consistency, and it's what you want for hand pointing. A wetter, runnier slurry mix exists for certain specialist applications but it dramatically increases the risk of staining your slabs and is harder to control on a DIY job.
Prep work: cleaning joints, fixing movement, and checking drainage
This is the stage most people rush, and it's why most jobs fail. If you put fresh grout over loose slabs, wet joints, or crumbling old mortar, you'll be doing it again within a season.
Clear out the old joint material
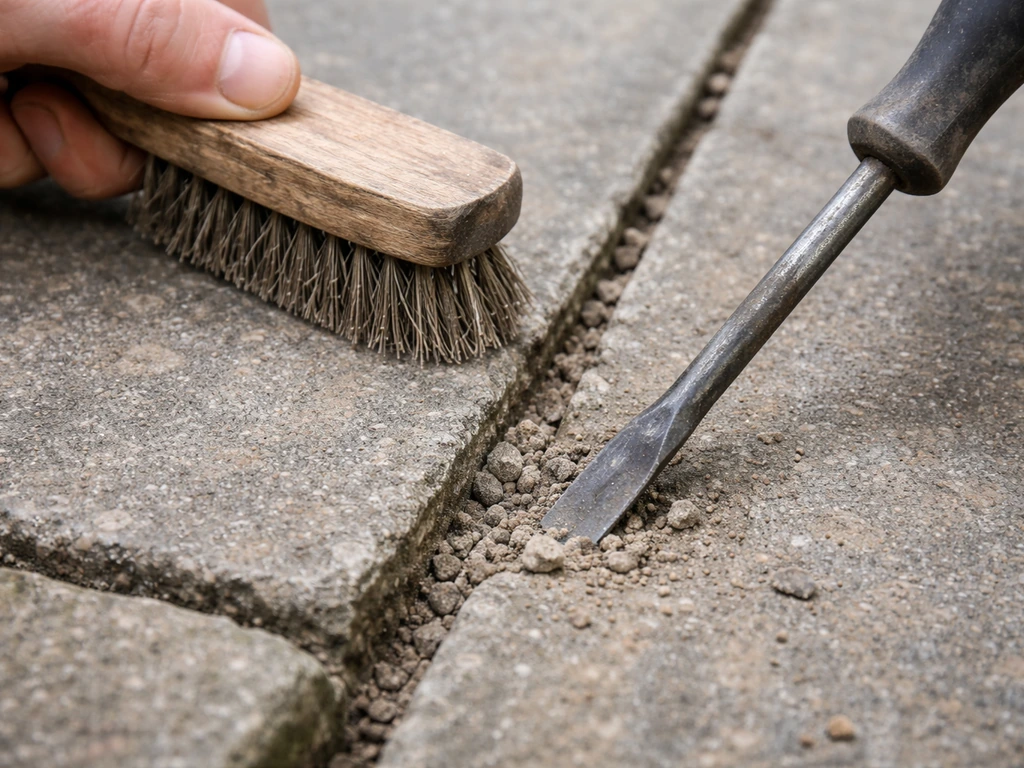
Use a stiff brush, plugging chisel, or old screwdriver to rake out all failed, crumbling, or loose joint filler. You need a minimum depth of about 25–30 mm of clear joint for the mortar to grip properly. Shallow joints packed with just a thin skim of old material on top of compacted sand underneath tend to pop out intact after the first frost. If you're rejointing over what used to be a sand-filled system, remove the old sand down to the base, at least 40 mm depth if possible, before refilling with mortar. For polymeric sand, Sakrete recommends that installation works best with joint widths between 1/4 inch and 1.5 inches and that you remove all existing sand down to the bottom of the paver before reapplication. Any debris, moss, or weed roots left in the joint will compromise adhesion and give weeds a route back in.
Check for loose or rocking slabs
Walk across every slab before you touch the joints. Any slab that rocks, clicks, or sits noticeably higher or lower than its neighbours needs to be lifted and re-bedded before grouting. Grouting over a loose slab just locks in the problem, you'll crack the fresh mortar the first time someone steps on that corner, and then you'll have to dig it all out again anyway. A rubber mallet can tap down minor high spots in freshly bedded slabs, but if a slab has sunk or is hollow underneath, it needs lifting and re-laying. That's a separate job, but it's worth doing it now rather than after you've spent a day pointing.
Sort out drainage before you seal the joints
Joints aren't just cosmetic, they carry water off the patio surface and into the sub-base. If your patio has standing water pooling in certain spots, check the fall (the slight slope that directs water away from the house) before grouting everything up. Once the joints are solid, water that can't escape will find another route, sometimes under the slab edges or back toward a wall. A rough guide is at least 1:60 fall (about 16 mm drop per metre) away from any structure. If the fall is wrong, that's a bigger problem than jointing can fix.
Let the joints dry out
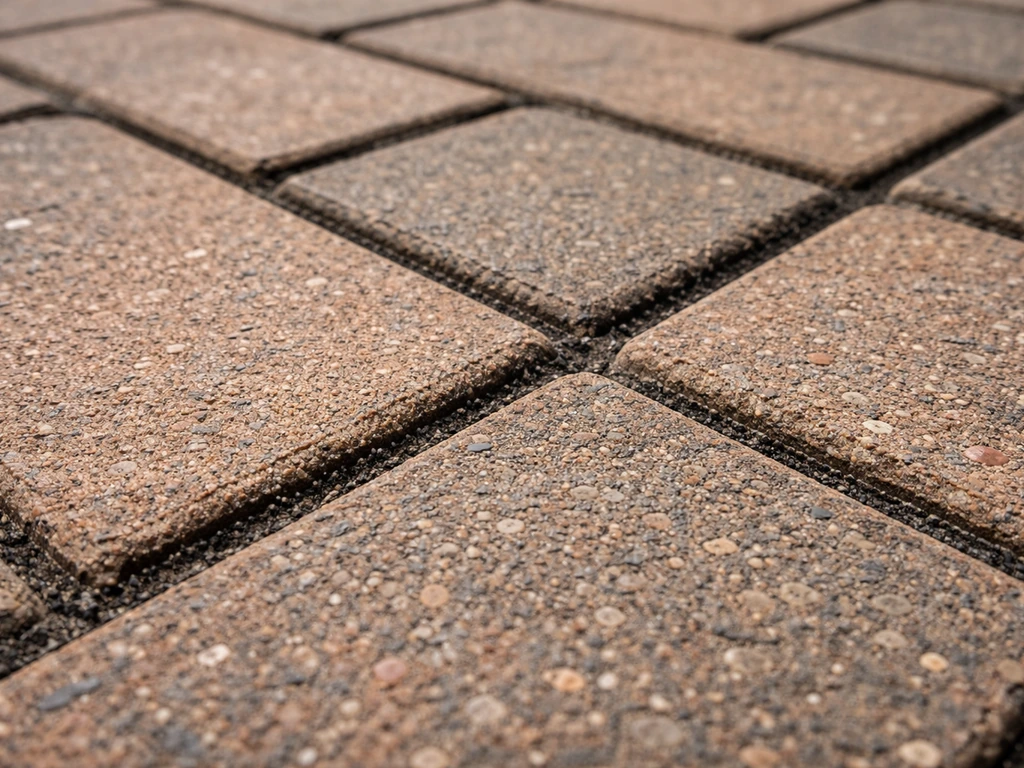
Once you've cleaned out the joints, leave the patio for at least a day in dry weather before applying mortar. Damp joints are one of the main causes of mortar failure and efflorescence (that white powdery deposit). You need the joint walls to be surface-dry so the mortar bonds to them rather than sitting on a film of moisture. If it's rained recently, give it two days of dry weather before you start.
How to apply grout: spreading, packing, and leveling joints
Mix your sand and cement in small batches, enough to work a 1–2 square metre area at a time. Mortar that sits in the bucket starts to stiffen, and trying to use over-stiffened mortar leads to poor compaction and crumbly joints. Keep your water separate and add it sparingly: you want the mix damp enough to pack but not wet enough to slump. For a step-by-step approach on how to point a patio with dry mix, follow the sections on prep, packing, striking, and curing add it sparingly.
- Load a small amount of mortar onto your gauging trowel and press it into the joint with your pointing trowel, working it in from one end. Don't drop lumps in from above and hope it settles — push the mortar in and pack it down firmly as you go.
- Fill the joint in layers if it's deep (over 40 mm). Pack the bottom layer first, let it firm up slightly if possible, then pack the second layer on top. This prevents the joint from shrinking and sinking unevenly as it cures.
- Work the mortar slightly proud of the slab surface initially so you have material to compact. Once the joint is filled, use your jointing iron or the edge of the pointing trowel to strike the mortar flush or just slightly below the slab face — about 2–3 mm recessed is ideal. This creates a neat finish and stops water sitting on the joint surface.
- As you work, use a soft brush to sweep any loose mortar off the slab faces regularly. Don't let it sit. Mortar residue that dries on the slab is much harder to remove than mortar you wipe off while it's still fresh.
- Keep a barely damp sponge nearby and wipe slab faces lightly as you go — especially if you're working on Indian sandstone or any porous stone. These materials absorb cement residue quickly and staining is notoriously hard to shift once it's dried in.
Work systematically across the patio in manageable sections. Don't try to grout the whole patio and then go back to finish, by the time you reach the far end, the early joints may have dried enough that you can't strike them cleanly. Complete each section (fill, pack, strike, wipe) before moving on.
Finishing and cleaning the slab faces
Once a section is pointed and struck, give the slab faces a light wipe with a clean damp (not wet) sponge. The goal is to remove any mortar smears before they harden, not to wash the joints. Using too much water at this stage is a real risk: it dilutes the surface of the fresh mortar, weakens it, and drives soluble salts toward the surface where they'll show up as a white haze (efflorescence) later. Wring your sponge out well.
Once the mortar has gone off enough that it won't smear (usually a couple of hours in warm, dry conditions), go over the slab faces with a soft, dry brush to pick up any fine dust or residue. If you notice any mortar blobs that have hardened on the surface, carefully chip them off with a wooden or plastic scraper rather than a metal tool that might scratch the slab. For stubborn cement residue after the mortar has fully cured (at least a week), a diluted masonry acid cleaner can be used, but always wet the slab surface thoroughly first, follow the product instructions carefully, and neutralise with clean water after. Never use acid cleaners on limestone, marble, or any calcareous stone, as the acid will etch the surface.
Curing, sealing, and weather precautions
Sand-and-cement mortar needs time and a little moisture to cure properly. Keep foot traffic off for a minimum of 24 hours, and ideally 48–72 hours before normal use. Avoid heavy loads (garden furniture, pots, wheelbarrows) for at least a week. In warm, dry, or windy conditions, the mortar can dry out too fast on the surface before the inside has cured, which leads to weak, dusty joints. In hot or breezy weather, lightly mist the finished joints with water once or twice during the first day to slow surface drying, don't soak them, just keep them from drying out too fast.
Rain is the bigger concern. Fresh mortar that gets rained on heavily before it's set will wash out or go weak at the surface. Don't start pointing if rain is forecast within 4–6 hours. If unexpected rain arrives before the mortar has gone off, cover the patio with a sheet of polythene or a waterproof ground cover. In cold weather, don't point if overnight temperatures are expected to fall below 5°C, the mortar won't cure correctly and frost will destroy fresh joints. Similarly, avoid pointing in direct strong sunlight in the middle of summer if temperatures are over 30°C, as the mix can skin over before it bonds.
Should you seal after grouting?
For most patios, sealing is optional rather than essential. If you do want to seal the slab surface, wait much longer than you think. Sand-and-cement pointing produces efflorescence (white mineral salt deposits) as it cures, and this bloom typically appears 3–6 weeks after laying and can continue for 3–6 months before it weathers away. Sealing over the top of efflorescence locks it in and makes it a permanent visual problem rather than a temporary one. Wait until you've had a full summer with no white haze showing before applying any sealer. If efflorescence does appear, let it weather naturally or treat it with a proprietary efflorescence remover before sealing.
Common problems and what to do about them
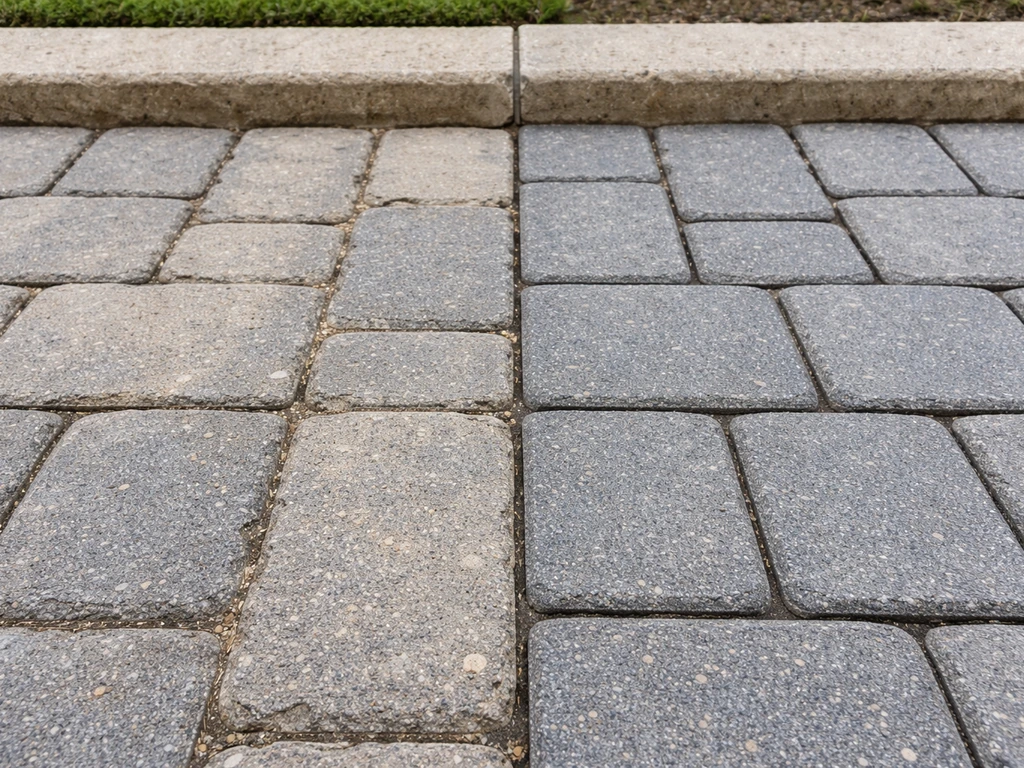
Joints washing out or going sandy
This usually means the mix was too wet when applied, wasn't packed firmly enough, or the joints were damp when the mortar went in. Surface washing during cleanup can also weaken the top of the joint. If only the surface of the joint is soft and sandy but the depth feels solid, you can carefully rake out the top 10–15 mm and repoint just the surface layer. If only the surface of the joint is soft and sandy but the depth feels solid, you can carefully rake out the top 10, 15 mm and repoint just the surface layer, using the same approach as how to repoint a patio dry mix when only part of the joint has failed. If the whole joint is crumbling, rake it fully out and redo it from scratch, paying attention to mix consistency and joint prep.
Shrinkage cracks running along joints
Fine hairline cracks along the centre of a joint are normal and mostly cosmetic, they're caused by the mortar shrinking slightly as it cures. Wider cracks or cracks that open over time suggest the mix was too rich (too much cement), the joints dried too fast, or there's movement in the slab underneath. If a slab is moving or settling, no amount of regrouting will hold, the slab needs to be lifted and the base addressed.
White haze or powdery deposit on slab faces
This is efflorescence, and it's almost inevitable to some degree with Portland-cement based mortars. It's caused by water-soluble mineral salts migrating to the surface as the mortar cures and dries. Excessive water in the mix or during cleanup makes it worse. In most cases, efflorescence will gradually fade over several months of weathering. Don't panic and reach for the acid cleaner immediately. If it persists beyond six months, a diluted phosphoric acid-based efflorescence remover can be used, but always pre-wet the surface, test on a small inconspicuous area first, and rinse thoroughly afterwards. Never seal until the bloom has completely gone.
Weeds coming back through fresh joints
If weeds are pushing through fully cured sand-and-cement joints, they're almost certainly rooting in the sub-base below rather than in the mortar itself. Well-packed mortar is too dense for seeds to germinate in, but roots from neighbouring plants or persistent perennials can crack joints over time. A patio-grade weed membrane under the bedding layer during installation is the real fix, but for an existing patio, apply a long-residual weed killer to the joints before repointing, give it time to work, and make sure you clean out all organic material from the joint before refilling.
Uneven settlement or slabs sinking over time
Jointing doesn't fix a base problem. If slabs are sinking or tilting, it's because the sub-base beneath them has shifted, washed out, or was inadequate to begin with. A proper paver base needs a compacted aggregate layer and a bedding layer of at least 25 mm. If you are building a paver patio, the base also needs to be properly compacted so your slabs do not shift or settle over time compacted aggregate layer. Repointing sinking slabs is a temporary cosmetic fix at best. The slabs need lifting, the base needs building back up and compacting, and then the slabs can be re-laid and repointed properly.
When to call a professional
Sand-and-cement pointing is genuinely DIY-friendly for most homeowners on a stable patio in reasonable condition. But there are a few situations where calling a professional is the honest call: if multiple slabs are sunken, cracked, or rocking across a large area (base failure, not a pointing issue); if the patio is laid directly against a house wall with no expansion gap and mortar has forced the wall to crack; if water is draining toward the house rather than away, and adjusting the fall requires lifting and re-laying a significant portion of the patio. These aren't jobs that pointing will fix, and attempting to grout over serious structural issues just delays the real repair while adding cost.
For most standard repointing jobs on a settled, structurally sound patio, one or two days of careful work with the right materials will give you joints that last years. The key decisions come at the prep stage: are all the slabs stable, are the joints clean and dry, and is the mix firm enough to pack without being wet enough to stain? Get those three things right and the rest follows.
| Problem | Likely cause | Fix |
|---|---|---|
| Sandy, weak joint surface | Mix too wet, or surface washed during cleanup | Rake out and repoint with drier mix, avoid excess water on cleanup |
| Joints washing out completely | Damp joints when applied, poor compaction | Full clean-out, let joints dry fully, repack firmly in layers |
| Hairline shrinkage cracks | Normal curing shrinkage, or mix too rich | Usually cosmetic; only refill if wide or joint is hollow |
| White powdery haze on slabs | Efflorescence from cement salts | Wait for it to weather off; treat with efflorescence remover if persistent; don't seal over it |
| Cement stains on slab face | Residue left to dry during application | Diluted acid cleaner after full cure; pre-wet surface first; avoid on limestone |
| Weeds returning | Roots from sub-base, not in mortar | Weed killer before repointing; consider weed membrane on future relays |
| Slabs still rocking after pointing | Base failure, not a jointing issue | Lift slabs, rebuild and compact base, relay and repoint |
FAQ
Can I grout patio slabs with sand and cement if the joints are only partially empty?
Yes, but you need to remove any loose top layer first. If the joint is solid deeper down, rake out only the top 10 to 15 mm, clean out dust and organic matter, then repack with the same semi-dry mix and strike it back to a consistent depth.
What’s the smallest joint width I should attempt with sand and cement?
Avoid it for very narrow joints, roughly under 5 mm, because you cannot reliably pack the mix solidly. For thinner gaps, flexible proprietary jointing systems typically perform better and reduce the risk of weak, crumbly joints.
How can I tell if my sand and cement mix is too wet or too dry before I place it?
Run a quick squeeze test in your gloved fist. It should hold its shape as a crumbly clump (damp earth feel), not slump or feel sticky (too wet) and not crumble into dry powder when pressed (too dry). Adjust with small amounts of water or dry mix, then re-test.
Should I hose the patio after grouting to clean off cement haze?
No. Surface washing with too much water can dilute the joint surface and drive salts upward, increasing staining and efflorescence. Clean smears with a lightly damp, well wrung sponge during the work window, then use a dry brush after the mortar has firmed up.
How long should I keep foot traffic off, and when is it safe for moving heavy items?
Keep people off for at least 24 hours, ideally 48 to 72 hours before normal use. Avoid heavy loads like wheelbarrows, planters, and garden furniture for at least a week to prevent premature cracking and surface erosion.
Is it okay to use a sealer straight after grouting to prevent staining?
Usually no. Sand-and-cement pointing commonly produces visible bloom 3 to 6 weeks after laying (and can continue for months). Sealing while bloom is still present can lock the white residue in permanently, so wait until the haze has fully weathered or treat efflorescence first.
Why do my joints crack along the center line, even though the patio looks stable?
Hairline center cracks are often shrinkage as the mortar cures and are usually cosmetic. If cracks widen, appear repeatedly, or open over time, treat it as a warning of a rich mix, joints drying too fast, or movement beneath the slabs.
What should I do if rain hits the patio while the grout is still working?
If heavy rain is forecast, delay the work. If unexpected rain arrives before the mortar has gone off, cover the patio quickly with a waterproof ground cover or polythene to stop washout. Don’t uncover repeatedly to “check,” and avoid disturbing the fresh joints.
Can I grout over moss or weeds that are still present in the joints?
You should not. Remove all failed material, scrub out moss, and extract any organic matter from the joint so adhesion can form on clean substrate. If weeds are clearly rooted below, you may need a long-residual joint weed treatment before repointing.
My slabs rock slightly, but the joints are otherwise clean. Should I grout anyway?
No. Rocking or clicking indicates a bedding or base problem. Grouting over movement can trap the issue, leading to cracks and popping. Lift and re-bed or re-lay the affected slabs before pointing.
What’s the right way to handle efflorescence if it shows up after curing?
In most cases it fades gradually over several months. Don’t seal over it. If it persists beyond about six months, a diluted phosphoric-acid based efflorescence remover can help, but pre-wet, test a small area first, and rinse thoroughly afterwards.
Can I use acid cleaner to remove stubborn cement residue immediately after grouting?
Wait until the mortar has fully cured, typically at least a week, and only then consider a proprietary approach. Never use acid on limestone, marble, or other calcareous stones because it can etch the surface. Always follow instructions carefully and neutralize/rinse after treatment.
What’s the best way to strike joints so they don’t wash out or look uneven?
Strike slightly below the slab surface once the mortar skins but before it fully hardens, and keep the joint depth consistent across sections. Work in small areas so you strike each batch at the right time rather than letting it start to dry out in place.
Next Article
How to Point a Patio With Dry Mix: Step-by-Step Guide
Step-by-step dry-mix patio pointing: remove weeds, fill joints, water to set, avoid haze and washouts, troubleshoot fail