Removing old patio slabs is a weekend job for most homeowners, but how you approach it depends heavily on what you're actually dealing with: a poured concrete slab, individual pavers or slabs set on sand or gravel, or units bonded down with mortar or thin-set over a concrete base. For a complete walkthrough of breaking up patio slabs safely and efficiently, follow the step-by-step sections below how to break up patio slabs. Get that identification right first and the rest of the process becomes straightforward. Get it wrong and you'll waste a full day chipping at something that should have lifted cleanly in ten minutes.
How to Remove Old Patio Slabs: Step-by-Step DIY Guide

Talia Lang
11 May 2026
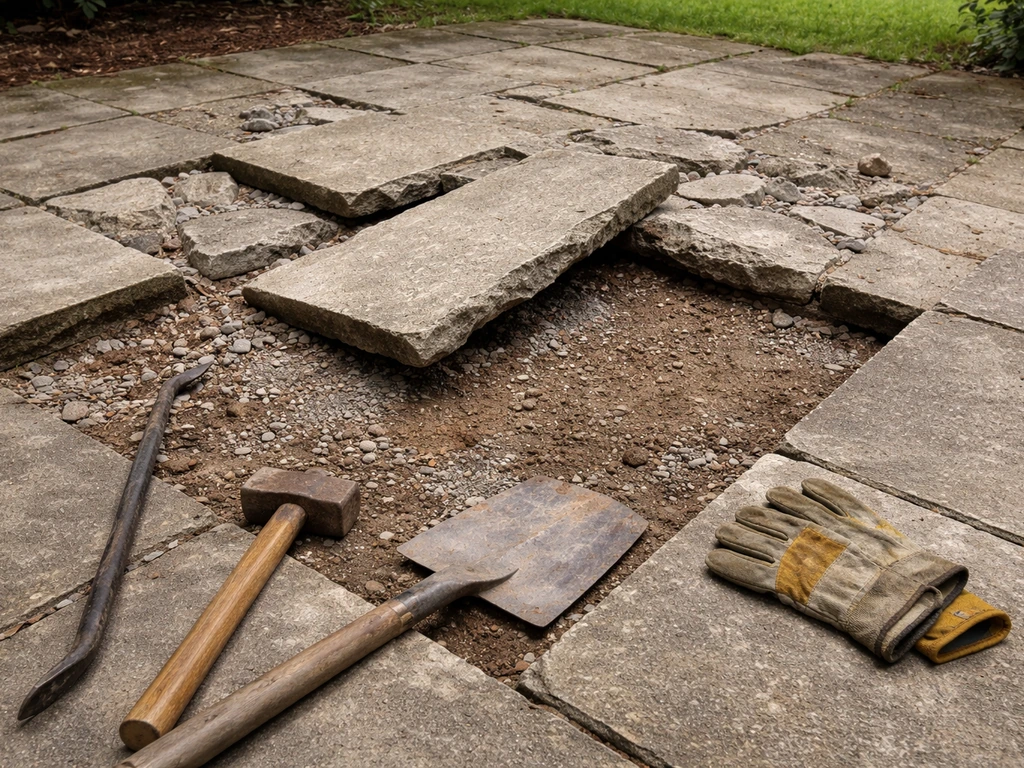
Figure out what you're removing before you pick up a tool
Walk the patio and look at how it's put together. A poured concrete slab is one continuous pour, usually 3.5 to 4 inches thick, and you'll see either control joints (intentional grooves cut or tooled into the surface roughly every 8 to 10 feet) or crack lines where the concrete has already fractured on its own. Those joints are your friends when it comes to breaking it up. If you see individual rectangular or square units with gaps between them, you have either a mortar-set overlay or a sand/gravel-set paver patio.
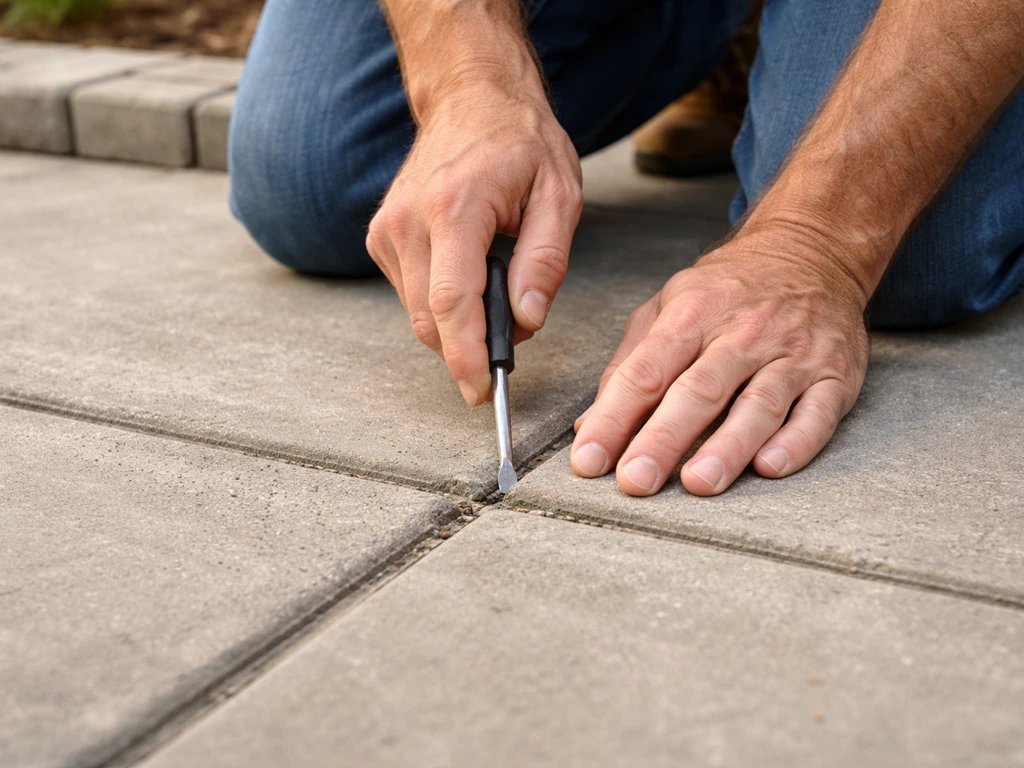
Probe the gaps between units with a screwdriver or chisel. If you hit solid resistance and the screwdriver won't go deeper than a few millimeters, the units are likely set in mortar over a concrete base underneath. If the screwdriver drops an inch or more into loose sand or gravel, you're working with a dry-laid installation.
This distinction matters enormously: dry-laid slabs can often be pried up intact (which is worth doing if you want to reuse or resell them), while mortar-set units require breaking or careful prying that usually destroys the surface. There's more detail on preserving slabs during removal in the guide on how to lift patio slabs without breaking them.
If you want to protect the surface as you remove the slabs, follow the specific steps in how to lift patio slabs without breaking them.
Also check whether the slab runs up against the house foundation, a wall, or a step edge. Slabs bonded directly to a structure at the perimeter are harder to remove because you'll need to cut a separation line before anything moves. Note any sunken spots, cracked sections, or areas where the slab has heaved, because those weaknesses are starting points for breaking, not problems.
Safety prep you shouldn't skip
Call 811 (or go to callbeforeyoudig.org) at least two full business days before you start, not counting weekends or legal holidays. This is the law in most states and it's free. Underground utilities, gas lines, and irrigation lines have no visible warning signs, and a jackhammer through a gas line or electrical conduit will end your project in the worst possible way.
Concrete dust is a serious health hazard, not just a nuisance. Breaking and cutting concrete generates crystalline silica particles that cause permanent lung damage with repeated exposure. OSHA mandates wet-cutting methods for concrete, and the practical takeaway is simple: keep a garden hose running water onto your saw blade or chisel point while you work. For anything involving an angle grinder or circular saw with a masonry blade, attach a HEPA-filtered vacuum to the shroud if your tool supports it. Wear an N95 respirator at minimum, a P100 if you have one. Safety glasses, heavy leather gloves, and steel-toed boots are non-negotiable when chunks of concrete start flying.
Protect anything near the work area. Cover garden beds with tarps or plywood sheets. Concrete chunks are heavy and irregular, and they will bounce unpredictably. If the patio is near windows or glass doors, lean plywood panels against them before you start swinging. Move any outdoor furniture, grills, or planters well away from the perimeter.
What you'll need on site
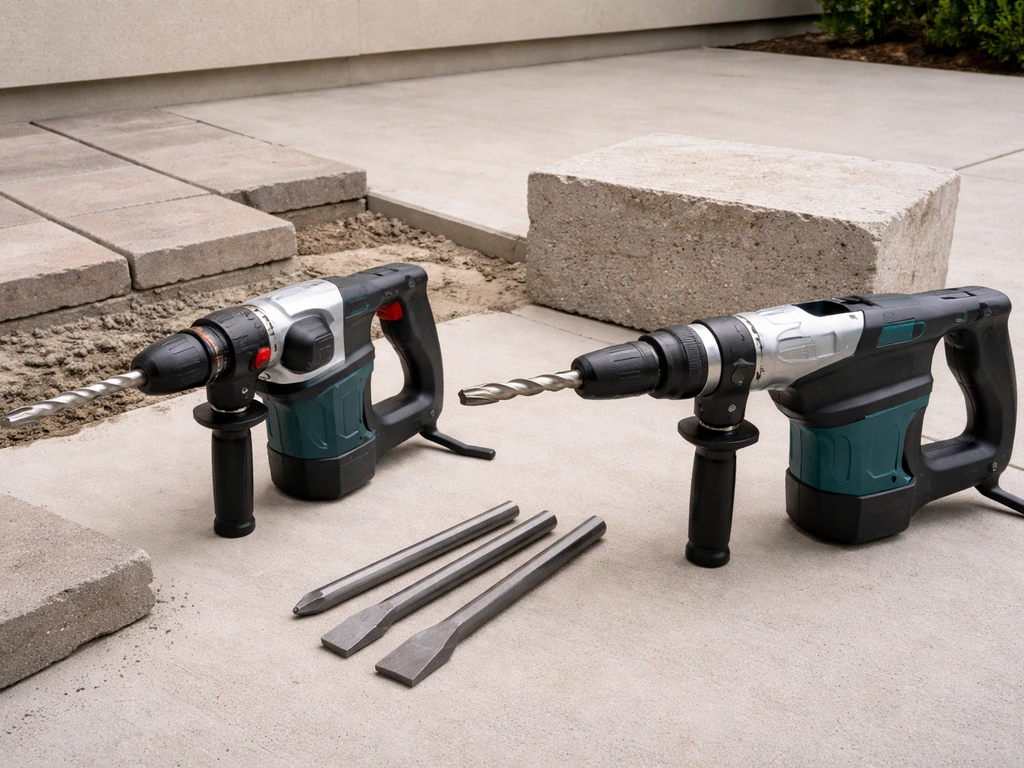
- Rotary hammer drill: SDS-Plus for lighter slabs and mortar-set tile/pavers; SDS-Max or electric demolition hammer for poured concrete slabs 3.5 inches or thicker
- Chisel-point and flat/spade bits for your hammer drill
- Pry bar (heavy-duty, at least 36 inches)
- Cold chisel and 3-pound hand sledge for tight spots
- Angle grinder with a diamond masonry blade or a circular saw with a masonry/diamond blade for scoring cuts
- Garden hose with running water for dust suppression during cutting
- HEPA shop vacuum for dust control during grinding or drilling
- N95 or P100 respirator, safety glasses, heavy gloves, steel-toed boots
- Wheelbarrow for moving broken pieces
- Square-point shovel and stiff-bristle broom
- Plate compactor (rentable, needed if you're prepping the sub-base for a new surface)
- Measuring tape and chalk line if scoring cut lines
- Dumpster or haul-away trailer arranged in advance
The removal process, step by step
Dry-laid pavers or slabs on sand or gravel
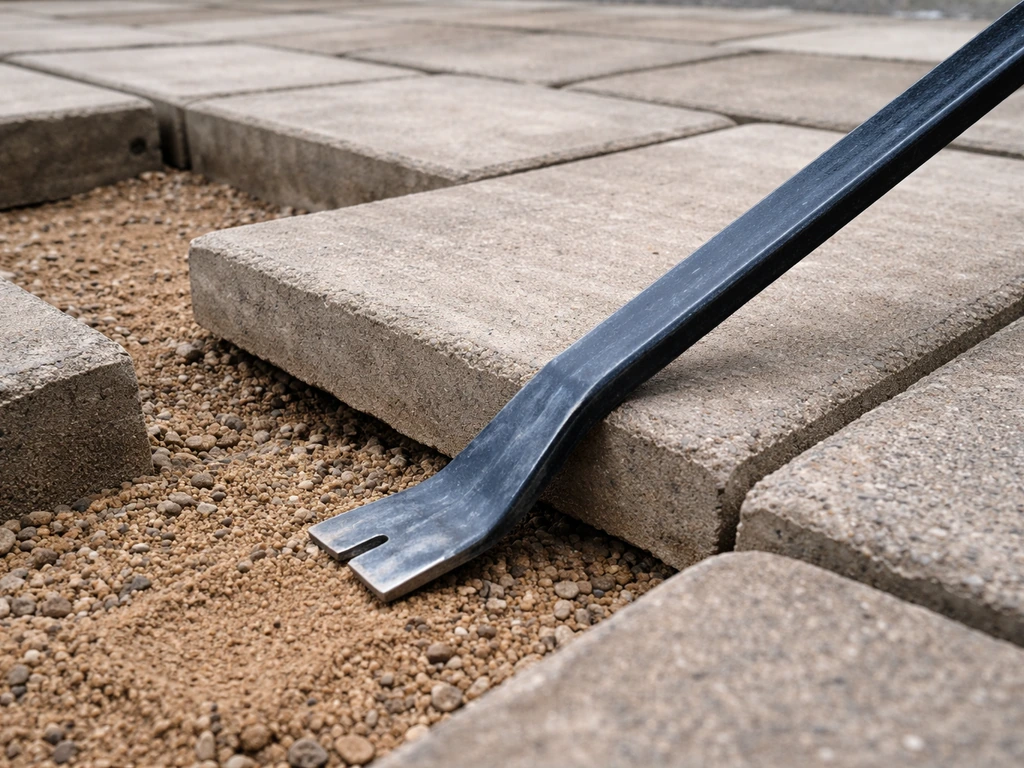
Start at a corner or an edge where you can get a pry bar under the first unit. Work the bar into the gap and lever upward gently. On a well-maintained dry-laid patio, the first slab should pop free without much effort. Once one unit is out, you have a gap to work from and the rest come up progressively faster. Stack the removed slabs on a pallet or flat surface nearby, oriented the same way, to make them easier to transport or reuse. If you're throwing them away, stack them near the curb or dumpster as you go rather than making double trips.
With all units removed, sweep or shovel out the bedding sand layer. You'll typically find an inch or two of coarse sand sitting on a compacted gravel base. Whether you remove the gravel base depends on what you're building next. More on that below.
Mortar-set slabs or pavers over a concrete base
This is the most labor-intensive version of the job. The individual units are bonded to a concrete slab below with mortar or thin-set, so you generally can't pry them free intact without the right technique. Start at an edge and use a chisel bit in your SDS-Max hammer drill, angled at roughly 30 to 45 degrees into the joint between units. Your goal is to fracture the mortar bed below the unit, not to drill down through the concrete base. Once the mortar bond breaks, work a flat pry bar under the unit and lever it up.
Expect to lose some units to cracking during this process. The mortar bond is often stronger than the unit itself. Once the overlay is cleared, you'll be left with a concrete base covered in mortar residue. You can grind this flat with an angle grinder and a cup wheel, or remove the entire base slab using the poured concrete method below.
Poured concrete slabs
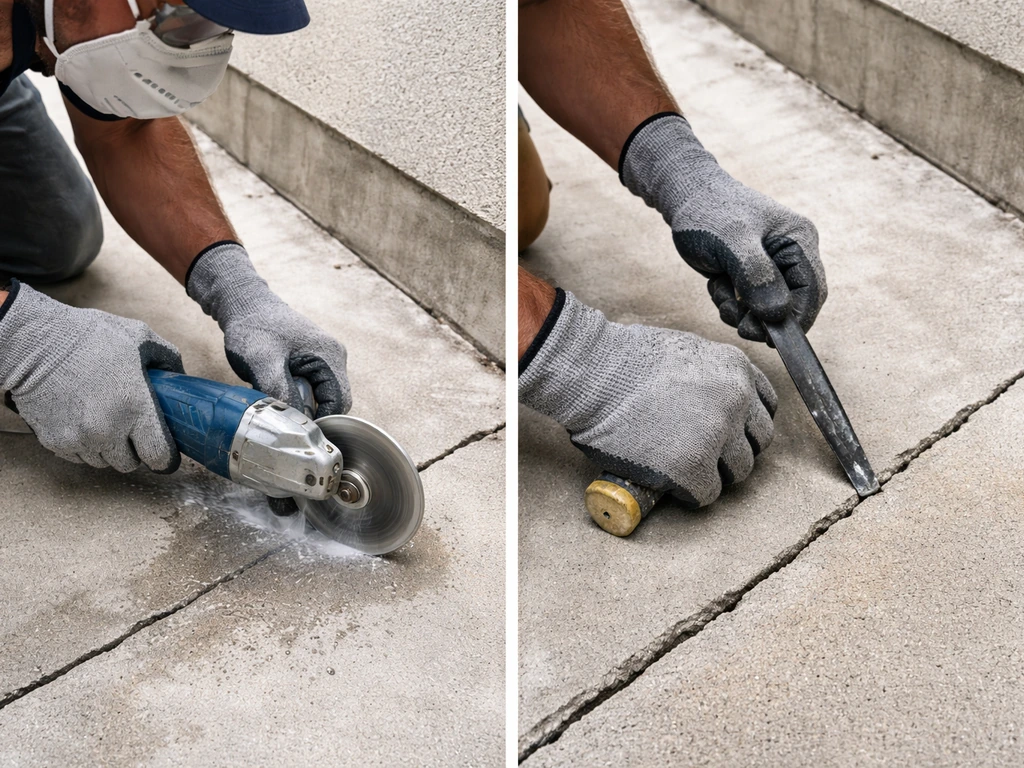
Score a cut line first if the slab abuts the house, a wall, or any structure you want to protect. Use a circular saw or angle grinder with a diamond blade, run water on the blade continuously, and cut 1.5 to 2 inches deep along the separation line. This prevents the slab from cracking unevenly into the structure when you start breaking it.
Start breaking at an existing control joint or crack, or at a corner. Position the chisel-point bit of your SDS-Max hammer drill at the joint and work along it to widen and deepen the fracture. Once you have a section that's separated on at least two sides, you can pry it up or lever it over with a heavy pry bar. For a 4-inch slab, sections in the 18-to-24-inch range are about as large as one person can safely handle, typically 50 to 80 pounds per piece depending on the area.
Work methodically across the slab from one edge inward. Don't try to break the entire surface first and then lift everything. Break a manageable section, remove it, then break the next. This keeps the work area clear, gives you room to maneuver, and prevents you from lifting pieces over an unstable surface.
When slabs won't budge: stuck sections, rebar, and stubborn mortar
If a section of poured concrete refuses to crack, you're either hitting rebar (reinforcing steel embedded in the slab) or the slab is thicker than you expected. Probe with your drill: if you hit steel resistance at 3 to 4 inches, there's rebar. Don't fight it with the hammer drill. Switch to an angle grinder with a metal-cutting disc and cut the rebar at the fracture line. After that, the section will lift free. Wire mesh (welded wire fabric) is easier to deal with: it's shallower and thinner, and you can usually cut it with heavy bolt cutters or an angle grinder once the concrete around it is broken.
For mortar-set units that won't release with a pry bar, drill a series of holes in a line across the unit with a masonry bit, then use the flat chisel bit to connect the holes into a score line. This weakens the mortar bond beneath the unit without requiring you to pry from the edge where most of the bond strength is concentrated. If individual units are cracking but not releasing, you may need to break them into smaller pieces and accept that the overlay is gone. Focus on clearing the surface cleanly rather than preserving units.
Very thick slabs (6 inches or more) or slabs with heavy rebar grids are at the edge of practical DIY territory. An SDS-Max hammer drill will work but will take considerably longer and more bit wear than on a standard residential pour. If you're dealing with what looks like a structural slab (very thick, with dense rebar, often near a building foundation), it's worth calling a concrete demolition contractor with a hydraulic breaker. The cost of professional breaking is usually far less than a wrecked tool or an injury.
If the whole slab is heavily reinforced, look into whether a concrete cutting service can saw-cut it into manageable sections for you before you attempt removal. Saw-cutting is fast and produces straight edges, which makes lifting much safer and more predictable. This is especially worth doing if you're removing a large aggregate or exposed-aggregate surface where breaking unpredictably could damage adjacent hardscaping.
What to do with the sub-base after removal
Once the slabs are out, take a few minutes to actually look at what's underneath before you move on. This is when you'll find out whether your original patio failed because of the surface material or because of problems underneath, and treating those problems now is the whole point of doing this job properly.
Check the grade first. Water should run away from the house at a slope of roughly 1 inch per 8 feet of run. If the sub-base slopes toward the foundation or is flat, that's almost certainly what caused your original patio problems, and any new surface you install over it will eventually have the same issues. Correct this now by regrading with a rake and adding or removing base material as needed. If there's significant drainage failure, you may need to install a perforated drain pipe in a gravel trench before you rebuild.
For dry-laid paver or slab installations, the gravel base typically stays if it's in good condition. Rake it level, check the grade, and compact it with a plate compactor before adding fresh bedding sand. Pavestone’s paver granular base specification also notes that granular base compaction may require multiple passes with a plate compactor, citing at least four passes. For poured concrete replacements or new slab work, you'll need a properly compacted gravel base (typically 4 to 6 inches of compacted crushed stone) and proper forming before any new pour.
If the soil underneath is soft, saturated, or showing signs of settling, don't just compact over it. Soft subgrade is what causes slabs to sink and crack prematurely. Add 4 to 6 inches of compactable gravel fill, compact in layers, and recheck for proper grade before moving forward. Skipping this step is how people end up doing this same job again in five years.
Cleanup, hauling, and what it all costs
Broken concrete, mortar chunks, and demolished pavers are classified as construction and demolition (C&D) debris. When debris or disaster materials are discovered during demolition, EPA notes that disposal may require special handling, including coordinating with the right contact for potentially hazardous or unknown materials dispose of disaster/debris materials. Most C&D landfills accept clean concrete separately from mixed demolition waste, and clean concrete disposal is significantly cheaper. A typical fee schedule lists clean concrete, brick, and rock at a lower per-yard rate than mixed loads, so keep concrete pieces separate from soil, wood scraps, or organic material when you load them.
Your main hauling options are renting a roll-off dumpster, hiring a junk removal service, or making multiple trips to a C&D landfill in a truck or trailer. For a standard 10-by-12-foot patio, a 10-yard roll-off container is usually enough. Dumpster rental costs vary considerably by region and provider, but based on 2026 pricing examples, expect to pay roughly $300 to $500 for a 10-yard pull and $400 to $600 or more for a 20-yard container, not including overage fees if you exceed the weight limit. Concrete is heavy, and weight overages on small containers add up fast, so ask the rental company about weight limits before you book.
If you have a truck and a C&D landfill nearby that accepts walk-in loads, that's usually the cheapest route. Call ahead to confirm they accept clean concrete, get their current rate per yard or per ton, and ask whether they require loads to be tarped in transit.
On time: a dry-laid paver patio up to about 200 square feet takes most people a full day working alone, or half a day with a helper. A poured concrete slab of the same size takes a full day to a day and a half, longer if it's reinforced or thicker than 4 inches. Factor in an extra half day for sub-base prep and cleanup. If you're renting a plate compactor or a hammer drill, block out the full weekend so you're not rushing.
| Patio type | Main tool needed | Typical DIY difficulty | Approximate time (200 sq ft) | Biggest complication |
|---|---|---|---|---|
| Dry-laid pavers/slabs on sand | Pry bar, SDS-Plus drill | Low to moderate | 4 to 6 hours | Units stuck from age or settled edging |
| Mortar-set overlay on concrete base | SDS-Max drill, angle grinder | Moderate to hard | 6 to 10 hours | Breaking units without removing base |
| Poured concrete, unreinforced | SDS-Max demolition hammer | Moderate | 6 to 8 hours | Uncontrolled cracking near structures |
| Poured concrete with rebar or mesh | SDS-Max + angle grinder with metal disc | Hard | 8 to 12+ hours | Rebar holding sections together |
One last thing worth saying plainly: if the slab is larger than 400 square feet, thicker than 5 or 6 inches, heavily reinforced, or attached to a structural element of the house, get a quote from a concrete demolition contractor before committing to DIY. The equipment, labor, and disposal they bring to a big job often pencils out close to the DIY option once you add up tool rentals, dumpster fees, and your own time. The DIY approach makes the most sense on mid-size patios with straightforward access and standard slab construction, which, honestly, describes most residential patios.
FAQ
How do I know if I can reuse old patio slabs after removing them?
You can reuse units when the patio is dry-laid, meaning the screwdriver drops into loose bedding material rather than hitting a firm mortar bond. Reuse is also harder when slabs are bonded at the perimeter to the house wall or step, because you usually need to cut a separation line to avoid damage. Even then, expect some chipping on corners and edges when you lever them out.
What’s the safest way to pry up the first slab without damaging the rest?
Start at a true edge or corner where you have clearance, then try a thin pry bar first, rocking gently to create a small gap rather than forcing the bar under the entire slab at once. If the bar will not seat into the joint, stop and investigate the gaps with a screwdriver for mortar or thin-set, because forcing it will crack slabs before the bond is broken.
Should I remove the gravel base as well, or can I just reinstall on top?
Only keep the base if it is stable and properly graded. For dry-laid pavers, a sound gravel base is often reusable, but you still need to rake, recheck slope, and compact it before adding fresh bedding sand. If the patio previously failed from poor drainage, you should correct grade and, in some cases, install a perforated drain before rebuilding.
What if the slab is lifting at cracks, but large sections won’t break?
That usually indicates reinforcement or unexpected thickness. Probe with the hammer drill, if you feel steel resistance around 3 to 4 inches deep, you are hitting rebar and you should switch to cutting the steel along the fracture line with an angle grinder and metal-cutting disc. For very stubborn areas with suspected grid reinforcement, cutting manageable sections can be safer than continuing to hammer.
Do I need to wet-cut if I’m only chiseling by hand?
Wet methods are especially important when using power tools that generate dust. If you are chiseling only, you may still create concrete dust, so aim a low-flow mist or keep the area damp during cutting and cleanup. For any angle grinder or circular saw work, run water on the blade and use a HEPA vacuum when possible.
What respirator should I use, and do I really need a HEPA vacuum?
At minimum use an N95 respirator, P100 is better if available. A HEPA-filtered vacuum attached to the tool shroud is strongly recommended when grinding or sawing, because it reduces airborne crystalline silica that wetting alone cannot fully control, especially in enclosed or low-ventilation areas.
How deep should I cut before breaking the slab near the house or walls?
Use a separation cut about 1.5 to 2 inches deep along the line where the slab touches the structure. That depth helps prevent the slab from fracturing unpredictably into the foundation or wall when you start demolition. If your slab thickness is less than expected, adjust the cut depth so you do not overcut into the structure.
Can I remove mortar-set patio units without breaking the tops?
Often no, not fully. When units are set in mortar or thin-set, the bond can be stronger than the slab surface, so preserving intact units is limited and technique-dependent. Drilling a line of holes to weaken the bond can reduce surface damage compared with prying from the perimeter, but you should still plan for some breakage.
How do I estimate disposal needs, and why do people underestimate concrete weight?
Concrete is heavy, so your yardage estimate must be paired with container weight limits. A 10-by-12-foot patio is commonly handled with a 10-yard roll-off, but the safe choice is to ask the rental company for the maximum allowable weight and confirm your expected concrete weight. If you exceed limits, you may face major overage charges or unload problems.
What should I check in the subgrade before rebuilding a patio?
Check drainage grade, compactability, and signs of saturation or soft spots. If water slopes toward the house or the area is flat, correcting grade is part of the job, not an optional improvement. If soil is soft or settling, add compactable gravel fill in lifts (not one thick layer), compact each lift, and recheck grade before adding base and bedding.
When should I stop DIY and call a contractor for demolition?
If the slab is larger than about 400 square feet, thicker than 5 to 6 inches, heavily reinforced, or attached to a structural element like the foundation, get a quote first. The contractor option is often cost-competitive once you include tool wear, extended labor time, and disposal, and they can use hydraulic breakers or saw-cutting for faster, cleaner sectioning.
Next Article
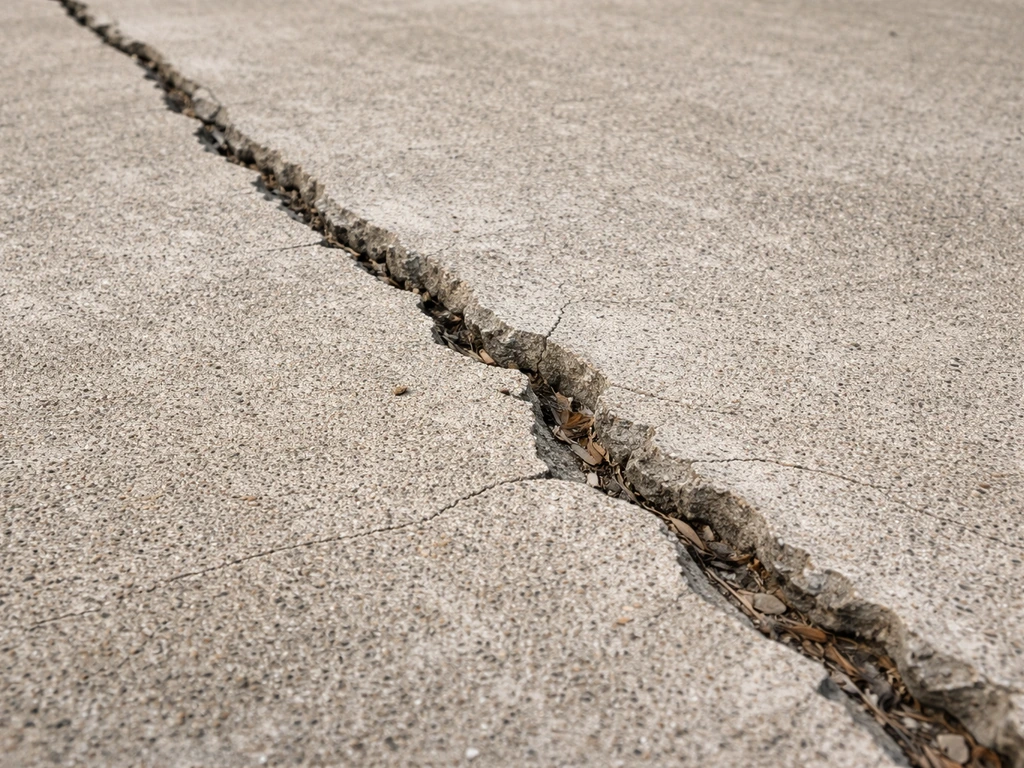
How to Fix Cement Patio Cracks: Diagnose and Repair
Diagnose concrete patio crack types and repair with the right sealant or patch, from prep to curing and prevention.