You can reseal patio pavers yourself in a weekend, but only if the surface is genuinely ready for it. Clean, dry, structurally sound pavers with intact joints will hold a new sealer for years. Skip any of those steps and you'll get the same peeling, hazing, or streaking you're trying to fix, sometimes worse. The process is: diagnose the real problem, clean thoroughly, repair joints and leveling issues, let everything dry completely, apply the right sealer in thin coats, and stay off it until it cures.
How to Reseal Patio Pavers: Step-by-Step DIY Guide

Talia Lang
1 May 2026
Quick diagnosis: is resealing actually enough?
Before you buy a single product, spend ten minutes looking at what you actually have. Sealer failure shows up in a few different ways, and each one tells you something different about what went wrong.
- Peeling or flaking sealer: The old coating has lost adhesion. Could be age, moisture trapped under the film, or an incompatible product applied on top of an existing one. You'll need to remove the failed sealer before recoating.
- White haze or milky patches: Almost always caused by moisture getting trapped — either the surface was damp when sealed, the sealer was applied too thick, or humidity was too high during application. It can also be efflorescence (mineral salts migrating up through the pavers). These are two different problems with different fixes.
- Sticky or gritty surface: Usually leftover residue — often polymeric sand dust that wasn't fully cleaned off before the last seal. The new sealer bonded to the contamination, not the paver.
- Sealer looks fine but water isn't beading anymore: This is normal wear. The coating has thinned out. A standard reseal is exactly the right fix here.
- Patchy finish, some areas dull/some shiny: Uneven application last time, or differential porosity. This is cosmetic and fixable with a proper reseal.
- Widespread paver movement, heaving, or sinking: Stop here. Resealing over an unstable base is pointless. The structural issue has to be addressed first.
The most important thing to check is whether you have an efflorescence problem. If you see recurring powdery white deposits that come back even after cleaning, that's mineral salts migrating up through the pavers from below. Sealing over it doesn't stop the migration, it traps moisture under the film, and the haze comes back worse. You have to treat the efflorescence before you reseal. More on that in the cleaning section.
Also worth checking: do you know what type of sealer is already on the pavers? If you don't, and you apply an incompatible product on top, the layers can delaminate and flake. When the previous sealer chemistry is unknown, it's safest to strip the existing coating entirely before recoating. Applying a film-forming (wet-look) sealer over a penetrating sealer, or vice versa without proper prep, is a common source of coating failure.
Safety, tools, and materials checklist
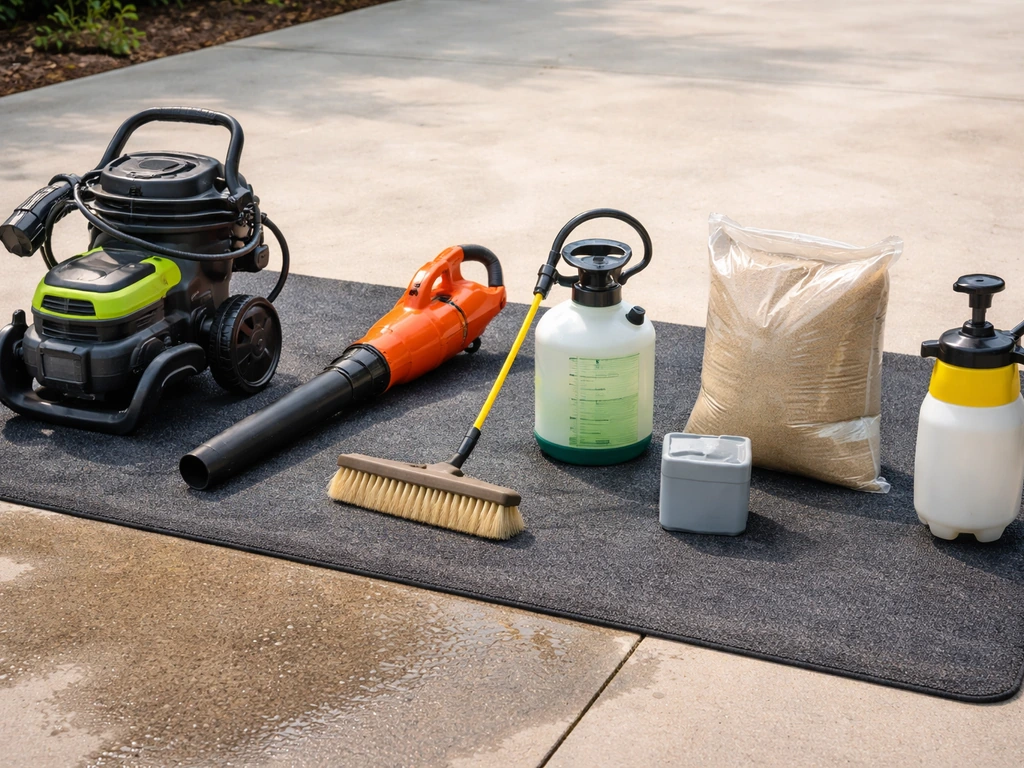
Get everything together before you start. There's a drying window between cleaning and sealing that you don't want to blow by running to the hardware store.
| Item | What it's for |
|---|---|
| Pressure washer (1500–3000 PSI) | Deep cleaning; removes old organic growth, dirt, and loose sealer |
| Stiff-bristle scrub brush | Agitating cleaner into joints and stubborn spots |
| Paver cleaner / efflorescence remover (e.g., Techniseal Paver Prep or HD Paver Prep) | Removes mineral deposits, algae, and old residue; opens pores for sealer adhesion |
| Leaf blower | Removes polymeric sand dust and debris from paver surface before sealing |
| Polymeric jointing sand | Refilling voids in joints after pressure washing |
| Paver sealer (penetrating or film-forming — see sealer section) | The actual protective coating |
| Low-pressure pump-up sprayer (max 20 PSI) or roller/brush | Sealer application — low pressure prevents foaming and over-application |
| Paint tray + 9" nap roller (3/8") | For roller application on flat surfaces |
| Plastic sheeting or cardboard | Protecting adjacent surfaces from overspray |
| Chemical-resistant gloves and eye protection | Cleaner and sealer can irritate skin and eyes |
| Rubber boots or old shoes | You'll be walking on wet sealer |
| Painter's tape | Masking edges near house walls, steps, or other materials |
On safety: paver cleaners, especially efflorescence removers, are acidic. Wear gloves and eye protection, keep kids and pets away during application, and rinse thoroughly before it dries. Check wind direction before spraying anything, you don't want cleaner or sealer drifting onto car paint, wood siding, or glass. Lay plastic sheeting or cardboard along the house wall, particularly if you're sealing near the foundation (the gap between house and patio needs careful attention to avoid trapping moisture against the wall).
Clean and prep for maximum sealer adhesion
This is the step most people rush, and it's the reason most reseal jobs fail. The sealer can only bond to what's actually on the surface. If that's dirt, algae, salt deposits, or polymeric sand dust, that's what the sealer bonds to, and it will eventually release along with all that contamination.
Step 1: Clear the surface
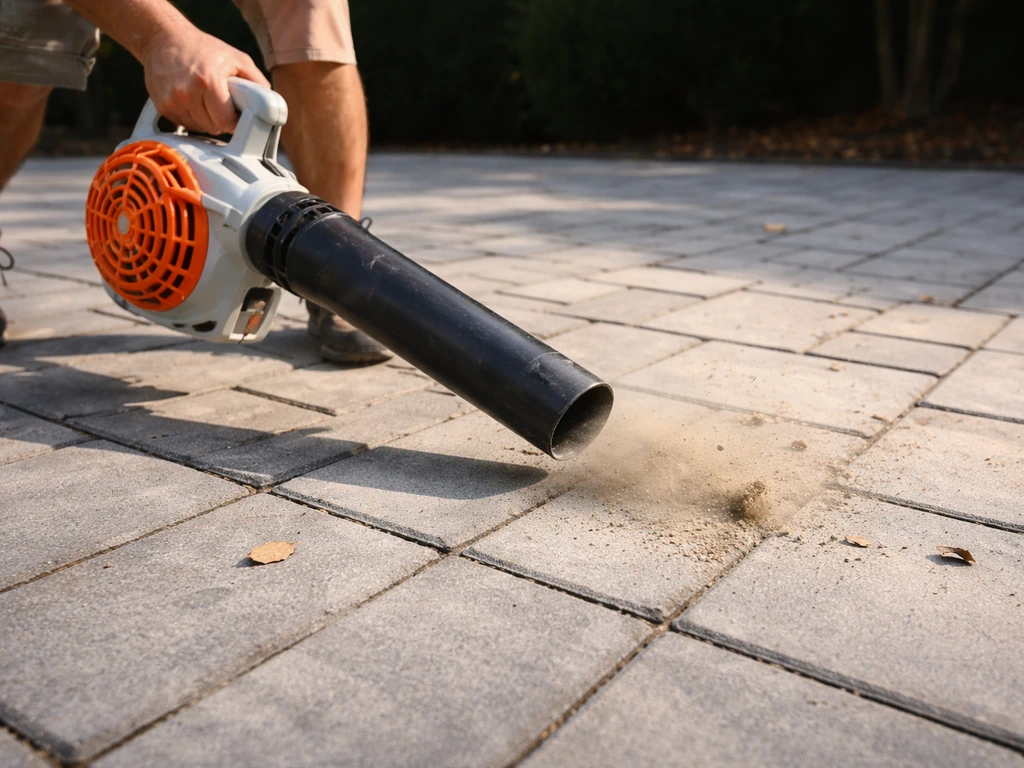
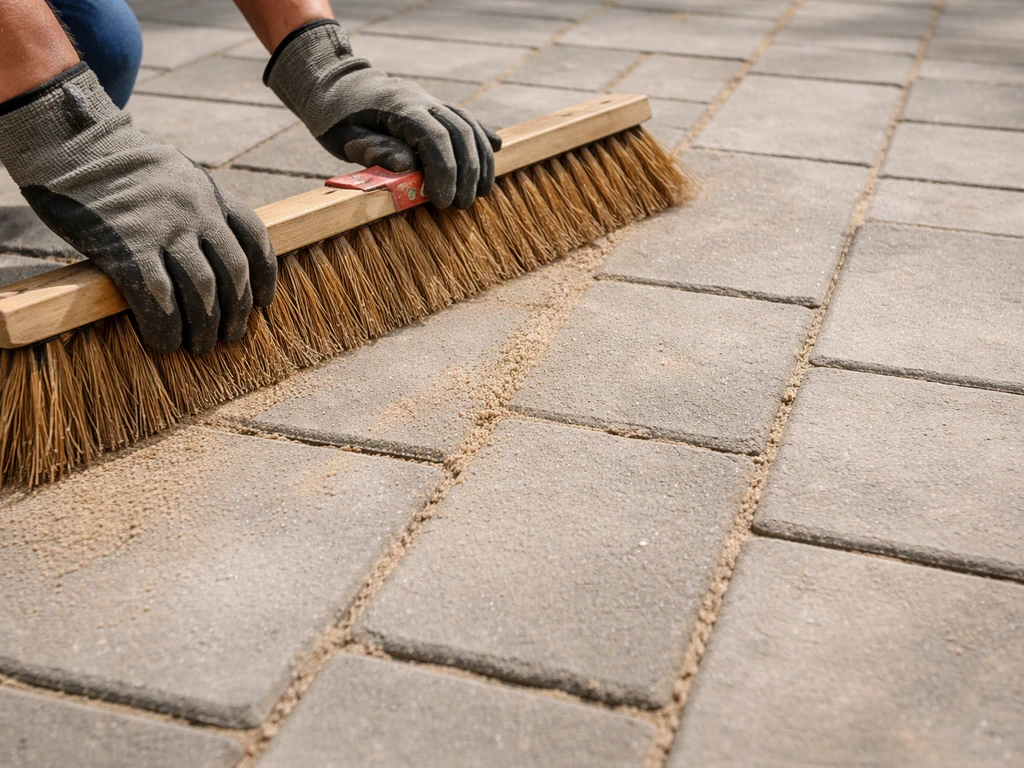
Remove all furniture, pots, and debris. Use a leaf blower to clear any loose sand dust, leaves, and dirt from both the paver faces and the joints. If you have polymeric sand in the joints and recently replenished it, wait at least 30 days before cleaning or sealing, this is a firm requirement, not a suggestion. New polymeric sand needs time to fully cure before you introduce water and chemistry.
Step 2: Pressure wash
Pressure wash the entire surface to remove organic growth (algae, moss, mold), dirt, and any loose or peeling sealer. Keep the nozzle moving and don't linger in one spot, high pressure held in place can erode the joint sand. Use a 25-degree tip as a general starting point. Be aware that pressure washing will displace fine joint sand, so plan to replace it in the next step. Let the surface dry visually after washing before you apply any chemical cleaner.
Step 3: Apply paver cleaner or efflorescence remover
For most reseals, a purpose-made paver cleaner like Techniseal Paver Prep handles both general cleaning and light efflorescence. For heavier deposits or previously sealed surfaces, the HD Paver Prep version works better, typically diluted at about 1 part product to 6–8 parts water. Always check the specific product's instructions for dilution ratios, they adjust based on how bad the contamination is.
Before applying the cleaner, saturate the joints with plain water first. This reduces how much of the acidic cleaner soaks down into the sand and makes rinsing easier. Apply the cleaner to the surface, scrub it in with a stiff brush, let it dwell for the time specified on the label, then rinse thoroughly. Don't let it dry on the surface.
If you have a persistent efflorescence problem (white deposits that keep coming back), the cleaner treats what's on the surface now, but it doesn't stop the source. Ongoing efflorescence means moisture is consistently moving through the paver system, pulling minerals up with it. You can reseal after treating it, but go in with realistic expectations, if the moisture source isn't addressed, the haze may return.
Step 4: Final rinse and dry time
Rinse everything well and then wait. The surface must be completely dry before sealer goes on, not just visually dry on top, but dry through. This usually means at least 24–48 hours of dry weather, depending on your climate and time of year. The test is simple: the surface should feel warm to the touch in the sun, not cool or damp. Cool pavers in shade are often still holding moisture. Applying sealer to a damp surface is the single most reliable way to get white haze, and once it's in there, you have to strip and redo the job.
Repair joint sand and fix any paver leveling issues
Sealer preserves the patio you have. It doesn't fix a patio that's structurally failing. It doesn't fix a patio that's structurally failing, so if you're wondering how to seal a brick patio, focus first on repairs and drainage issues before you apply any sealer. Deal with these issues now, before sealer goes down.
Refilling joint sand
Pressure washing almost always removes some joint sand, and joints that were already depleted will be even lower now. Check joints across the whole patio, they should be filled to just below the paver surface. For patio slabs specifically, refilling and resealing the joints is often the key step to stop gaps from letting water in how to seal between patio slabs. Joints that are flush with the paver top edge or overfilled create bonding and drainage problems. Joints that are too low leave the pavers unstable and allow water to undercut the base.
Use polymeric jointing sand to refill. Sweep it in, use the leaf blower to knock it off the paver faces and into the joints, then compact it gently. Activate it according to the instructions: mist with water, wait 10–15 minutes, mist again until the joints are saturated but not flooded. Let it cure the full 30 days if you've done a significant refill. Techniseal’s blank" rel="noopener noreferrer">HP NextGel guidance indicates the joint sand needs 30 days of curing after installation, with joints needing to harden before cleaning and sealing. If you only topped off minor voids, a shorter cure period may be acceptable, but check the specific sand product's guidance.
Leveling and drainage
Walk the patio and check for rocking pavers, sunken sections, and areas where water pools after rain. A rocking paver means the bedding sand underneath has shifted or eroded. A sunken section could mean base failure or soil settlement. Standing water is both a maintenance headache and a sealer killer, water that sits on sealed pavers for extended periods accelerates coating failure and encourages mold growth.
Individual rocking pavers can usually be reset by pulling them, adding or leveling the bedding sand, and re-laying them. But if you have a large area of settlement, multiple sunken pavers, or visible drainage problems that direct water toward the house, that's a structural issue that goes beyond a reseal project. Sealing over an unstable or poorly draining patio will just mean doing this again in a year or two.
Choose the right sealer for your pavers
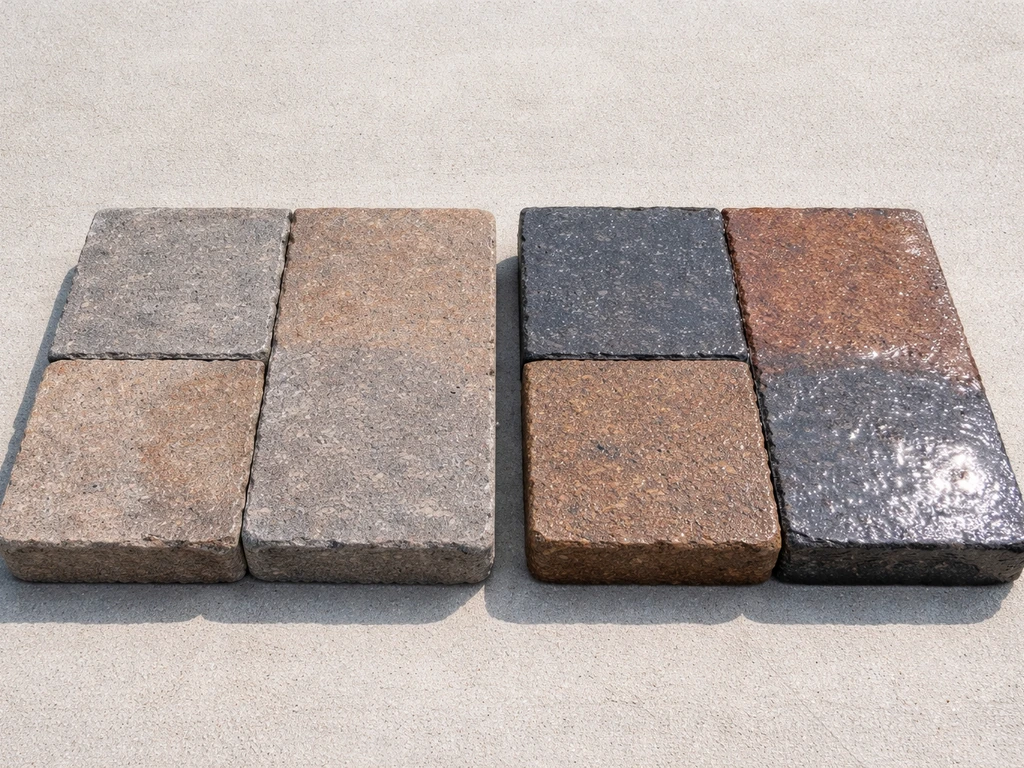
There are two fundamentally different types of paver sealer, and they work in completely different ways. Getting this wrong is one of the most common DIY mistakes.
| Feature | Penetrating (Impregnating) Sealer | Film-Forming (Wet-Look / Acrylic) Sealer |
|---|---|---|
| How it works | Soaks into the paver and bonds within the pore structure | Sits on top of the paver surface as a film/coating |
| Appearance | Matte or natural look — pavers look like unsealed pavers | Wet, glossy, or enhanced color look |
| Moisture sensitivity during application | More forgiving — some products can be applied to slightly damp surfaces | Strict — surface must be completely dry; moisture causes haze and peeling |
| Breathability | High — allows moisture vapor to pass through | Lower — can trap moisture if applied over damp pavers or in humid conditions |
| Durability | Longer-lasting, less visible wear | Needs more frequent recoating; shows wear as it thins and dulls |
| Application coats | 3–4 light coats typical | Usually 2 coats; second coat applied wet-on-wet |
| Compatibility risk | Generally lower | Higher — must match or remove previous coating type |
| Best for | High-traffic areas, natural stone, pavers in wet climates, or where you want a low-maintenance look | Decorative patios where you want enhanced color or gloss, or concrete pavers |
If you're replacing a failed film-forming (wet-look) sealer and you're not sure what the original product was, seriously consider switching to a penetrating sealer. It sidesteps the compatibility problem entirely and is far more forgiving to apply. If you want to stay with a film-forming sealer, you need to either confirm the old product is compatible with the new one, or strip the old coating first.
One practical note: if your pavers have joints (and most do), Pavestone recommends water-based joint stabilizer sealers specifically because they're more forgiving when it comes to moisture in the joints. Solvent-based sealers are less forgiving and easier to misapply.
How to apply sealer: timing, technique, and avoiding streaks
Pick the right day
Check the forecast before you start. You need: no rain for at least 24–48 hours before application and 24–48 hours after. Air temperature between roughly 50°F and 90°F. Low humidity, a cool, overcast day with humidity over 80% is not a good sealing day even if it's technically dry. Direct sunlight is also problematic because it can cause the sealer to dry too fast, creating lap marks and an uneven finish. Early morning on a mild, partly cloudy day is ideal.
Surface check before you open the sealer
Do a final pass with the leaf blower to remove any dust that settled during drying. Do the warmth test again: the surface should feel warm and dry to the touch, not cool. If any patches feel cool or look darker than the surrounding pavers, they still hold moisture. Wait longer.
Application method
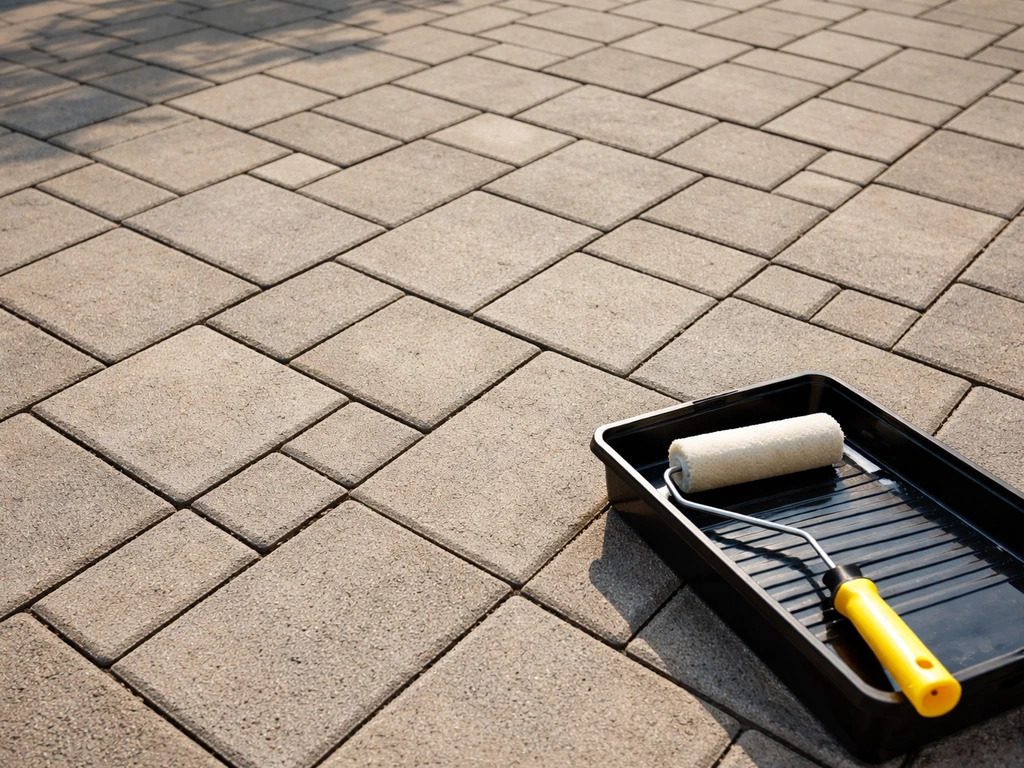
For film-forming sealers, a low-pressure pump-up sprayer (max 20 PSI) is the most efficient method for large areas. Keep the nozzle moving at a consistent speed and distance. For tighter spaces or edges, a roller or brush works well. For penetrating sealers, a low-pressure sprayer or roller both work; multiple light coats are the rule, typically 3–4, rather than fewer heavy ones.
- Mask edges and any surfaces you don't want sealer on (house wall, steps, adjacent materials). Lay plastic sheeting along the wall edge.
- Pour or spray sealer into a small section and spread it immediately — don't let it pool or puddle.
- Work in manageable sections, keeping a wet edge so you're always overlapping into fresh sealer. Dry laps cause streaks.
- For film-forming sealers: apply the first coat, wait until it's just dry enough to walk on (usually 1–2 hours depending on temperature), then apply the second coat wet-on-wet while the first coat is still slightly tacky. Timing here is actually critical — too long between coats and the second coat won't bond properly; it can peel off.
- For penetrating sealers: apply 3–4 light coats, waiting for each to absorb before applying the next.
- Back-roll any areas where you see pooling or heavy application. Thin coats bond better than thick ones.
- Work toward an exit — you don't want to walk back over wet sealer.
What properly coated pavers should look like
For a film-forming sealer: a uniform sheen across the whole surface with no dry, dull patches and no puddles or thick spots. Color should look consistently enhanced. For a penetrating sealer: the surface should look essentially the same as it did when dry (matte/natural), but you'll notice water beads off it. Any areas that still look powdery or are absorbing water unevenly after the final coat may need one more light pass.
Managing overspray and drips
If sealer lands on surfaces it shouldn't, glass, painted walls, wood siding, wipe it up immediately with a clean rag and solvent appropriate for the sealer type (check the product label). Once it dries, removal is much harder. Keep a rag in your pocket the whole time you're applying. If you're working near the gap between the house wall and the patio edge, be particularly careful, sealer can wick into that joint and cause problems. That transition zone is worth sealing separately and deliberately.
Curing, maintenance, and troubleshooting after resealing
Cure time
Don't confuse dry time with cure time. Most sealers are dry to the touch in 1–4 hours and can be walked on lightly after 24 hours. Full cure, where the coating has reached its maximum hardness and durability, usually takes 48–72 hours. Keep foot traffic off for at least 24 hours, furniture off for 48–72 hours, and don't drive or park on the surface for at least a week if it's a driveway-adjacent patio.
Routine maintenance
Sweep or blow off the surface regularly to prevent organic material from building up. Rinse with a garden hose periodically. Avoid harsh cleaning chemicals on sealed surfaces, they break down the coating faster. A properly applied sealer on concrete pavers typically lasts 2–5 years depending on traffic and sun exposure before it needs recoating. Penetrating sealers generally last longer.
Common problems after resealing and what to do
| Problem | Likely cause | Fix |
|---|---|---|
| White haze appears within days | Moisture trapped under sealer (damp surface at application, or high humidity) | Strip and reseal on a dry day. Don't try to coat over it. |
| Sticky surface that won't firm up | Applied too thick, or residue (polymeric sand dust) wasn't fully cleaned off | Light solvent wipe-down if product allows; may need to strip and redo with proper cleaning first |
| Streaky or uneven sheen | Laps dried before overlapping; inconsistent application speed | Light additional coat while staying mindful of wet edge; won't fix severe lap marks |
| Sealer peeling in sheets | Incompatible with old coating, or old coating wasn't removed | Strip completely, identify new sealer type, reseal from scratch |
| White haze keeps coming back after resealing | Ongoing efflorescence from moisture/salt migration below | Treat efflorescence, identify and address moisture source; consider switching to penetrating sealer |
| Joints washing out again quickly | Polymeric sand not properly activated or compacted before sealing | Re-do joint sand repair with proper activation steps, cure 30 days, then reseal |
One thing worth accepting: if you've tried cleaning and resealing and the same problem keeps coming back, especially haze, sticky patches, or delamination, at some point the right move is to strip everything and start fresh rather than adding another coat on top of a failing system. Repeated coatings without fixing the root problem just build up into a thick film that eventually fails in larger pieces and is harder to remove.
When to stop and call a pro
A straightforward reseal is absolutely a DIY job if the patio is structurally sound and clean. But some situations genuinely call for professional help: widespread paver heaving or settlement across a large area (this is a base or drainage problem, not a sealer problem); water draining toward the house foundation; repeated sealer failure you can't diagnose; efflorescence that keeps returning despite treatment; or if you need to strip a large area of failed film-forming sealer (it's tedious, messy, and easy to damage the pavers if you rush it). Getting those things wrong costs more to fix later than hiring someone to address them properly now.
FAQ
How can I tell whether I need to strip the old sealer or can I reseal over it safely?
If you do a water-drop test and the surface is already repelling water strongly like a coating, and you can see sheen or an even film, it may be film-forming. If you do a white rag wipe and it picks up residue or the surface feels slightly tacky, that often means a failing top layer that should be stripped. When the existing sealer type is unknown and you are seeing flaking, hazing, or delamination, stripping is the safer default than recoating.
What’s the correct way to do a “dry through” check before sealing?
The warmth-to-the-touch test helps, but also check seams and shaded sections. Tape a small piece of plastic (about a paper-sized square) to the paver face with edges sealed, leave it overnight, then remove in the morning. If condensation forms under the plastic or the area looks visibly darker than nearby pavers, moisture is still coming through and you should wait longer.
Can I reseal if there are algae stains or green spots left after washing?
Usually you should not. Stains that remain after cleaning indicate living growth or embedded residue, and the sealer will trap it, leading to reappearance. Focus on getting the surface uniformly clean before sealing, including checking for “bleed-through” after the pavers fully dry.
What happens if it rains shortly after I seal the patio?
If rain hits before the sealer has dried enough to form a stable skin, it can cause streaking, uneven sheen, or weaker bonding. The practical move is to wait a full cure period, then inspect for haze or sticky spots. If you see those signs, you may need additional surface prep before recoating.
How do I avoid lap marks and uneven shine with film-forming sealers?
Lap marks commonly come from drying too fast or applying at inconsistent speed. Work in small sections, keep a consistent product amount, avoid stopping mid-panel, and use a low-pressure pump-up sprayer with controlled distance. If the day is very hot and sunny, start earlier and avoid direct sun on the area you are actively applying.
Should I seal the joints and the paver faces the same way?
They are treated differently depending on the sealer type and your jointing material. The body of the patio is usually sealed with the chosen sealer, while joints are typically filled and cured with polymeric sand before sealing. If you apply sealer too aggressively into joints, you can reduce the sand’s ability to manage moisture and increase the chance of haze or adhesion problems.
How soon can I walk on the patio after sealing?
Dry time is not the same as cure time. In general, you can usually do light foot traffic after about 24 hours, but you should avoid dragging items, moving heavy planters, or cleaning immediately. For furniture, wait longer (often 48 to 72 hours), and keep driveway-style loads off the surface for at least a week when applicable.
Can I use polymeric jointing sand if my joints are very low or partially missing?
Yes, but you should plan on a deeper refill when the joints are depleted. Very low joints can be unstable, so you need to refill close to just below the paver surface and compact gently. After a significant refill, polymeric sand typically needs a longer cure period, and resealing too soon can lock in moisture and contribute to recurrent haze.
What’s the safest way to clean up sealer on glass or painted surfaces?
Wipe immediately with a clean rag using the solvent recommended for that specific sealer type, as listed on the label. Do not wait until it dries, because once fully cured removal can require aggressive methods that can damage coatings. Keep a rag and solvent ready before you start, and cover nearby vertical surfaces if you are working near house edges.
My patio looks blotchy, some areas are darker, is that a sealer problem or a prep issue?
Dark or uneven patches usually mean the sealer is reacting with residual moisture or unevenly prepared spots. Recheck whether the blotchy areas were cooler, in shade, or still damp through the warmth test. If blotchiness comes with powdery residue or sticky areas, it often signals trapped moisture or contamination, and a wait-and-reassess strategy is better than adding more product immediately.
How long should I expect a reseal to last, and what shortens its lifespan the most?
Expect shorter lifespans when the patio gets frequent standing water, heavy vehicle contact, or harsh chemical cleaning. Uneven drainage, failing joints, and sealing over efflorescence or moisture are the fastest ways to shorten the cycle. If the same issue returns quickly, treat it as a root-problem indicator rather than a simple maintenance interval.
When should I stop DIY and hire a pro for paver resealing?
If there is widespread heaving or settlement, water consistently drains toward the foundation, or efflorescence keeps recurring after treatment, professional inspection is usually warranted. Also consider hiring if you need to strip a large area of failed film-forming sealer, because removing thick coatings is time-intensive and can damage pavers or disturb joint sand if done incorrectly.
Next Article
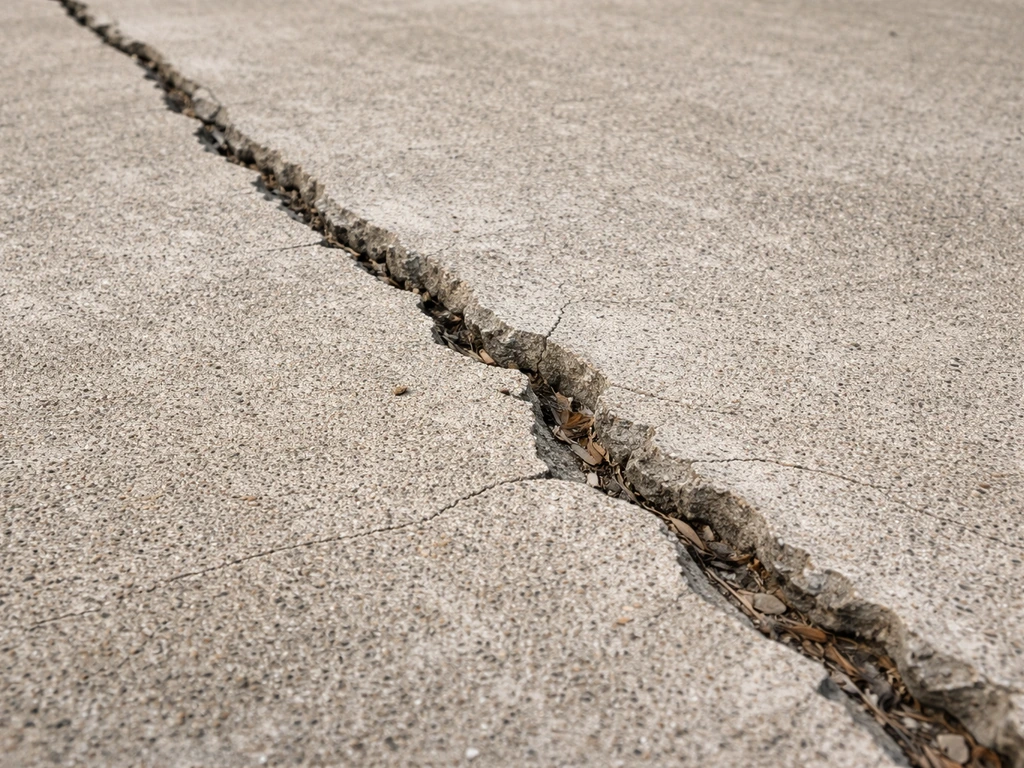
How to Fix Cement Patio Cracks: Diagnose and Repair
Diagnose concrete patio crack types and repair with the right sealant or patch, from prep to curing and prevention.