To level a brick patio, you lift the problem bricks, regrade the compacted gravel base so it slopes about 1/8 to 1/4 inch per linear foot away from the house, screed a fresh 1-inch bedding layer of coarse sand, reset the bricks, and lock everything in with joint sand and solid edge restraints. Whether you're fixing a few sunken pavers or redoing an entire surface, the process is the same at the core: the base is always the real problem, and fixing only the top layer never sticks.
How to Level a Brick Patio Step by Step

Talia Lang
29 Apr 2026
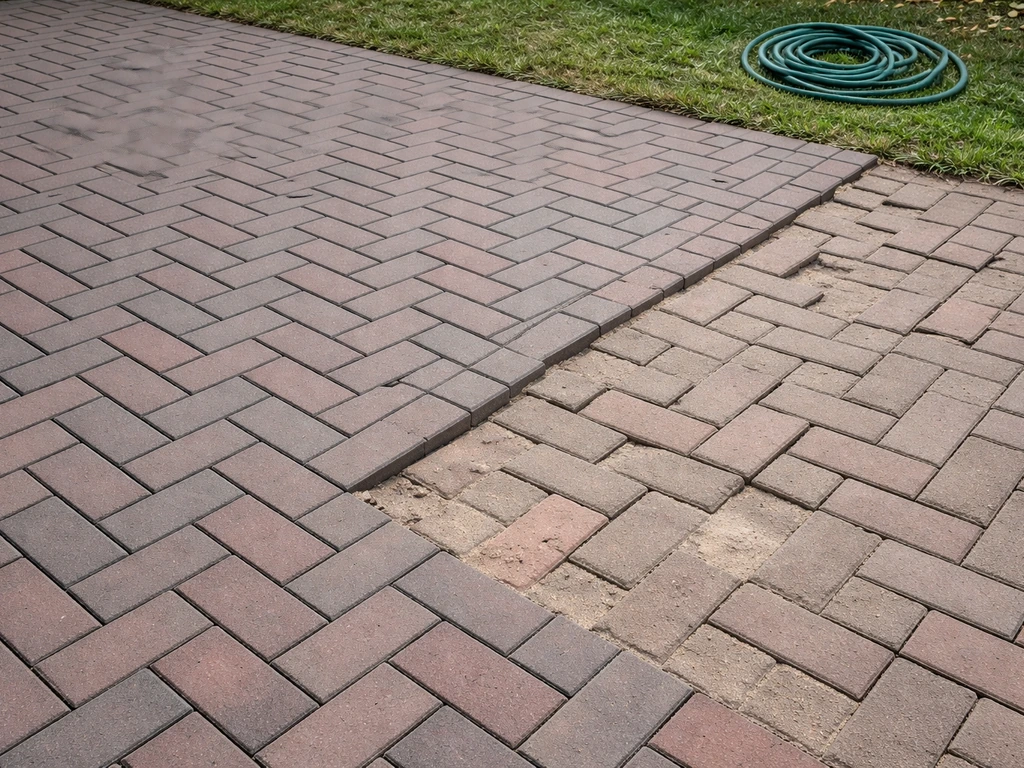
Quick diagnosis: why is your patio uneven?
Before you pull a single brick, take 10 minutes to figure out what actually caused the problem. The fix is different depending on the cause, and misdiagnosing it means you'll be back out there next spring doing it again.
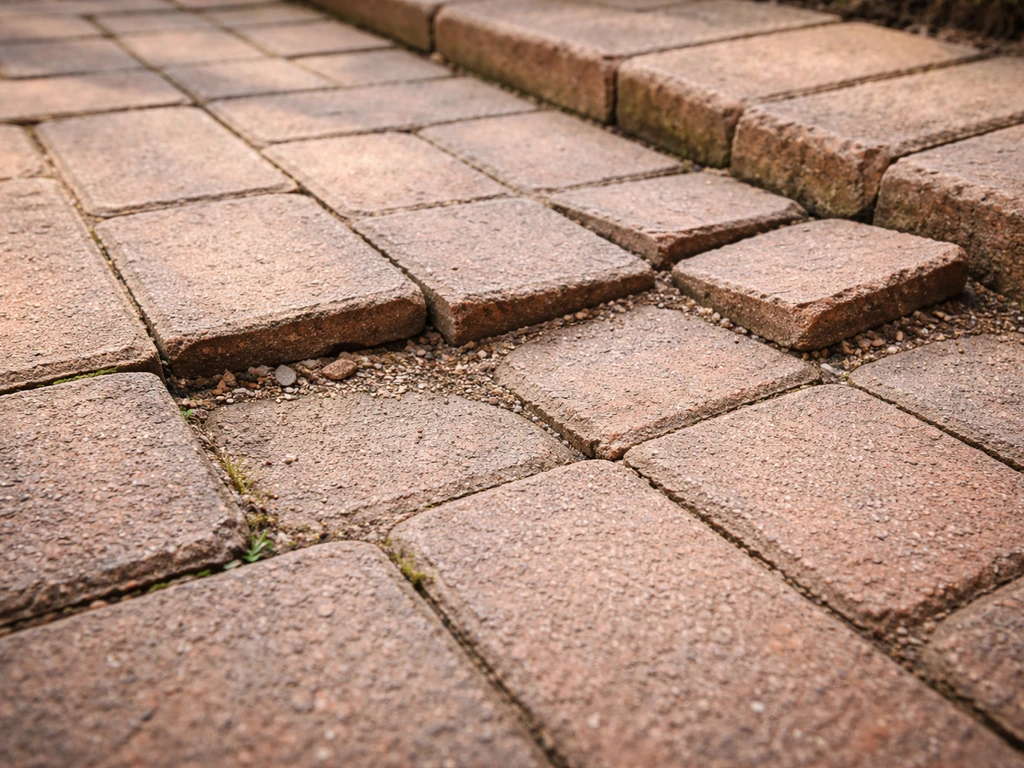
- Sunken or low spots in a cluster: base settled because it wasn't compacted properly or was laid too thin. This is the most common cause.
- Humps or heaved bricks (especially after winter): frost action. Water saturated the base or subgrade, froze, and pushed pavers upward. Often starts at the edges and moves inward.
- Bricks spreading apart or fanning out: edge restraints are missing, damaged, or were never properly staked. Without restraints, the whole field slowly migrates outward.
- Low joints and loose bricks across the whole patio: joint sand has washed out over time from rain or cleaning, removing the stabilizing lock between units and letting everything shift.
- Soggy or soft spots when you press down: drainage failure. Water is pooling under the base and weakening the subgrade, and no amount of resanding will fix it without addressing where the water goes.
Check your slope while you're at it. Lay a long level across several bricks and measure the drop. A properly built patio drops roughly 1/8 to 1/4 inch per foot away from the house (about 1.5 to 2 percent). If water is pooling toward the foundation or sitting flat on the surface, that's a drainage problem baked into the original grade, and you'll need to correct it when you regrade.
Tools and materials checklist
Gather everything before you start. Running to the hardware store mid-job with open joints is frustrating and lets dirt and debris contaminate the bedding sand.
| Item | What It's For |
|---|---|
| Flat pry bar or brick chisel | Lifting pavers without cracking them |
| Rubber mallet | Tapping bricks back into place |
| Plate compactor (rent one) | Compacting base material in lifts; critical for lasting results |
| Screed pipes or rails (1-in diameter) | Setting the bedding sand at a consistent 1-in depth |
| Long screed board (2x4 or aluminum) | Dragging across pipes to level the sand layer |
| 4-ft level or long straightedge | Checking slope and flatness as you work |
| Tape measure | Verifying slope calculations across spans |
| Broom (stiff and soft) | Sweeping joint sand into gaps |
| Garden hose with misting nozzle | Activating polymeric sand |
| Crushed angular gravel / road base | Rebuilding or topping up the compacted base (6-in depth for full builds) |
| Coarse bedding sand (concrete sand) | 1-in screeded layer directly under bricks |
| Polymeric joint sand | Locking joints and resisting weed growth and washout |
| Edge restraints + spikes | Holding the perimeter so bricks can't creep outward |
| Work gloves and knee pads | Basic comfort for a project that involves a lot of kneeling |
Prep work: remove bricks, check the edge restraints, and assess the base
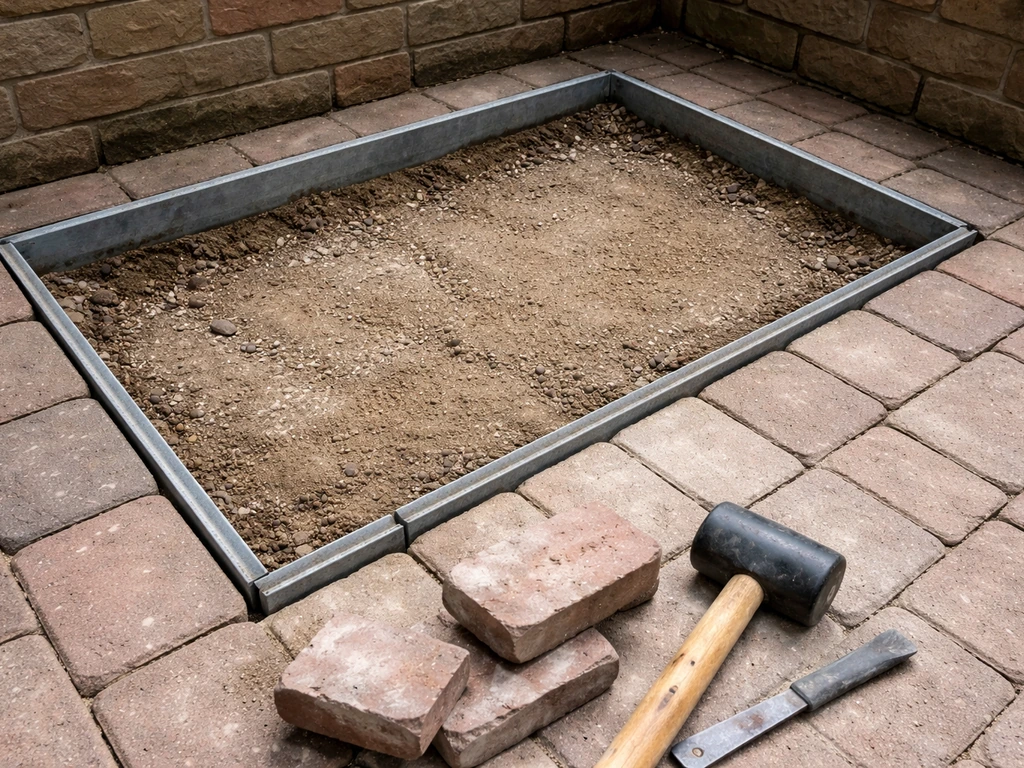
Start by pulling the bricks in the problem area. If you’re doing a full redo, focus on removing the bricks first, then inspect and rebuild the base so the surface stays stable remove a brick patio. Use a flat pry bar slipped into a joint to pop the first brick, then hand-lift the rest. Stack them nearby in the same order if you can, especially if the bricks are old and weathered and you want the pattern and coloring to match when you reinstall. Mark the area with stakes and string if you're working on a large section.
Before touching the base, check the edge restraints around the perimeter of the patio (or the section you've opened up). Restraints must be present and fully spiked into the ground. Restraints and spikes help prevent lateral spreading, which is why CMHA emphasizes correct edge restraint design in interlocking concrete pavement guidance Restraints must be present and fully spiked into the ground.. If they're missing, cracked, or only loosely attached, the patio will spread apart again no matter how well you level the sand. Replace any damaged sections and add additional spikes every 12 inches along straight runs and tighter on curves.
Now look at the base itself. Scrape away the bedding sand with a flat shovel until you hit the compacted gravel layer. A healthy base is firm, consistent in depth (roughly 6 inches for a typical patio), and made of crushed angular gravel or road base. Poke around with a screwdriver or rebar rod. If it sinks in easily, the base is either too thin, too soft, or was never compacted properly. If you find organic material, silty soil, or just the native ground with minimal gravel, plan to add and compact base material before going any further.
For frost heave situations, also inspect for drainage. If water has been pooling and saturating the subgrade, you may need to address the source (regrading the surrounding yard, adding a French drain, or improving the patio's slope) before rebuilding. A perfectly level base sitting in saturated soil will shift again next winter.
Step-by-step: how to level a brick patio
Step 1: Regrade and compact the base

If the base is thin or soft, add crushed angular gravel and compact it in 4 to 6 inch lifts using a plate compactor. Don't dump 8 inches of gravel and compact it all at once. Each lift needs to be independently compacted before you add the next. The finished surface of the compacted base should reflect the slope you want: dropping 1/8 to 1/4 inch per foot away from the house. Use a long level and tape measure to check this as you go. The bedding sand layer is not meant to fix a bad base grade. If the base isn't right, the sand won't be either.
Step 2: Set screed pipes and spread bedding sand
Lay two 1-inch diameter pipes parallel to each other across the compacted base, spaced so your screed board can ride on both. The pipe height sets the bedding sand thickness, which should be exactly 1 inch uncompacted. Spread coarse concrete sand (not mason sand, not play sand) between and around the pipes until it's slightly overfull. Then drag your screed board across the pipes in a sawing motion, pulling excess sand forward and leaving a perfectly uniform 1-inch layer behind.
Step 3: Carefully remove the screed pipes
Pull the pipes out slowly without disturbing the screeded surface. Fill the channels left by the pipes with a little sand and smooth them by hand. Don't walk on the screeded sand. Even a single footprint will create a low spot that gets locked in when you set the bricks on top of it. Work backward off the area using a kneeling board if needed.
Step 4: Set the bricks
Place each brick straight down onto the screeded sand, don't drag or slide it. Keep joints tight and consistent, typically 1/16 to 1/8 inch. Use the rubber mallet to gently seat each brick flush with its neighbors. Check your level frequently as you work across the section. If a brick sits high, lift it, remove a small amount of sand from that spot, and reset it. If it sits low, add a pinch of sand under it. Getting this right now saves a lot of grinding frustration later.
Step 5: Compact the newly set bricks
Once a section is set, run the plate compactor over it with a protective rubber pad or piece of plywood between the plate and the brick surface. This final pass drives the bricks into the bedding sand and confirms they're all seated at the same height. Don't skip this step. It's what locks the surface together and reduces micro-settling after the first rain.
Re-leveling an existing patio: spot fix vs full redo
Not every uneven patio needs a complete teardown. Here's how to decide which approach makes sense for your situation. If you are dealing with a broken brick patio, the unevenness is often tied to base or drainage issues that need to be corrected before re-leveling. If you’re working from the start and want a complete guide on the whole process, see how to brick patio for the full workflow and benchmarks.
| Situation | Best Approach |
|---|---|
| 1 to 5 bricks sunken or raised in an isolated spot | Spot relevel: lift those bricks, adjust sand, reset |
| One section or corner sinking but rest of patio is solid | Partial relevel: open that section, regrade base, screed fresh sand, reset |
| Widespread unevenness across the whole patio | Full redo: pull all bricks, rebuild base from scratch |
| Frost heave humps returning every spring | Address drainage first, then partial or full redo depending on extent |
| Bricks spreading or fanning outward across the whole field | Fix edge restraints first; may still need partial sand reset in affected zones |
| Joint sand completely washed out everywhere | Resand joints across the whole patio; no base work needed if bricks are still flat |
For spot fixes, the process is simple: pry up the problem bricks, scrape out the old sand, add or remove material to bring the spot to the right height, screed a fresh mini-section of bedding sand, and reset the bricks. If you’re tackling a fix brick patio that keeps getting uneven, make sure the base and drainage are corrected, not just the surface. The key is feathering the edges of your repair into the surrounding area so there's no noticeable ridge where the old and new sections meet. Use your level across the repair boundary repeatedly as you work.
If you're finding that you're making repeated spot fixes every year on the same patio, that's a sign the underlying base was never adequate. At some point, a full redo is more efficient than patching. Think of it the same way you'd think about a cracked or <a data-article-id="33CE3D24-2163-4F4C-8A18-D53DD3C2372D">broken brick patio</a>: patching delays the inevitable if the foundation isn't sound.
Finishing details: joint sand, drainage, and preventing a repeat
Fill the joints properly
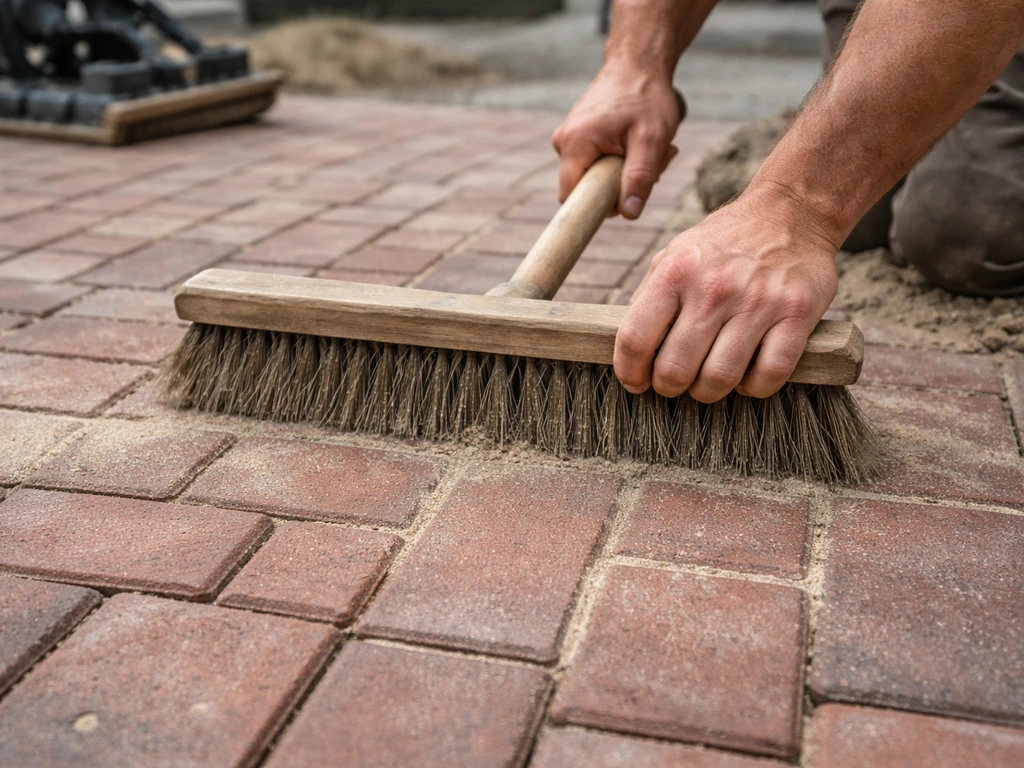
Once all the bricks are set and compacted, sweep joint sand across the entire surface using a stiff broom, working it into every joint. Polymeric sand is strongly recommended here. It resists washout from rain and cleaning, discourages weed growth, and hardens to lock bricks together in a way that regular sand won't. For bricks with a beveled edge, fill joints to about 1/8 inch below the bottom of the bevel. For flat-edged bricks, fill to about 1/8 inch below the paver surface. The joint should be full but not overflowing.
After sweeping polymeric sand in, run the plate compactor over the surface one more time to vibrate the sand deeper into the joints. Sweep in more sand to top off any joints that settled during compaction, then follow the manufacturer's instructions for activation. For most polymeric sands, this means a light misting with a garden hose: enough to wet the surface and activate the binding agents, but not so much that you flush the binder back out. Never apply polymeric sand to damp pavers, and make sure the surface is completely clear of loose sand residue before you mist.
Confirm your drainage slope
Before calling the job done, lay your level across the finished surface in multiple directions and verify that slope. You want 1/8 to 1/4 inch of drop per linear foot consistently across the patio, directing water away from the house and any structures. If water still has nowhere to go at the patio's low edge, consider adding a simple channel drain or gravel strip at the perimeter. A well-drained patio keeps the subgrade dry, which is the single biggest thing you can do to prevent the base from failing again, especially in climates with hard winters where freeze-thaw cycles will exploit any saturated soil.
Check the edges one more time
Walk the entire perimeter after you're done and confirm every edge restraint is solid, fully spiked, and flush. Proper edging is the part that keeps a brick patio from spreading and settling over time, so make sure your perimeter restraints and drainage are set before you finish the joints edging a brick patio. Edge restraints are not optional. They're what keeps the whole system from slowly creeping outward over time.
If a restraint spike pops up or feels loose, drive it back down or replace it. The edge restraints, joint sand, and drainage slope work together as a system. how to edge a brick patio edging a brick patio. If any one of those three things fails, the leveling work you just did will start to undo itself within a season or two.
Once you've got a solid, level surface, the ongoing maintenance is easy: check joint sand each spring and top it off wherever it looks low, especially after a hard winter. Catching washout early keeps the bricks locked in place and prevents the kind of widespread settling that turns a quick 30-minute sand job into a full weekend rebuild.
FAQ
When should I replace only a few sunken bricks instead of redoing the whole patio?
If the patio is only a little uneven, you can often do a targeted lift-and-reset. Start by confirming it is not a slope or drainage failure by checking several feet of span with a long level. If water is still moving in the wrong direction, spot leveling will just create new low pockets after the next freeze-thaw or rain. If slope is correct and only a localized area dips, scrape out that section, rebuild the base material to the correct height, screed 1 inch of coarse sand, then re-lay the bricks and feather the repair edges so the boundary is not noticeable when you place the level across it.
How do I tell whether the patio problem is lack of slope or just uneven bricks?
Do not assume the patio is level if the bricks look flat. Level the surface in terms of slope, then verify across multiple directions. Use the long level on several brick lengths, measure the drop with a tape measure, and compare it to the target (about 1/8 to 1/4 inch per foot away from the house). Also check the low edge where water would collect, because small localized depressions can still cause pooling even if most of the surface looks fine.
Why does my patio keep settling back after I level it, even when I redo the sand?
Remove and replace any edging or restraints that are cracked, missing, or not fully spiked. Even if you rebuilt the base correctly, loose restraints let the brick field spread, which can reopen joints and make the surface appear to “sink” over time. After the reinstall, walk the perimeter and press on the edge line, if it flexes or shifts, re-spike or replace before you sweep in joint sand.
What slope measurement should I use, and how accurate do I need to be?
If you are within the correct range, aim for consistent slope rather than a perfectly level plane. Use your long level and tape measure as you regrade the gravel and again before setting bricks, then keep your bedding thickness at exactly 1 inch (set by pipe height) and do not try to correct base mistakes by thickening or thinning the sand. When you screed, pull excess sand forward to avoid ridges, and keep the screeded surface clean and undisturbed before laying bricks.
Is it okay to run a plate compactor directly on the bricks?
When you have to use a plate compactor, protect the brick tops with a rubber pad or plywood, and do the compaction only after the bricks are fully seated. Compaction is what drives bricks into the bedding sand and helps prevent micro-settling, but compacting too aggressively or skipping protection can damage surface edges or dislodge joint integrity before polymeric sand is set.
Can I fix a dip by adding more sand without rebuilding the gravel base?
Yes, but only if the channels and thickness are controlled. Add or remove bedding material by lifting bricks and scraping out the sand in that section, then screed a fresh 1-inch layer using the same pipe method you used elsewhere. Avoid trying to “correct” an uneven base by dumping extra sand, the bedding is meant to level the top, not stabilize a soft or thin base.
What are the most common mistakes when using polymeric joint sand?
For polymeric joint sand, the surface must be dry enough to accept activation correctly, and it must be free of loose sand residue. Mist lightly for activation, enough to trigger the binder, not enough to flush it out. Also do not apply polymeric sand over damp pavers, because the binder can bind improperly and wash away during the first rain.
Do I need to redo the base if the patio feels spongy or muddy only after rain?
It depends on what “wet” means. If you find organic material, silty soil, or native ground with little gravel, you should plan to add crushed angular base material and compact it in lifts, because those soils hold water and lose support. If the issue is localized pooling, correct the drainage route first, for example by adjusting patio grade, improving yard runoff, or adding a drainage feature, then rebuild the base so freeze-thaw does not re-saturate the subgrade.
How do I avoid a visible ridge at the edges of a spot repair?
Feather the repair by maintaining the same slope across the boundary and keeping the bedding thickness controlled, then re-check with the long level across the junction. If you rebuild the base to the wrong height at the edges of your cutout, you will lock in a ridge that will become a trip hazard and a spot where water collects. Keep the repair boundaries narrow and repeatedly measure before resetting the first few bricks.
Will replacing a few bricks change the look of the patio, and how can I minimize that?
If you need to remove bricks to rebuild the base, stack them in order and reinstall in the same orientation, especially for older or weathered units where color can vary by surface exposure. If you mix orientations, you may end up with patchy shading that looks like the patio was “repaired” even if it is structurally correct. For pattern alignment, dry-fit a few rows before full reset to keep the design consistent.
How often should I check and top off the joint sand, and what signs mean it’s failing?
Joint sand needs replenishment after seasonal movement or washout. Each spring, check for low or hollow joints, sweep in more joint sand as needed, and clean debris out of joints before topping off. Catching washout early reduces the chance of bricks rocking, which is what leads to repeated spot fixes that eventually require a full redo.
Next Article
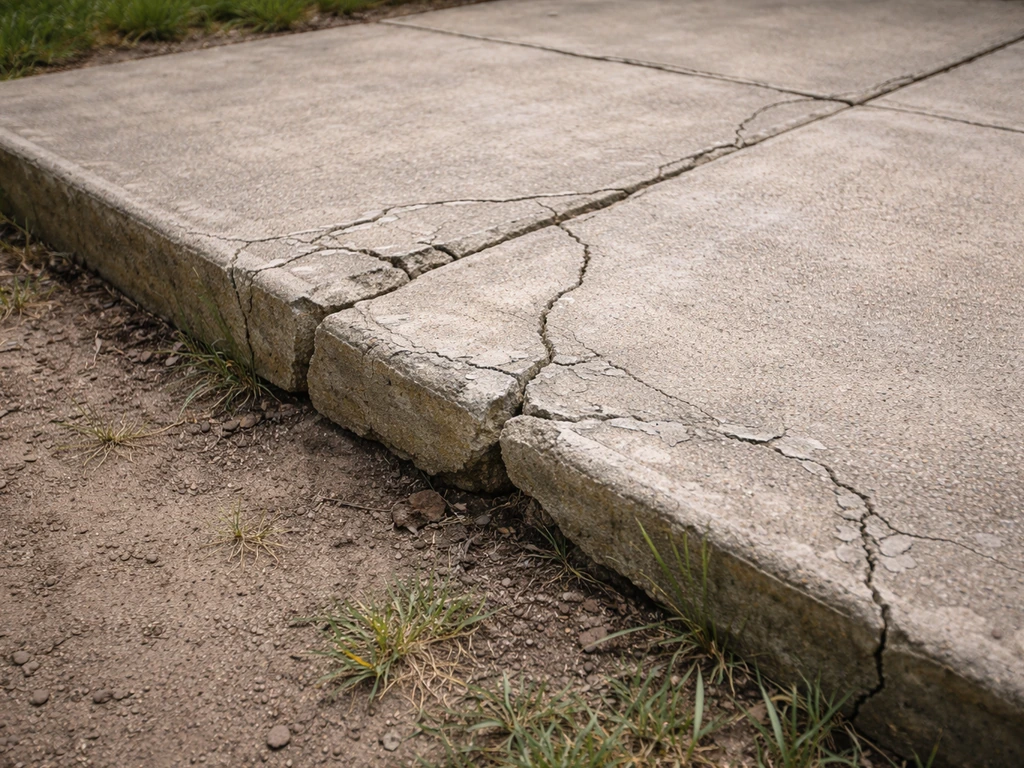
Broken Cement Patio: Fix Cracks, Spalling, Heaving Step-by-Step
Step-by-step broken cement patio repair: diagnose cracks, spalling, heaving, sinking causes; fix base, drainage, materia