Most uneven brick patios can be fixed by lifting the affected bricks, correcting whatever went wrong underneath (usually the bedding sand or the compacted gravel base), and resetting everything at the right grade. If you're wondering how to fix patio pavers, start by figuring out whether the issue is just loose bricks or a base and drainage problem underneath. The key is figuring out which of those layers failed before you start pulling bricks up, because the fix for a few rocking bricks is very different from the fix for a sunken section with a washed-out base underneath.
How to Fix Uneven Brick Patio: Diagnose and Repair Steps

Talia Lang
21 May 2026
How to confirm why your brick patio is uneven
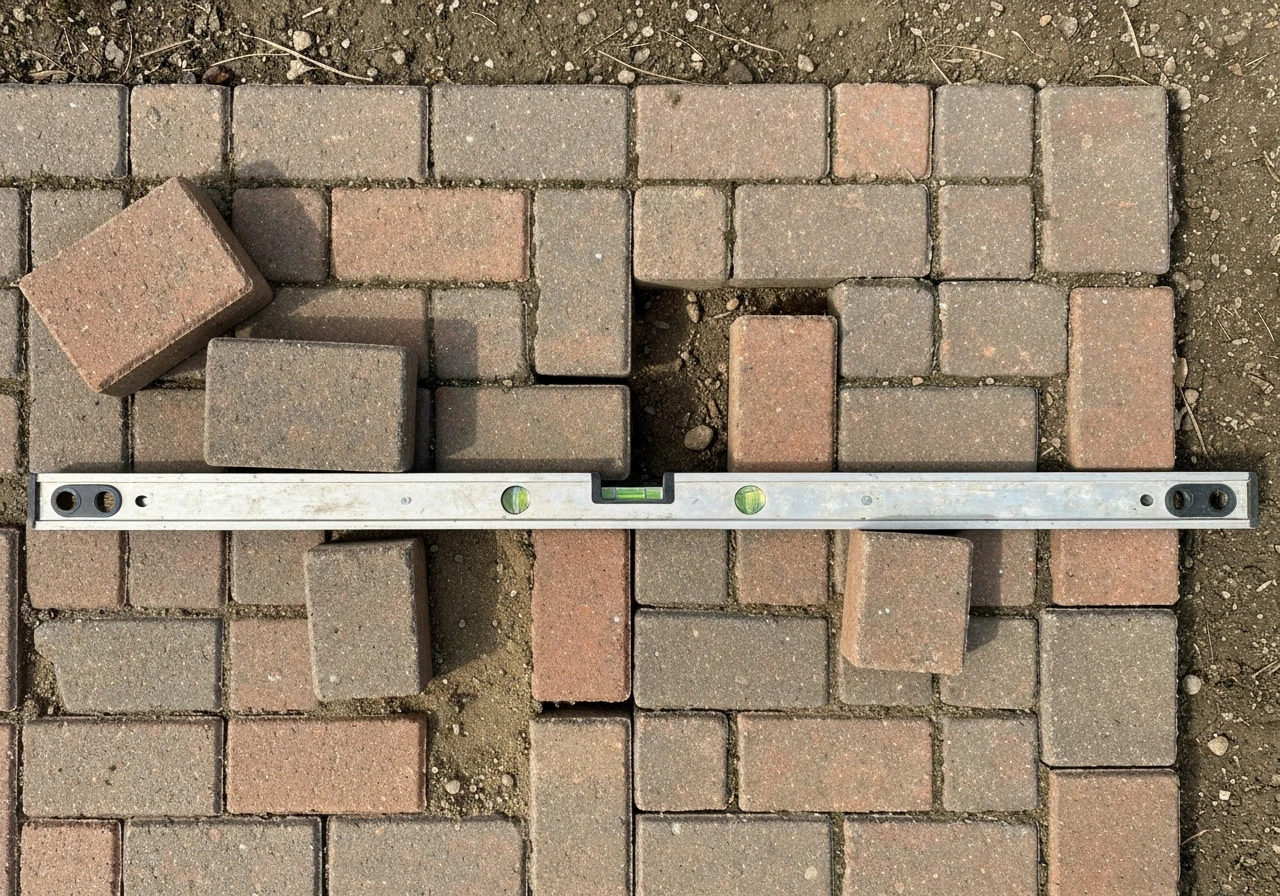
Walk the whole patio before you touch anything. Press down on individual bricks with your foot and note which ones rock or wobble. Those are loose, and the fix is usually simple. Then look for areas where a group of bricks has dropped lower than the surrounding surface, or where bricks have heaved up. Use a long straightedge or a 6-foot level to see how far off the surface actually is. This tells you whether you're dealing with isolated bricks or a section of base failure.
There are really four things that cause an uneven brick patio, and they tend to show up in recognizable patterns:
- Individual rocking or loose bricks: the bedding sand directly under those bricks has shifted, compacted unevenly, or been washed out. The surrounding area usually looks fine.
- A sunken low spot affecting several bricks: the compacted gravel base underneath has settled or washed out, often from poor drainage. Water pooling near that spot is a strong clue.
- Bricks heaving upward: freeze-thaw cycles are expanding water trapped in the base or beneath it. This is more common in climates with hard winters and usually affects larger areas near edges.
- Edge bricks moving outward or joints opening up: the edge restraints have failed or were never installed, letting bricks migrate. You'll notice gaps widening between bricks and joint sand disappearing.
Drainage is worth checking specifically. If you see wash channels in the joint sand, visible erosion paths, or standing water after rain, water is the underlying culprit and you have to address that or the patio will keep failing. Inadequate grading and drainage let water move into and under the base, destabilizing it and causing pavers to settle or tilt standing water after rain. The failure pattern that causes the most recurring problems is the combination of water, freeze-thaw movement, and a weak or improperly compacted base. Ignore any one of those three and the repair won't last.
Tools and materials you'll need for the repair
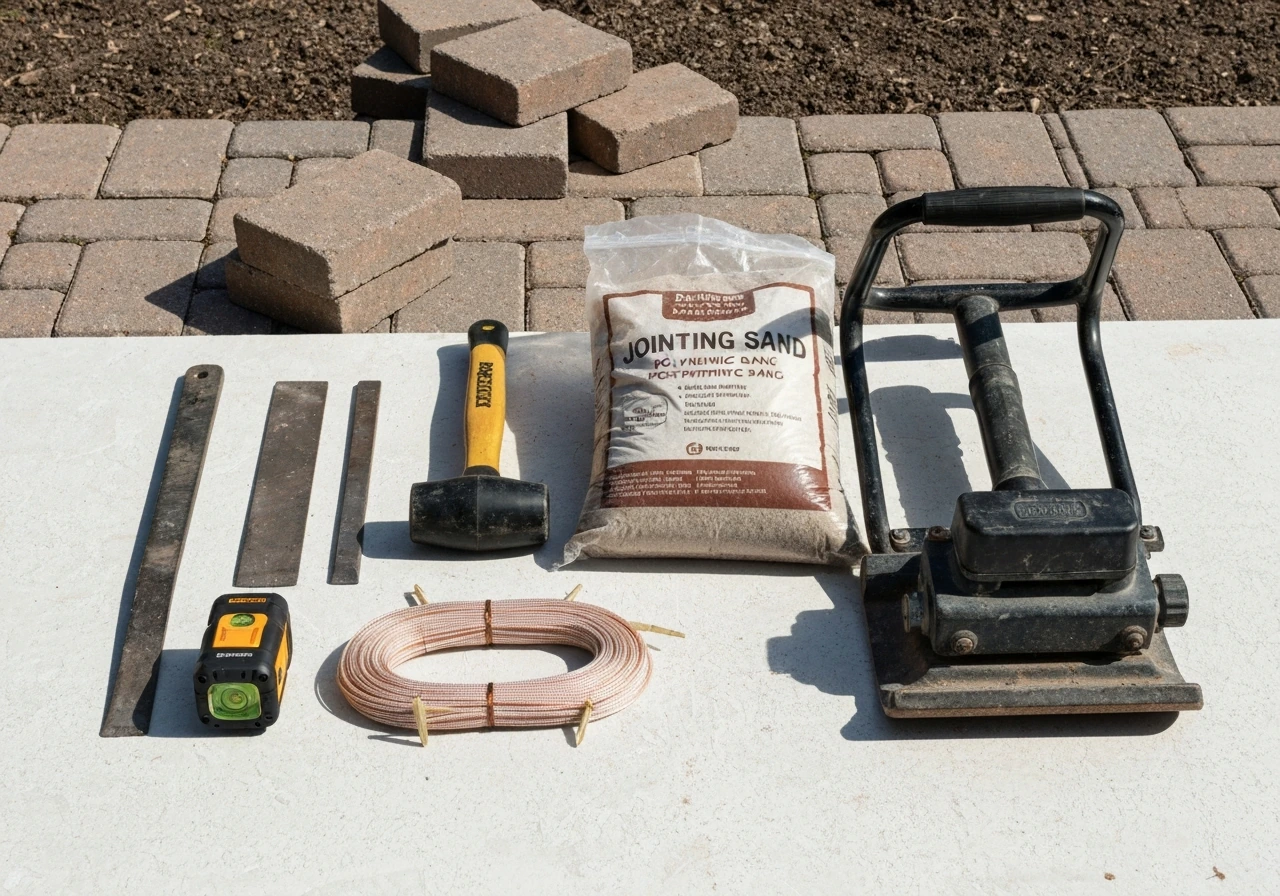
The list varies depending on how deep the problem goes, but gather all of this before you start. Running to the hardware store mid-repair when you've got bricks stacked on the lawn is frustrating.
- Flat pry bar or brick chisel (for lifting individual bricks without cracking them)
- Rubber mallet
- Long straightedge or 6-foot level
- Screed pipes or conduit (1/2 inch diameter for sand-set work)
- Stiff push broom or hand brush
- Plate compactor (rentable at most home improvement stores, essential for base repairs)
- Hand tamper (for small areas where a plate compactor won't fit)
- Shovel and wheelbarrow
- Coarse bedding sand (concrete sand, sometimes called ASTM C33 sand, not play sand or mason's sand)
- Compactable gravel base material (crushed stone, typically 3/4 inch minus or similar)
- Polymeric jointing sand (for filling the joints between bricks when you're done)
- Geotextile fabric (for base repairs where sand migration is a concern)
- Plastic edge restraint with spikes (if edges are failing)
- String line and stakes (for maintaining consistent grade and pattern lines)
- Garden hose or leaf blower (for polymeric sand activation and cleanup)
Step-by-step: re-leveling and resetting loose or sunken bricks
This covers the most common scenario: a handful of bricks that are rocking, slightly low, or misaligned, with no major base failure underneath. If you want to skip ahead, start with the steps for re-leveling and resetting loose or sunken bricks to get an even patio surface again. It's genuinely approachable as a DIY job for most people. If only a few bricks are loose, you can usually fix them by re-bedding them in the right sand and resetting to the correct height how to fix loose patio bricks.
- Mark which bricks need to come up. Use chalk or tape so you don't lose track once you start lifting. Include a few bricks around the problem area even if they look okay, because the sand underneath often shifts further than the surface shows.
- Remove the bricks carefully. Slide a flat pry bar into a joint and lever the brick up gently. If there's no joint gap, use a brick chisel to create a starting point. Stack the bricks in order if the pattern matters, so reassembly is easier.
- Scrape out the old bedding sand in the exposed area. You want to get down to the compacted gravel base. If the sand looks undisturbed and level but shallow, you may just need to add a little. If it's dry, loose, or has obvious low spots, remove it completely from the repair zone.
- Check the gravel base underneath. Press on it with your foot and look for soft spots, voids, or visible erosion. If it feels solid and looks intact, the problem was just in the bedding sand layer. If it's soft or you see gaps, jump to the base repair section below before continuing.
- Lay fresh bedding sand across the repair area to approximately 1 inch deep. Belgard specifies at least 1 inch of bedding sand spread evenly before laying any bricks. Don't eyeball it; use screed pipes (set at the correct height) and a straightedge to pull the sand to a perfectly consistent level. Unilock's guidance is to set the screed pipes about 1/2 inch above the finished target height so that after the bricks are set and the system is compacted, everything lands at the right elevation.
- Do not compact or tamp the bedding sand before placing bricks. This is a common mistake. Compacting it first creates an uneven surface as soon as you start walking on it to set bricks. The sand should be loose and freshly screeded when the bricks go down.
- Reset the bricks by pressing each one firmly into the sand bed. Use your rubber mallet to tap them down flush. Check frequently with your straightedge to make sure the surface is consistent and not just locally flat in one spot.
- Once all bricks are back in place, use a plate compactor with a rubber pad (to protect the brick faces) to seat them into the sand. Make multiple passes.
- Check for high spots with your level and adjust as needed before moving on to joint sand.
Step-by-step: fixing settlement or washout under the patio (base and drainage)
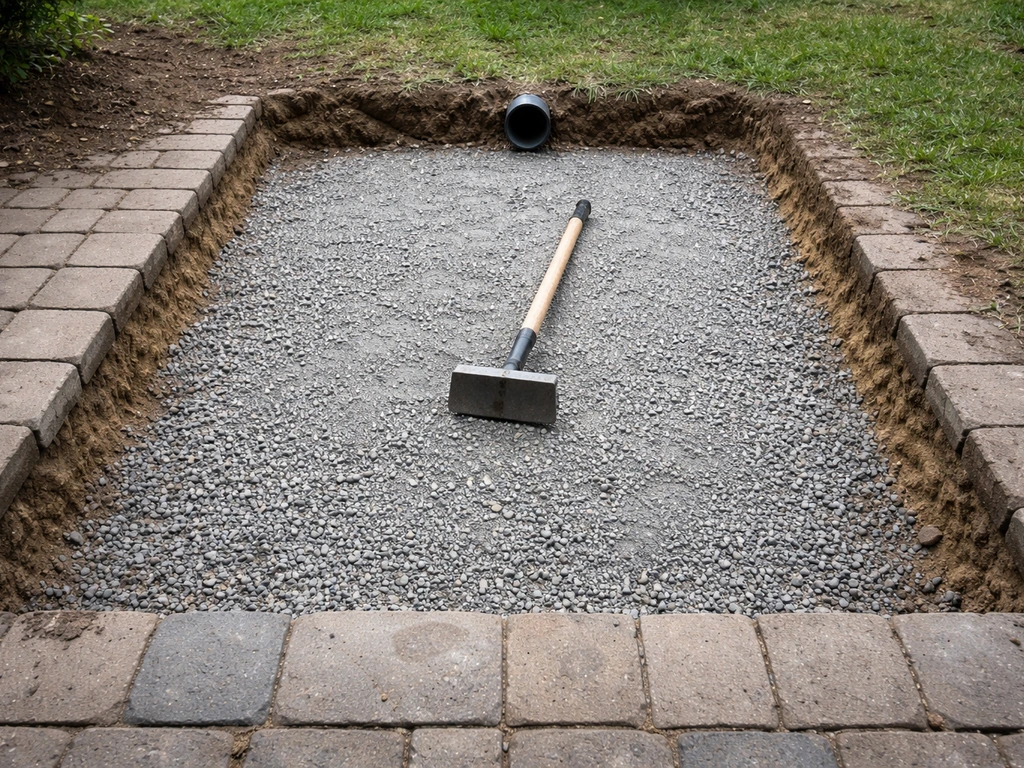
This is the heavier repair and it's where most people underestimate the work involved. For sand bedding, Unilock specifies that pipe runs should be set with the pipe 1/2 inch above the finished height (and 1/4 inch if using chip bedding) blank" rel="noopener noreferrer">pipe height should be 1/2 in above finished height for sand bedding. If your uneven spot is caused by settlement or washout, the steps for fixing the base and drainage will differ from simply resetting a few loose bricks. If you skip this and just reset the bricks over a failing base, the same spots will sink again within a season or two.
- Remove all the bricks from the affected area, plus a buffer zone of at least one brick row around it. Set them aside in order if you can.
- Dig out the old bedding sand and any deteriorated or washed-out gravel base material. You need to reach solid, undisturbed subgrade. For a typical residential patio, the compacted gravel base should be about 4 inches deep (some installations go deeper in cold climates or where soil is soft). If you're seeing significantly less than that, the base was never adequate.
- Assess and address the drainage issue before adding anything back. If water is draining toward the patio from a higher surface, or if there's no outlet for water that collects under the patio, the base will just fail again. You may need to regrade the surrounding soil, add a French drain, or create a positive slope away from the structure. The patio surface itself should slope at least 1/8 to 1/4 inch per foot away from any building.
- If sand migration was a problem (you can tell by wash channels or by finding the base sand mixed into the gravel), lay geotextile fabric on the prepared subgrade before adding new base material. This separates the layers and prevents fine particles from moving.
- Add compactable gravel in lifts, compacting each one before adding more. Belgard's installation guidance specifies building the base in multiple lifts rather than dumping all the material at once. A good rule of thumb is no more than 3 to 4 inches per lift. Compact each lift with a plate compactor until the surface doesn't deflect when you walk on it.
- Check your grade with a level and string line after compacting. The finished base surface should mirror the slope you want on the final patio surface. Correct it now, not after the sand and bricks are on top.
- Lay fresh geotextile over the compacted base if the original installation didn't have it and sand washout was a documented problem.
- Proceed with bedding sand and brick resetting as described in the previous section.
Step-by-step: addressing edge issues and missing or washed-out joint material
Edge bricks that have migrated outward, or joints that have lost all their sand, are often the first sign of problems to come. Fixing them early keeps the whole patio stable. If you need a targeted repair, focus on removing loose bricks, checking the base, and resetting them with fresh joint sand fix loose patio bricks.
- Check your edge restraints. If the border bricks are spreading outward, the restraints have failed or are missing. Dig along the outside edge of the patio to expose where the restraint should be. A proper plastic edge restraint sits on top of the compacted base, tight against the outside face of the border bricks, and is pinned into the base with 10-inch steel spikes every 12 inches or so.
- If the old restraint is missing or broken, reset the border bricks to the correct position, then install new plastic edge restraint against them before backfilling. This is non-negotiable for preventing future spread.
- Use a string line to check that the border bricks are straight and at the correct height before you pin everything in place. Mutual Materials recommends maintaining string lines during installation for this exact reason. Do the same during repair.
- For interior joints that have lost their sand, inspect whether the loss is from surface erosion (joints empty but the base looks intact) or from washout from below (you can see voids and the joint empties from the bottom up). Surface erosion is easy to fix by refilling with jointing sand. Bottom-up washout usually means the base drainage problem needs to be corrected first.
- If bricks around the edge have heaved from freeze-thaw, lift those specific bricks, check for ice lens formation or saturated subgrade beneath them, and let the area dry out fully before resetting. Adding a bit of extra gravel base depth in chronically affected areas helps.
Finishing: joint sand, sealing, and keeping it level long-term
Filling the joints
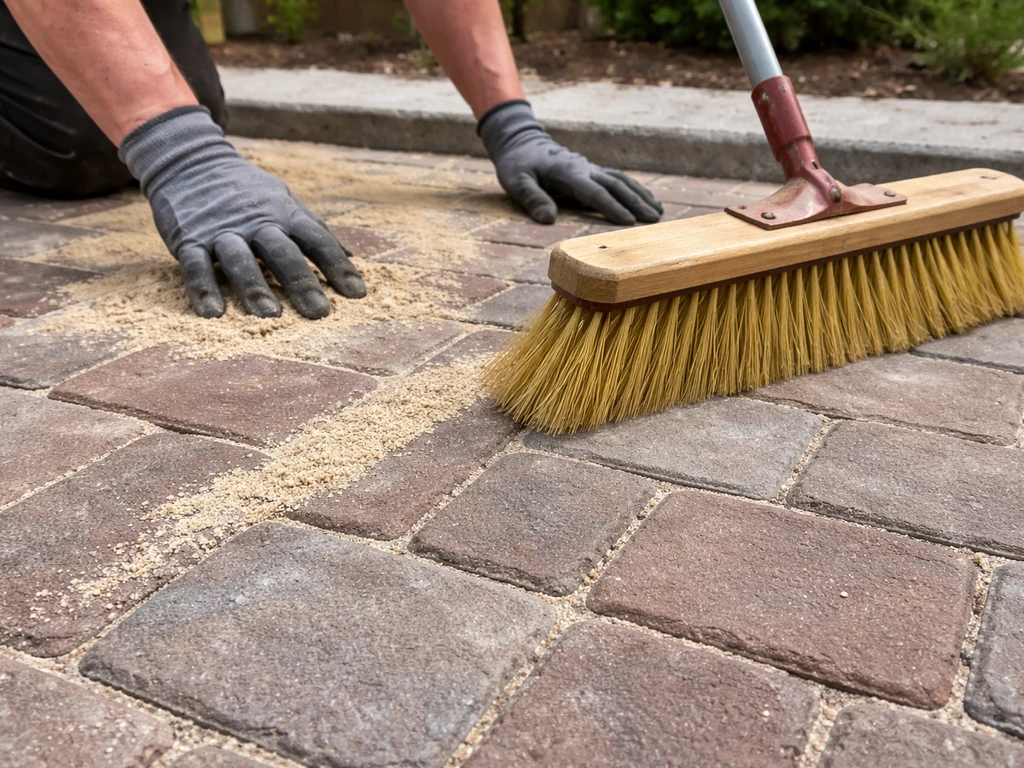
Once all your bricks are set and compacted, the joints need to be filled with jointing sand. For most brick patios, polymeric sand is the right call. It contains a binder that activates with water and hardens the joint, which resists washout and weed growth much better than plain sand. Use a product that meets ASTM C936 (semi-coarse gradation) for standard brick joints.
- Make sure the brick surface is completely dry before applying polymeric sand. Any moisture in the joints before you sweep it in will cause clumping and incomplete filling.
- Pour the sand across the patio and sweep it into the joints with a stiff broom, working it from multiple directions so it fills evenly.
- Run the plate compactor over the patio again to help the sand settle into the joints fully. Add more sand if the level drops significantly.
- Sweep off any remaining sand from the brick faces until only joint-level sand remains. The finished sand level should sit about 1/8 inch below the top edge of the brick (or just below the chamfer if the bricks have a beveled edge), per Unilock's joint installation guidance.
- Activate with water using a gentle spray, not a fine mist. Bell Concrete's polymeric sand instructions specifically warn against using a fine mist to wet the sand, because it doesn't penetrate properly and prevents correct hardening. Use a regular shower or gentle stream setting on your hose.
- Allow the sand to cure completely before using the patio. Most polymeric sand products need 24 hours minimum.
To seal or not to seal
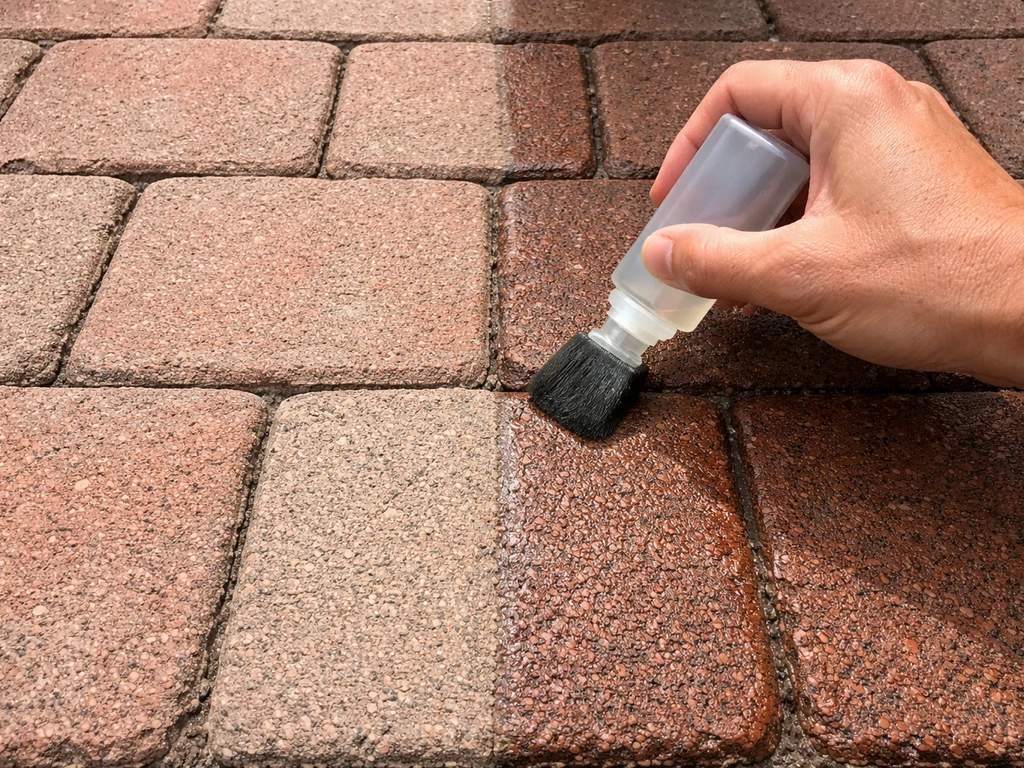
Sealing a brick patio is optional but has real benefits. A good penetrating sealer or joint-stabilizing sealer reduces water absorption into the bricks, slows joint sand erosion, inhibits weed growth in the joints, and adds some resistance to freeze-thaw damage. If you've just done a full base repair, sealing is worth it.
The type of sealer matters. Joint-stabilizing sealers (sometimes called paver sealers with sand stabilizer) lock in the joint sand as they cure, giving you the benefit of both protection and joint durability in one product. They're a good choice after any repair where you've just refilled the joints. Apply sealer only to a clean, completely dry surface. Avoid letting it puddle on top of bricks or sit in the joints without penetrating. A roller or low-pressure sprayer works well for most patios.
Prevention steps that actually work
- Maintain your joints: check joint sand levels every spring and refill any that have dropped. Catching it early prevents water from getting under the bricks and starting the cycle over.
- Keep drainage away from the patio: clean out any gutters or downspouts that direct water toward the patio surface, and make sure the surrounding grade still slopes away from the patio after any landscaping changes.
- Don't let tree roots get established near the edge bricks. Root intrusion under a brick patio causes very stubborn heaving.
- Reapply sealer every 2 to 3 years depending on traffic and climate. This keeps the joint sand bound and reduces water infiltration.
- Inspect edge restraints annually and replace any that have cracked or lost their pins. Loose edges always lead to migrating bricks eventually.
When to stop DIY and call a pro
Most brick patio repairs are genuinely doable as DIY projects. But there are situations where calling a professional is the more realistic and cost-effective choice, even if it stings a little to admit.
- The settlement affects more than about 25 to 30 percent of the patio surface. At that scale, you're essentially rebuilding the patio from scratch, and renting equipment, buying materials, and doing the labor yourself starts to approach the cost of a professional job anyway.
- You find consistently soft or saturated subgrade across the base after removing all the material. That usually signals a drainage or soil problem that needs engineering knowledge (and sometimes a French drain or retaining solution) to fix properly.
- The patio is near a foundation or retaining wall and the unevenness appears linked to structural movement. Do not DIY this. Get a structural assessment first.
- You've repaired the same spot twice and it keeps sinking. Recurring failure in the same location almost always means there's an ongoing drainage or soil issue that surface-level repairs won't fix.
- You don't have access to a plate compactor and the repair area is more than a few square feet. Hand tamping a gravel base is not adequate for preventing future settlement. Rent the equipment or hire it out.
If your patio has loose individual bricks or a small sunken area with an otherwise solid base, you can realistically fix it yourself in a weekend. If you're looking at widespread settlement, ongoing drainage failure, or structural concerns, get a professional assessment before spending money on materials. The problems that seem like they need a quick fix are often the ones that benefit most from honest diagnosis first.
FAQ
How can I tell whether I need to lift just a couple bricks or remove a whole section?
If only a few bricks move, focus on re-bedding them. If the bricks around them are also rocking or the whole area feels spongey when you step on it, that usually points to bedding sand or base compaction failure below, meaning you will likely need to lift a section wider than the obvious uneven spot.
What drainage signs mean my patio problem will keep coming back?
Before you reset anything, check for standing water after rain and look for washed-out joint sand lines that trace back to a low point. If you find those patterns, correct the slope or drainage route first, then rebuild the base, otherwise the new bedding sand will wash out and the surface will drop again.
Should I compact the base and bedding sand even if it is a little damp?
Avoid tamping or compacting through soft or wet materials. If the bedding sand or base is damp, let it dry or remove it and replace it, then compact in thin lifts. Compacting wet layers can lock in instability and lead to renewed unevenness as the material dries and shifts.
Why does polymeric sand sometimes fail on uneven brick patios?
Polymeric sand works best when joints are full and the surface is clean. If bricks are not fully set at the final height, the joints may never pack correctly, and rain or incomplete joint activation can leave weak spots. Dry-fit bricks and confirm grade with a straightedge before filling joints.
If my joints keep washing out, does that always mean the base is failing?
Yes, sometimes joint sand loss is just a symptom. But if joints keep disappearing after you top them up, it usually means the patio surface is draining incorrectly, the joints are too narrow for the product, or water is entering from the edges, so you should inspect edge restraint and the lowest area first.
How do I set the correct final height and slope when resetting bricks?
Start by checking brick height in relation to fixed edges like steps, door thresholds, or a coping strip. A common mistake is resetting bricks to match the surrounding pattern visually instead of confirming the slope and final grade, which can trap water and trigger freeze-thaw movement.
What should I do if the patio heaves upward after winter?
If you see heaved bricks after cold weather, the issue is often freeze-thaw driven by water reaching the base. Make sure you address water entry points and rebuild with properly compacted, well-draining material before you rely on re-leveling alone.
Can I remove and replace only the damaged bricks without disturbing surrounding bricks?
If neighboring bricks are still stable, you can remove only the loose or sunken bricks, but lift them only after you have a plan for widening slightly beyond the failure zone. Resetting a tiny area on top of a still-failed base often creates a new low spot at the boundary.
What’s the fastest way to diagnose whether I have isolated low spots versus settlement?
If the top layer looks intact but the problem is widespread, use a long straightedge and measure dips and rises to map the pattern. You are deciding whether you are correcting isolated bedding issues or correcting a base slope or settlement zone, based on how continuous the unevenness is.
When is it smarter to hire a pro instead of doing a DIY fix?
Professionals are often worth it when unevenness is widespread, the patio edges are moving, there is active drainage failure, or you suspect underground utilities or major base washout. Also consider getting help if you cannot safely correct grade and water flow because shimming and spot repairs tend to fail when the drainage route cannot be fixed.
Next Article
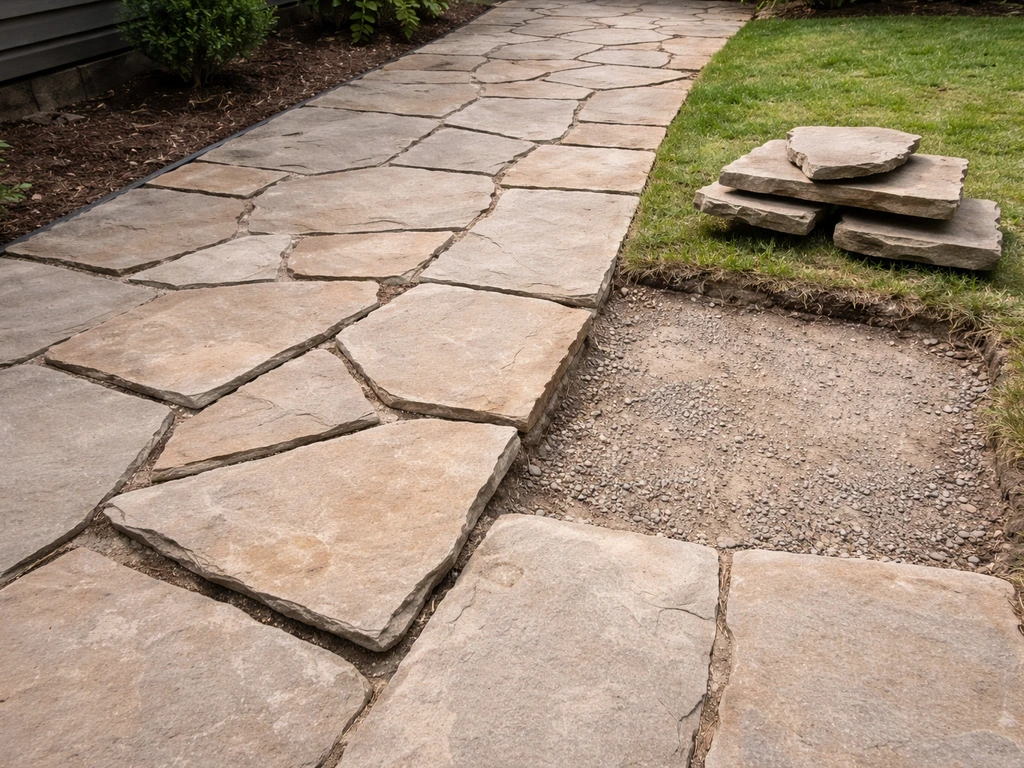
How to Fix Uneven Flagstone Patio: Step-by-Step DIY Guide
Diagnose and fix uneven flagstone patio with leveling, base repair, proper bedding mortar, joint fill, and drainage chec