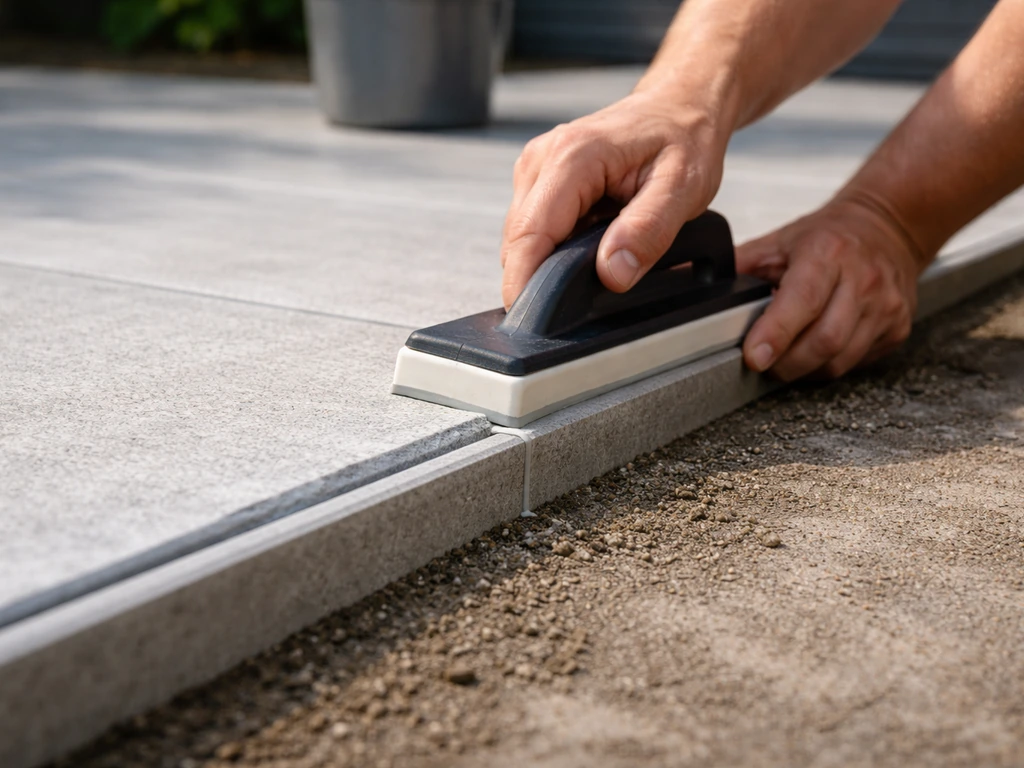
You can replace damaged patio tiles yourself in a weekend if the base is solid and you can source a matching tile. The process breaks down like this: figure out why the tile failed, source a match, remove the damaged piece cleanly, fix whatever went wrong underneath, set the new tile with the right mortar or sand bed, then grout and seal. Do any of those steps wrong and the replacement will fail again, often faster than the original. So the order here matters.
How to Replace Patio Tiles Step-by-Step DIY Guide

Talia Lang
8 Jul 2026
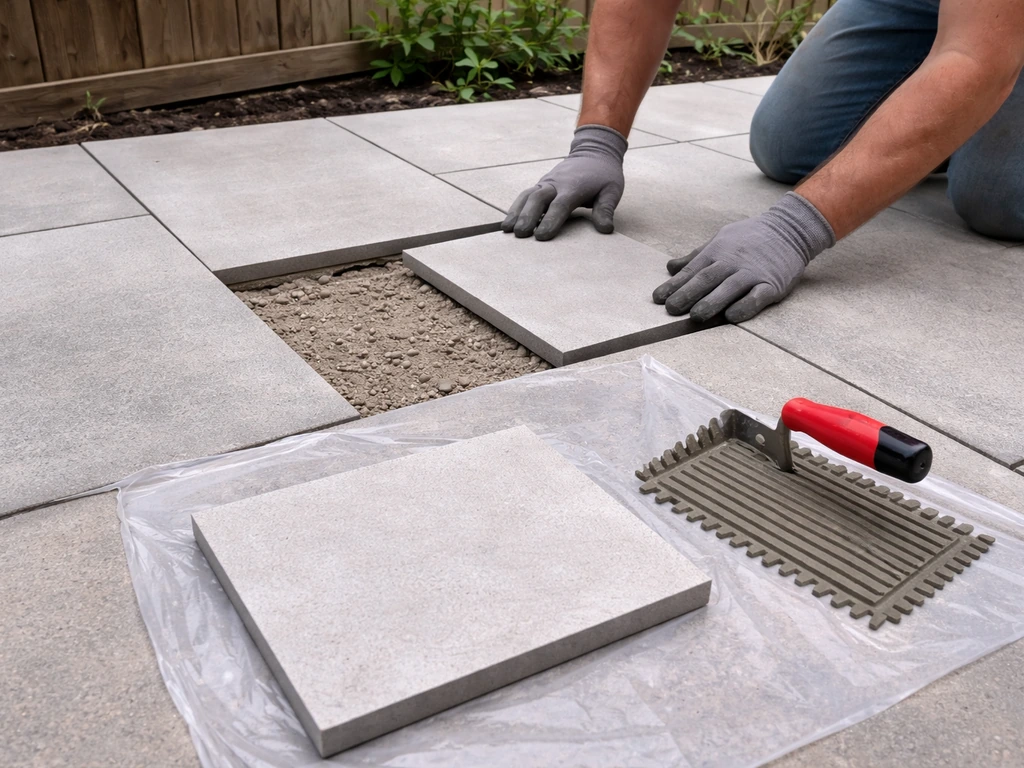
Figure out why the tile failed before you do anything else
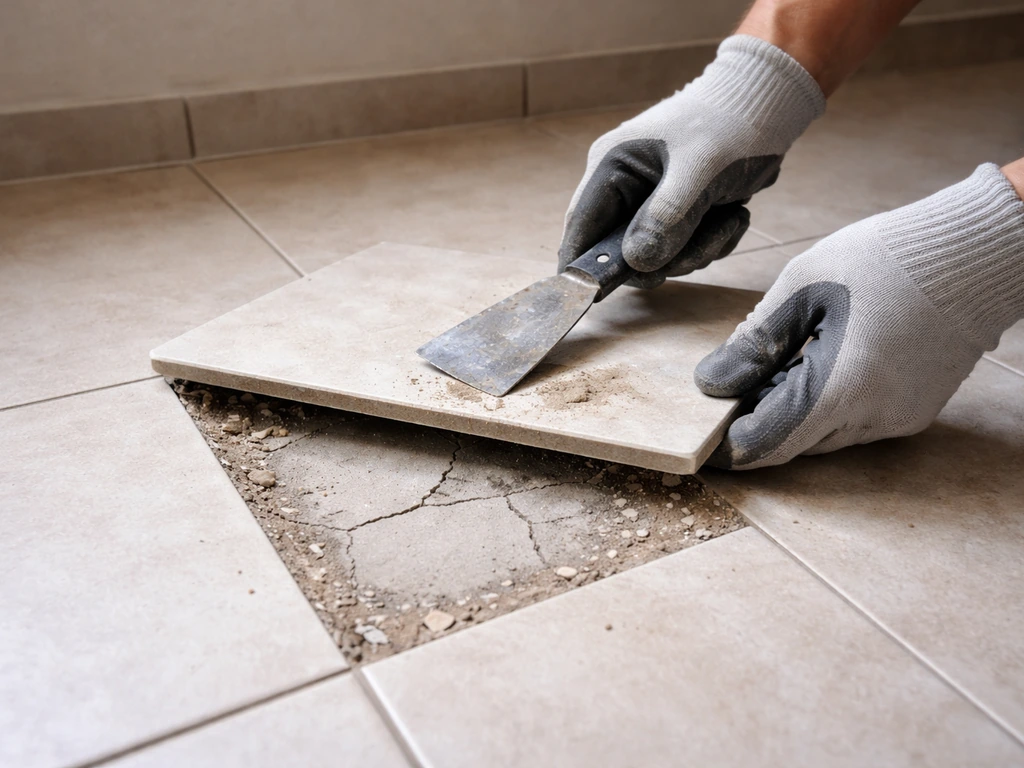
This is the step most people skip, and it's the reason the same tile cracks again six months later. The damage you can see is almost never the whole story.
The most common failure causes are: the tile cracked from impact or point load (a dropped object, heavy furniture leg, or vehicle overhang); the mortar or adhesive lost bond and the tile became hollow, then flexed and cracked; the concrete slab underneath cracked or shifted and transferred that movement up into the tile; the base underneath settled unevenly, leaving the tile unsupported; or water got trapped under the tile, froze, and expanded in a freeze-thaw cycle. Each of these requires a different fix.
Tap every tile in the affected area with a knuckle or the handle of a screwdriver. A solid tile returns a dense thud. A hollow or debonded tile returns a dull, papery ring. Mark the hollow ones with chalk. If you have more than two or three hollow tiles in a row, you likely have a base or drainage problem rather than a random failure. Fixing just the visible broken tile without addressing the spread of hollow tiles is a short-term patch.
Also look at the joints. Are they cracking in a pattern that follows a straight line? That often points to a crack in the concrete slab below. Are tiles lifting along an edge near a wall or step? That's usually either water intrusion expanding the base or no movement joint to accommodate thermal expansion. If your goal is to edge porcelain patio properly, focus on movement accommodation and drainage before you re-set the tile so the border does not lift or crack again how to edge porcelain patio. Is there white powder (efflorescence) on nearby tiles? That's a sign water is moving through the base material, which accelerates freeze-thaw damage and reduces long-term durability according to concrete paver manufacturers. Any of these patterns means you need to fix drainage or install proper movement accommodation before setting the new tile, not just swap in a replacement.
Choosing the right replacement tile and matching the installation type
Before you buy anything, identify your existing tile type and installation system. These are two separate questions.
What tile type do you have?
The most common outdoor tile types you'll encounter are: unglazed ceramic or porcelain (dense, hard, matte surface, 10mm to 20mm thick), natural stone like travertine, bluestone, slate, or limestone (variable thickness, often 3/4 inch to 1.5 inches), concrete pavers (cast, often 2.375 inches thick for standalone use, or thin overlay versions around 3/4 to 1.5 inches for slabs), and thinner porcelain or ceramic deck tiles sized around 12x12 or 18x18 inches set on mortar over concrete. Thickness matters a lot. If you mix a 3/4-inch replacement tile into a field of 1-inch tiles, you'll get a lip that's a trip hazard and will be nearly impossible to hide.
For freeze-thaw climates (anywhere that regularly goes below freezing), your replacement tile needs to be frost-resistant. Porcelain tiles with water absorption below 0.5% handle this best. If you're buying ceramic, look for a tile tested to ASTM C1026, the standard test for freeze-thaw resistance. A tile that passes this test has been cycled through 15 freeze-thaw cycles without cracking or spalling. Don't put a non-rated ceramic tile outdoors in a climate that freezes.
What installation system do you have?
Sand-set and mortar-set (bonded to concrete) behave completely differently and require different repair approaches. To identify yours: lift the broken tile if you can. If it comes off with little resistance and you see sand or gravel underneath, you have a sand-set (also called loose-lay) system. If it's stuck to a concrete slab with a layer of hardened material, you have a mortar-set or thinset-bonded system. Concrete pavers in a sand bed are replaced differently than porcelain tiles bonded to a slab, so confirming this before you buy materials saves a wasted trip to the hardware store.
Sourcing a matching replacement tile
Take a full intact tile (not just a shard) to a tile or hardscape supplier and ask them to match it. Bring measurements for thickness, face dimensions, and if possible the original manufacturer name or a photo of the packaging from when it was installed. Tile colors shift between production runs, so a 'same' tile from a different dye lot will still look different. If your patio is older and an exact match is impossible, consider replacing a full row or section, placing the new tiles in a less visible area and moving the better-matching old tiles to a prominent spot. That's a more visible but more honest approach than a patch that sticks out.
Tools, safety, and setup
Gather everything before you start. Stopping mid-job to make a hardware run leaves exposed thinset or base material to dry out or collect debris, which creates problems for the new installation.
- Cold chisel and hammer (or a rotary hammer with chisel bit for bonded tiles)
- Angle grinder or oscillating multi-tool with a grout removal blade
- Margin trowel and notched trowel (square-notch, 3/8-inch or as recommended for your tile size)
- Rubber mallet
- Level (4-foot is ideal, a 2-foot will work)
- Tile spacers appropriate for your joint width
- Wet tile saw or angle grinder with a diamond blade for cuts (rent a wet saw if you don't own one)
- Bucket and mixing paddle for mortar
- Grout float and sponges
- String line or straightedge for alignment
- Stiff wire brush or floor scraper for cleaning the base
- Shop vac
Safety is not optional here. Cutting, grinding, or chiseling tile, stone, mortar, and concrete generates respirable crystalline silica dust, which causes serious and permanent lung disease with repeated exposure. OSHA specifically requires engineering controls for this. When cutting with a handheld power saw, use a saw with integrated water delivery that continuously wets the blade. Wear an N95 respirator at minimum, safety glasses, and hearing protection when using power tools. Work in a ventilated area and keep bystanders back. This is not a situation where a paper dust mask is sufficient.
Removing the damaged tiles and cleaning up the base
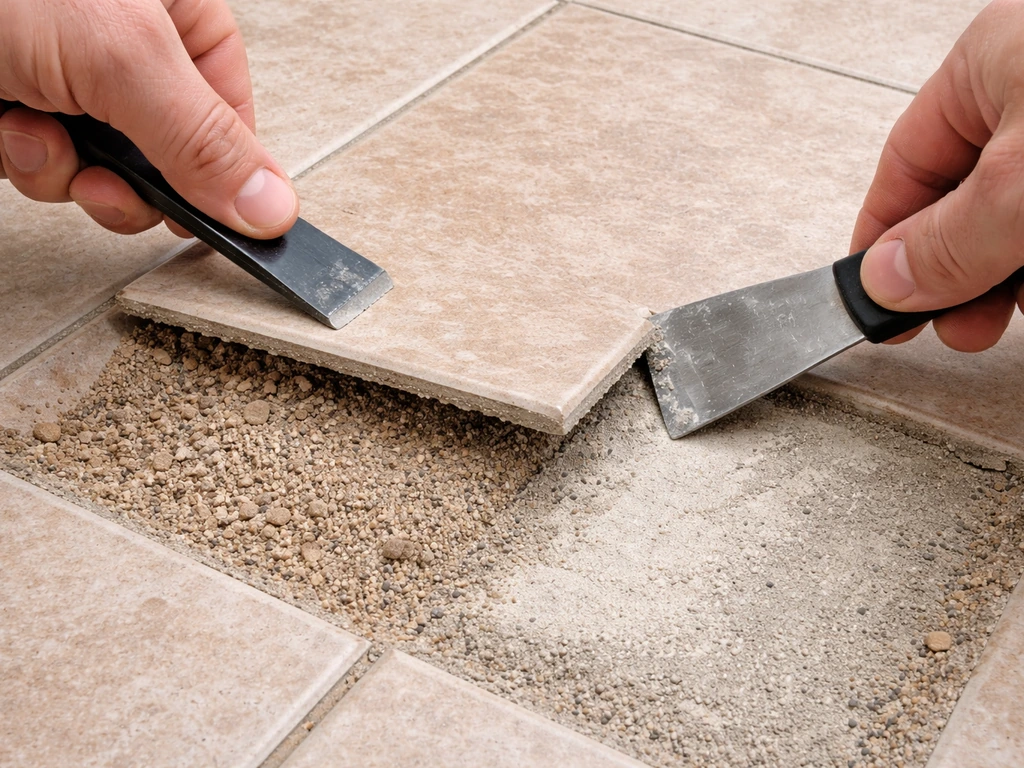
Sand-set tiles and pavers
Sand-set pavers are the easiest removal. If the tile is broken, use a flat pry bar or two stiff putty knives to lift each piece. If it's intact but sunken or rocking, you can often slide a pry bar under the edge and pop it up without damage. Pull surrounding tiles if you need more room to work. Set them aside in order so you can put them back in the same orientation (pavers sometimes have a directional texture). Rake out the bedding sand in the repair area, check the compacted base beneath it, and address any soft spots before resetting. Western Interlock's installation guidance specifies that edge restraints should be secured with spikes to prevent lateral movement, so check your border restraints while you're in there.
Mortar-set or thinset-bonded tiles
This is more work. Start by cutting the grout joints around the damaged tile with an oscillating tool or angle grinder. Cutting the joints first is critical: if you just start hammering, the stress transfers through the grout and you will crack adjacent tiles. Once the joints are cut, place your chisel at the center of the tile and strike firmly. Work from the center outward, removing pieces progressively. Don't try to save a broken tile in one piece. It's garbage.
After the tile is out, you'll have old thinset or mortar bonded to the slab. TCNA handbook excerpts note that mortar and thinset are cement-and-sand blends used as bonded setting materials, which helps distinguish bonded systems from sand-set methods. This needs to come off. Use a floor scraper, angle grinder with a cup wheel, or oscillating tool to get the slab surface as flat as possible. You don't need to remove every microscopic trace of old mortar, but you do need the surface flat, clean, and free of loose material. Any high spots will create a hollow tile. The TCNA specifies that exterior tile installations over concrete require better than 95% mortar contact (meaning almost no voids). You won't hit that number over a lumpy, dirty base.
What to do if the slab underneath is cracked
This is where you have to make a real decision. A hairline crack in concrete that hasn't moved and isn't associated with settling can often be addressed with a crack isolation membrane before retiling. A crack that is actively moving, is wider than 1/8 inch, or has vertical displacement (one side higher than the other) is a structural issue. You can tile over it, but the tile will crack again. If the cracked concrete covers a large section of the patio, you're looking at slab replacement, not tile replacement, and that's genuinely beyond DIY for most people. Call a concrete contractor for an honest evaluation before investing in tile materials.
Repairing and leveling the base
For sand-set systems, if the base underneath the bedding sand has settled or gone soft, add and compact new base material (crushed stone, class II base, or equivalent) until firm. Industry practice for residential patios is typically 4 to 5 inches of compacted base under the bedding sand. Rent a plate compactor for any area larger than a few square feet. Add fresh bedding sand and screed it level with surrounding tiles before resetting.
For mortar-set systems on concrete, if the slab has a low spot or void that contributed to the failure, fill it with a floor-leveling compound or a stiff mortar mix and let it cure fully before setting new tile. Don't try to compensate for a low slab with a thick thinset bed: standard polymer-modified thinset mortars are not designed as fill material and can crack or shrink unevenly if applied too thick. If you need to build up more than about 3/4 inch, use a mortar bed system instead.
Installing the new tiles
Choosing the right setting material
For outdoor thinset applications over concrete, use a polymer-fortified thinset mortar. Products like LATICRETE 254 Platinum are specifically formulated for exterior ceramic, porcelain, and stone tile and handle the stress of outdoor temperature swings better than unmodified thinsets. Don't use mastic or organic adhesive outdoors: they soften in heat and fail in moisture. For sand-set pavers, you're re-laying into a compacted sand bed, not using mortar at all.
Setting technique and trowel coverage
Comb the thinset onto the slab with a notched trowel. For tiles 15 inches or larger on one side, a 1/2-inch square-notch trowel is usually appropriate, but trowel notch size alone doesn't guarantee adequate coverage. Schluter's installation guidance specifically warns against assuming that a given notch size will automatically produce correct coverage: you need to back-butter the tile (apply a thin skim coat to the back of the tile as well) and then check coverage periodically by pulling a tile off and inspecting how much of the back is coated. You're aiming for that 95% coverage figure. Also back-butter large-format porcelain tiles to fill any surface undulations.
Set the tile into position with a slight twisting motion to collapse the trowel ridges and seat it fully. Use a rubber mallet to tap it flush with adjacent tiles. Set tile spacers at the corners to maintain joint width. Check constantly with a level or straightedge: lippage (one tile higher than the adjacent one) becomes permanent once the mortar sets and is a serious trip hazard outdoors. If you're replacing a single tile surrounded by existing tiles, you're matching a fixed plane, which is both easier (no layout decisions) and harder (zero tolerance for error).
Cutting tiles to fit
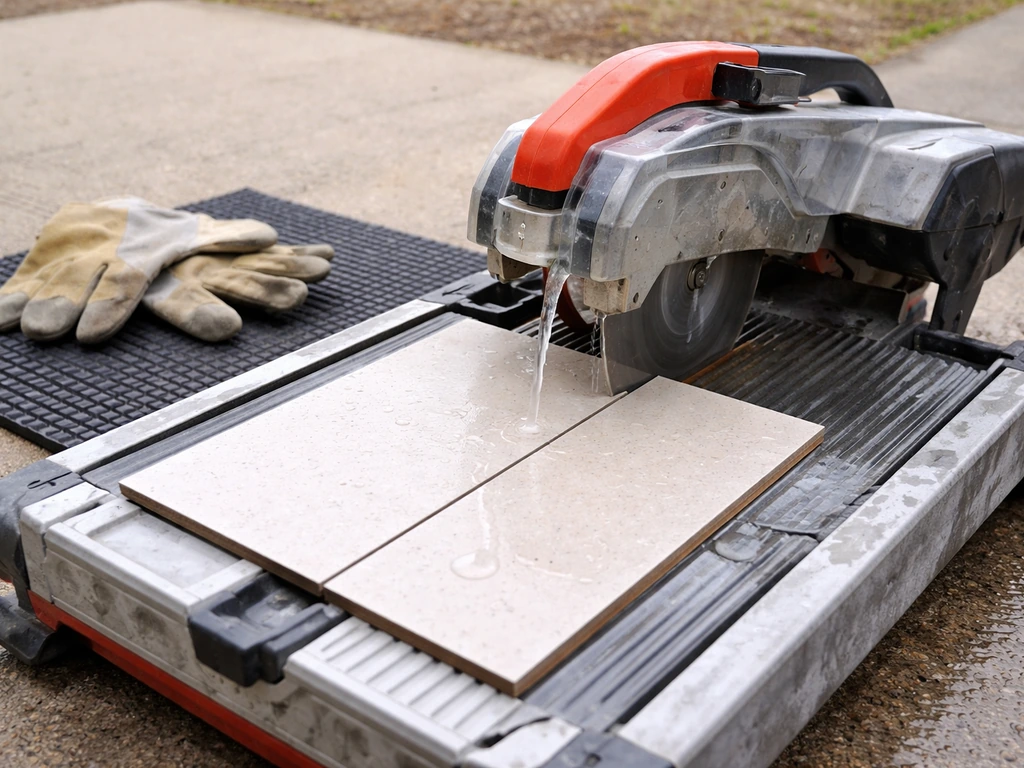
If you need to cut tiles to fit around the repair area, use a wet tile saw for straight cuts. For curved cuts around posts or irregular edges, an angle grinder with a continuous-rim diamond blade works. Always wet-cut or use water-fed equipment when cutting porcelain or stone. Dry cutting creates hazardous silica dust and also causes chipping in porcelain. Score the cut line on the tile face with a marker before cutting so you have a visible reference. Cutting porcelain specifically is covered in more depth in the guide on how to cut porcelain patio tiles, which is worth reading before your first cut.
Curing time before grouting
Wait for the thinset to cure before grouting. Most polymer-modified thinsets need at least 24 hours at 70°F before you can walk on them or grout. At lower temperatures, that extends significantly: at 50°F, 48 hours or more is realistic. LATICRETE's technical documentation notes that temperature conditions are a key factor in cure time for portland cement-based materials. Don't rush this. Grouting over uncured thinset shifts the tiles. If you're working in July heat, the thinset may skin over faster than expected, so only spread as much as you can set in 10 to 15 minutes at a time.
Grouting, jointing, and sealing for outdoor durability
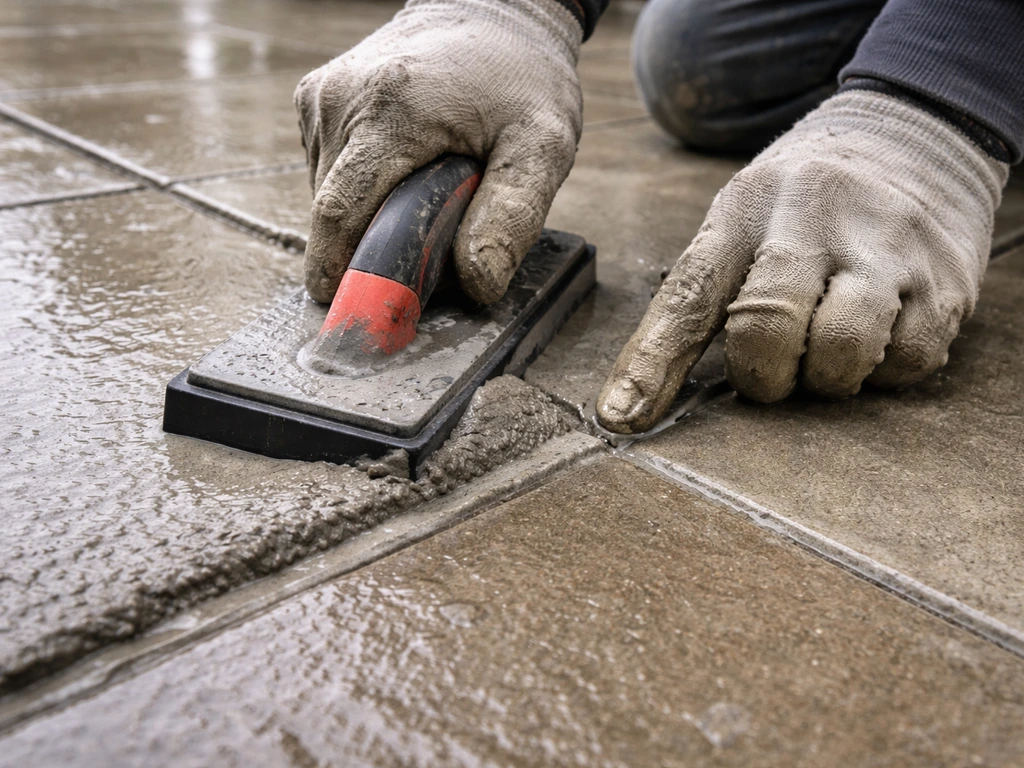
Grout selection for outdoor use
Outdoor grout joints take more abuse than indoor ones: freeze-thaw cycles, UV exposure, foot traffic, moisture, and thermal expansion all attack the joint over time. For most outdoor tile repair, use a polymer-modified sanded grout (for joints 1/8 inch or wider) or unsanded grout for very narrow joints. Epoxy grout is the most durable and chemical-resistant option and worth considering for areas that get heavy water exposure or are subject to freeze-thaw stress. Epoxy grout cures differently from cement-based grout: cure time depends heavily on temperature, and you need to work fast because pot life is short once mixed. Sika's epoxy grout documentation notes this directly. The tradeoff is that epoxy grout is significantly harder to work with and more expensive.
Polymeric sand for sand-set systems
For sand-set paver joints, polymeric sand is the standard choice. It's a fine sand mixed with a binder that activates with water and hardens to resist ant and weed intrusion and joint erosion. Sweep it into the joints, tamp the pavers, then mist the surface following the manufacturer's specific instructions. The most common mistake is using too much water: over-watering washes the binder out of the sand and leaves you with joints that never harden properly, a problem reported consistently by DIYers. Be precise with the water application step. Also, remove all polymeric sand from tile surfaces before wetting: any residue left on the face will haze the tile surface once it activates, and it's very difficult to remove after the fact.
Sealing
Whether you need to seal depends on the tile type. Dense porcelain with low water absorption generally doesn't need sealer and may actually look worse with one applied unevenly. Natural stone (travertine, limestone, slate) absolutely needs a penetrating sealer to prevent water absorption and staining. Concrete pavers benefit from sealer to reduce efflorescence and freeze-thaw damage. Apply sealer only after grout has cured fully, typically 72 hours minimum for cement-based grout, longer in cool weather. Use a sealer rated for exterior use and the specific tile type. Test in an inconspicuous area first: some sealers darken stone significantly.
Finishing, cleanup, and fixing common problems
Cleanup after setting and grouting
Remove grout haze from tile faces while it's still fresh. Daltile's specifications specifically emphasize prompt residue removal: cement-based grout haze becomes significantly harder to remove once it fully cures, sometimes requiring acidic cleaners that can damage certain tile types. After grouting, wipe the tile surface with a damp sponge in a circular motion, rinse the sponge frequently, and follow with a clean dry cloth. For epoxy grout residue, use the manufacturer's specified cleaner immediately: it doesn't respond to water alone.
Keep traffic off the repair
Protect the repair from foot traffic for at least 24 hours after setting, longer in cool weather. Daltile's master spec guidance recommends keeping traffic off tile installations for a minimum period after installation to prevent shifting. Put a board over the repair if people need to cross it. Heavy furniture should stay off for 48 to 72 hours. Fully loaded tile (patio furniture, planters) should wait until grout has cured, typically 72 hours.
Troubleshooting common problems
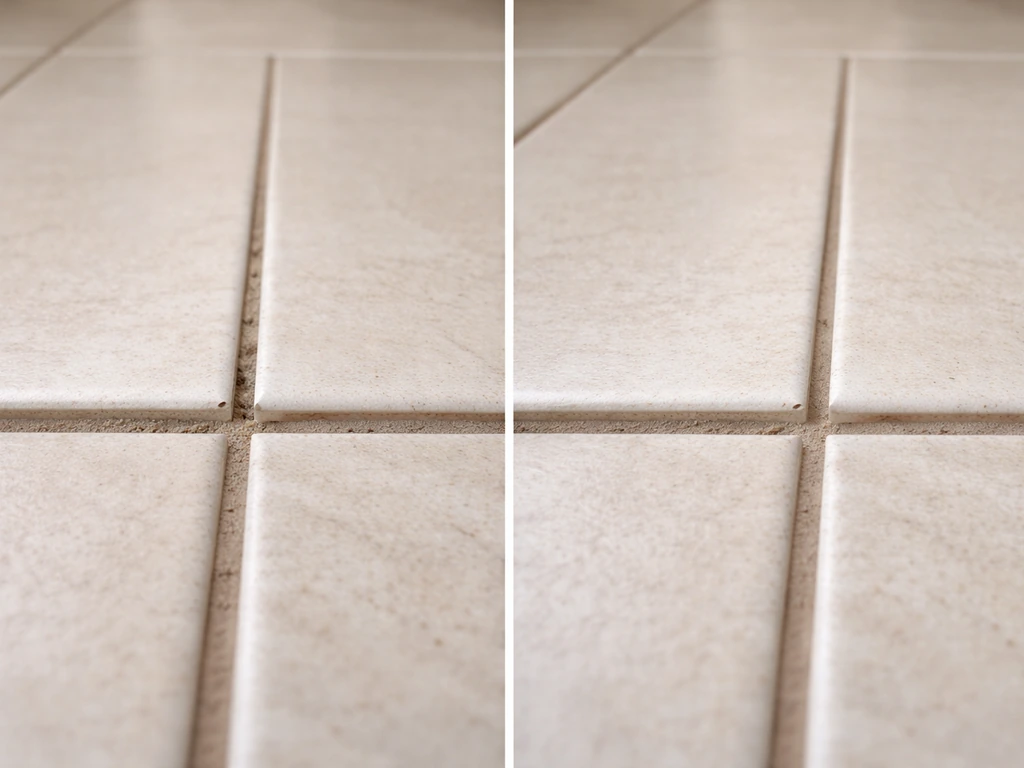
| Problem | Likely cause | Fix |
|---|---|---|
| New tile is higher than surrounding tiles | Too much thinset or uneven base | Remove tile before mortar sets, scrape down the base or reduce thinset, reset |
| New tile sounds hollow after setting | Poor mortar contact on the back of the tile | Remove, back-butter tile and slab both, reset with more consistent pressure |
| Grout cracking within weeks | Thinset not cured before grouting, or joint too narrow for movement | Rake out cracked grout, allow thinset to cure fully, regrout with flexible grout |
| Polymeric sand staying soft | Too much water applied, or inadequate curing time | Rake out soft sand, let base dry fully, reapply polymeric sand following water instructions precisely |
| Same tile cracking again | Slab crack underneath, ongoing settling, or no movement joint | Address slab issue or install crack isolation membrane, add movement joint at transitions |
| Replacement tile color doesn't match | Different dye lot or tile has weathered to a different color | Replace a full row or section to blend the transition, or use the new tile in a less visible area |
When to call a professional
Some situations are genuinely beyond a DIY tile swap. If more than 20 to 25 percent of your patio tiles are hollow or debonded, you have a systemic base or drainage failure, and replacing individual tiles won't solve it. If the concrete slab has active cracks with vertical displacement, heaving, or settlement across a wide area, the slab itself needs attention before any tile work. If water is pooling at the house foundation or underneath the patio despite slope corrections, a drainage solution (French drain, regrading) needs to come before the tile. In all of these cases, getting a contractor assessment is the honest next step, not a sign of failure. You're better off spending money on the right fix than repeating a tile replacement cycle every two years.
If your situation is closer to a crack-only repair (tile is bonded but cracked, base is solid, no hollow sound nearby), check out the more focused guide on how to fix cracked patio tiles, which covers crack repair and partial tile repair without full removal. And if the patio damage is wider than a few tiles but the tiles themselves are mostly intact, the guide on how to fix patio tiles generally covers broader repair assessments that might save you from pulling up more tile than you need to.
FAQ
How do I know if I should replace just one tile or lift a whole section or row?
If you find hollow or debonded tiles in a continuous run, especially more than two or three in a row, treat it as a base or drainage issue and consider removing a wider area. Also, if the replacement tile would create a height difference (for example, different thickness than neighbors), it is usually better to replace an entire row or section so the surface plane stays consistent.
What should I do if I cannot find an exact tile match (especially for color or finish)?
Because dye lots and finishes vary, perfect visual matching is often impossible on older patios. A practical compromise is to replace a whole row or a less visible section, then move the better-matching older tiles to the most visible area. Avoid spot patches that will look mismatched due to slight tone shifts.
Can I install the new tile over existing mortar or thinset if I did not fully remove it?
You can skip microscopic residue, but you cannot leave ridges or lumps. If the surface is not flat enough, the new tile will bridge voids and end up hollow, which leads to faster cracking. Test flatness with a straightedge, scrape down high spots, and ensure the area is clean and free of loose debris before thinset.
Should I use sanded or unsanded grout for outdoor patio tile repairs?
Use unsanded for very narrow joints, and sanded for wider joints (commonly 1/8 inch or wider). If you are unsure of your joint width, measure multiple joints around the repair, since grout thickness affects bonding and durability outdoors. For maximum durability in harsh conditions, epoxy grout may be considered, but plan for faster, stricter working time.
How long should I wait before grouting, and what changes in cold weather?
Most polymer-modified thinsets require at least 24 hours around 70°F before grouting or heavy handling. In colder conditions, expect longer cure times, commonly 48 hours or more at around 50°F. Use the manufacturer’s temperature guidance, and never grout over thinset that is still soft or easily dented.
What if my new tile ends up slightly higher or lower than surrounding tiles (lippage)?
If you notice lippage early, you still can adjust by lifting and resetting before the mortar cures. Once cured, flattening is difficult and risks damaging adjacent tiles. For small differences, focus on correct back-buttering and seating technique during set, then verify with a straightedge right after placement and after tapping with a mallet.
Do I need back-buttering and how do I verify coverage before setting a large tile?
For outdoor installations, do not rely only on the notch size. Back-butter larger-format tiles and then periodically check coverage by pulling a tile after setting briefly. Aim for near-complete contact (often referenced as around 95% exterior coverage) to prevent hollow spots that crack under movement or point loads.
Is it safe to cut tile the same way I would indoors, like using a dry grinder?
For porcelain, stone, mortar, and concrete, dry cutting creates hazardous crystalline silica dust. Use water-fed equipment or a saw with continuous water delivery, and wear proper respiratory protection, typically at least an N95, plus eye and hearing protection. If you cannot control dust safely, wait for the right tools or consider professional assistance.
What is the difference between sand-set and mortar-set, and why does it change the repair materials?
Sand-set systems release easily and use a compacted sand bedding layer, so the repair is primarily re-laying into a stable, level base. Mortar-set systems bond to a slab, so you must remove bonded material, prep the slab flat, and use the correct exterior thinset or mortar. Using mortar where sand-set belongs, or vice versa, commonly causes recurring failure.
Can I tile over a crack in the concrete slab instead of addressing the slab?
If the crack is hairline, stable, and not associated with movement, a crack isolation membrane may be an option. If the crack is wider than about 1/8 inch, shows vertical displacement, or appears active, expect tile cracking again unless the structural issue is corrected. When the cracked area is large or there is heaving or widespread settlement, slab replacement or contractor evaluation is usually the honest next step.
How should I handle polymeric sand jointing for pavers after I lift and reset the area?
Use the exact misting or watering steps from the product instructions. Over-watering washes out the binder, leaving joints that never properly harden. Also remove all polymeric sand dust from the tile face before misting, because residue can haze or discolor once the binder activates.
Do I always need to seal after the repair, and what if I seal porcelain?
Sealer needs depend on tile type and porosity. Dense porcelain often does not need sealer and may look uneven if sealed incorrectly. Natural stone and concrete pavers usually benefit from exterior penetrating sealer to reduce water absorption and staining. Always wait until grout has cured fully and test sealer in an inconspicuous area first.
What’s the best way to clean grout haze, and can I use acid cleaners?
Remove cement-based grout haze while it is still fresh using damp wiping and frequent sponge rinsing. Acid cleaners may be required for fully cured haze, but they can damage certain tile types. If you are not sure what tile you have, use manufacturer guidance for your specific grout and tile, or do a small test spot first.
How soon can I walk on the repaired area or move furniture onto it?
Keep foot traffic off the repair for at least 24 hours after setting, and longer in cooler weather. Heavy furniture usually needs 48 to 72 hours, and fully loaded items that add point load or stress should wait until grout has cured (often around 72 hours for many cement-based grouts). Use a board to distribute weight if traffic is unavoidable.
When should I stop and call a professional instead of continuing a DIY tile swap?
Stop if the sound test shows a broad area of hollow or debonded tiles (for example, many tiles hollow across a systemic pattern), if the slab has active cracking with vertical displacement, or if water is pooling despite slope fixes. In these cases, repeated tile replacement is likely to fail again until the drainage, base, or slab movement is corrected.
Next Article
How to Edge a Porcelain Patio: DIY Step-by-Step Guide
DIY step-by-step guide on how to edge a porcelain patio, choosing materials, cutting pieces, sealing joints, and prevent