To seal the gap between your house and patio correctly, you need to use an elastomeric sealant (polyurethane or silicone rated for exterior movement joints) over a closed-cell backer rod, sized so the joint is roughly twice as wide as it is deep. That combo lets the sealant flex as the patio expands and contracts instead of tearing loose. But before you reach for a caulk gun, you need to confirm what's actually failing, because sealing over a drainage problem or a missing flashing detail will make things worse, not better.
How to Seal Between House and Patio: DIY Guide

Talia Lang
8 Jul 2026
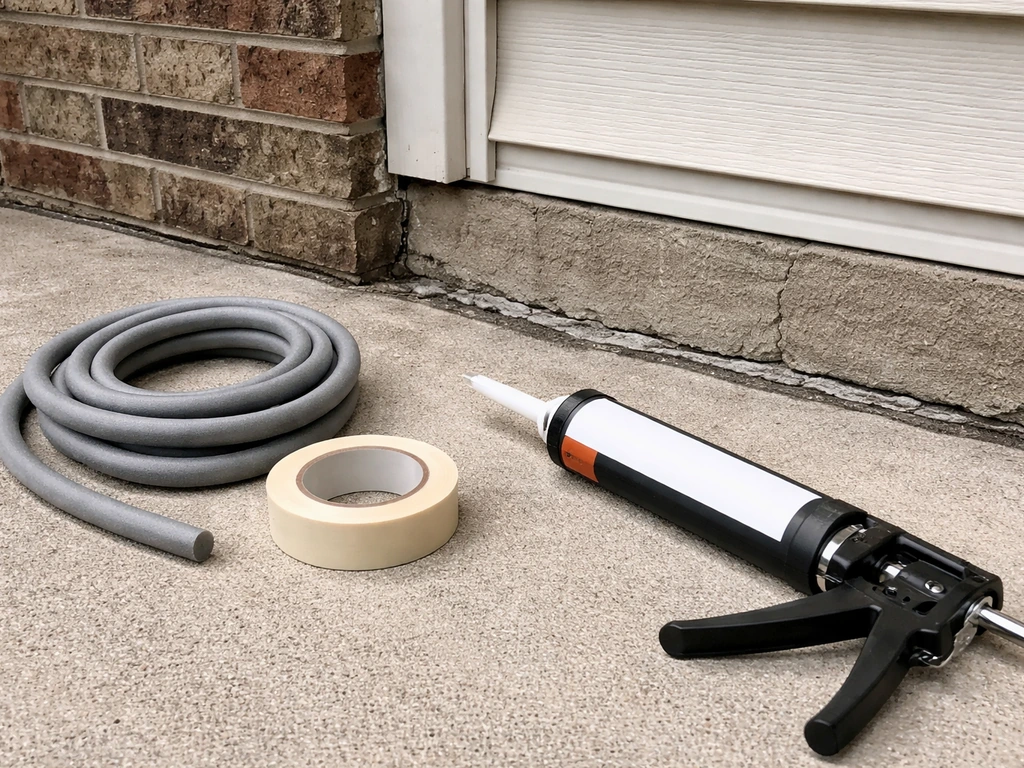
Figure out where the problem is actually coming from
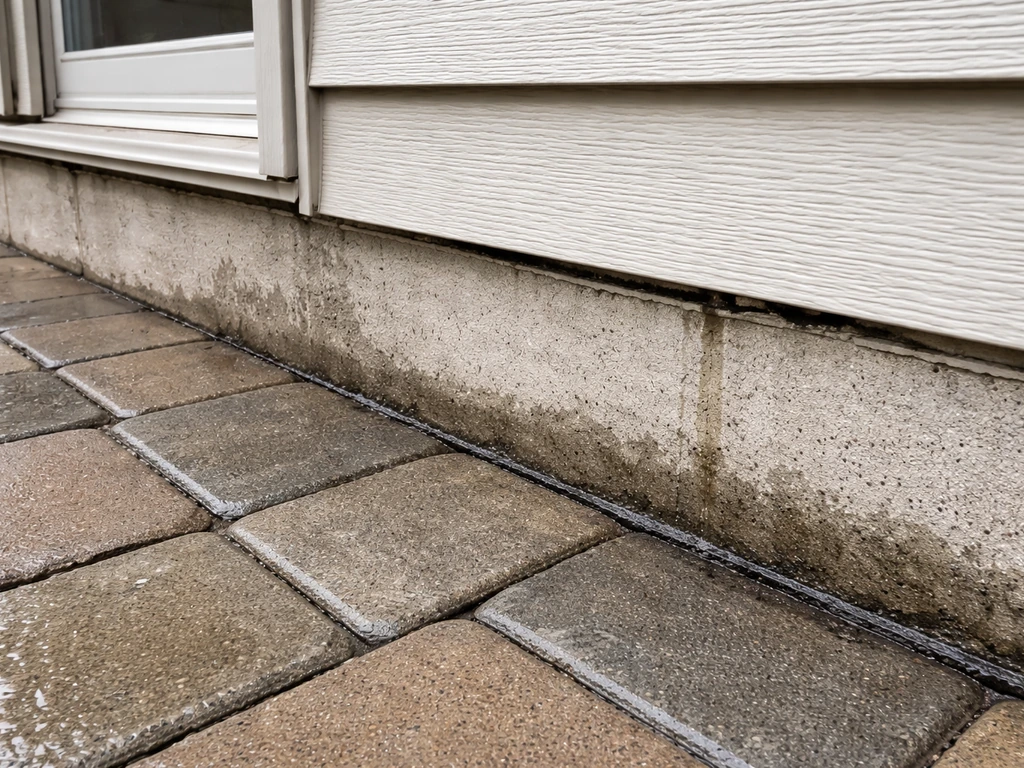
Water showing up at the base of your house wall near the patio can come from several different places, and the fix is totally different depending on the source. Don't just caulk the visible gap and hope for the best. Take 20 minutes to actually track down the leak path first.
Walk the perimeter where the patio meets the house and look for these specific things: cracked or missing caulk in the expansion joint, sealant that's still in place but has pulled away from one side (cohesive failure), a gap where a concrete slab has settled away from the foundation, paver edges that have shifted and left an open channel, or siding/stucco that dips toward the house and funnels water behind the wall instead of away from it. Also check whether there's any flashing above the junction point. If the patio sits below the bottom edge of your siding or stucco, water running down the wall face should be hitting the patio surface and draining away. If there's no flashing and no kickout, water is likely getting behind the siding before it ever reaches the joint you're looking at.
If you can't pin down the entry point by eye, do a controlled hose test. Have someone stand inside watching the suspected interior wet spot while you work the hose slowly from the bottom of the wall up, soaking one zone at a time for several minutes each. Start low at the patio junction itself, then move up to window sills, flashing edges, and higher wall sections. When the person inside sees water appear, you've found the zone. This takes patience but it saves you from sealing the wrong thing.
The most common culprits at this junction are: failed or missing expansion joint sealant between a concrete slab and the foundation wall, open paver edges with no edge restraint or fill, and water running behind siding because there's no flashing or the grade is wrong. Each one needs a different approach.
Choose the right sealing material for your situation
Not every gap at the house-to-patio junction should be filled with caulk. Some need flashing. Some need an expansion joint system. Some need better drainage grading. Using the wrong solution is exactly why these repairs fail repeatedly.
Elastomeric sealant (the right caulk)
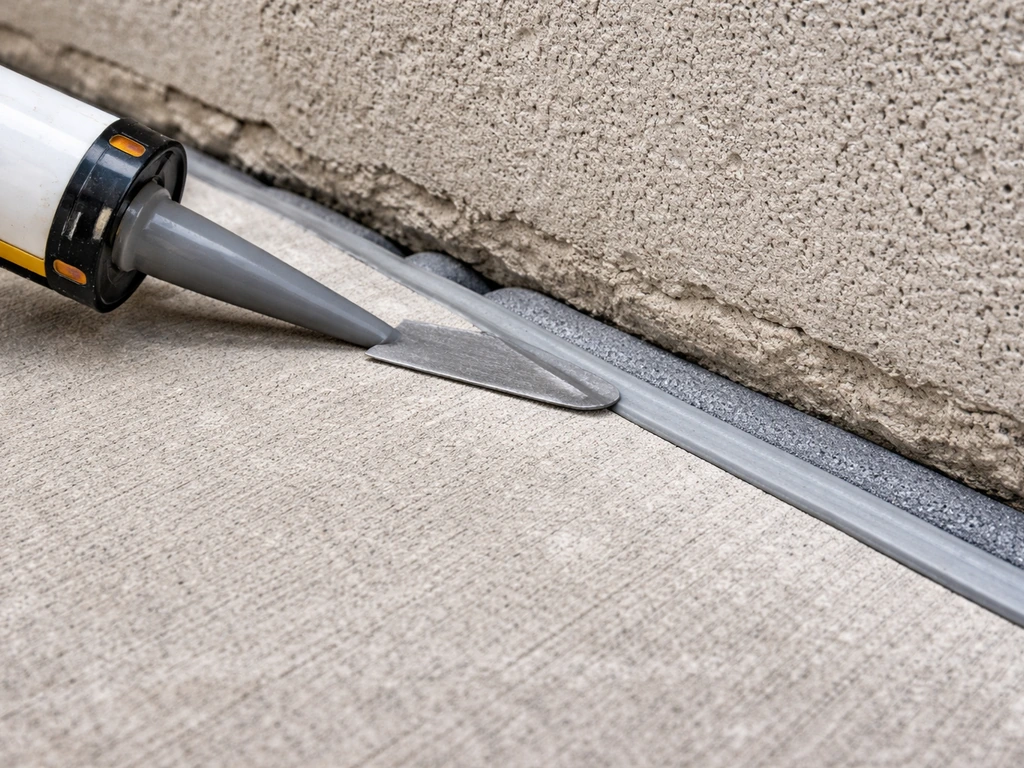
For most expansion joints between a concrete slab or paver field and a foundation wall, you want an elastomeric sealant that meets ASTM C920. That standard covers joint sealants that can handle cyclic movement, meaning they stretch and compress as temperatures change without tearing away from the substrate. The two most practical options for this application are self-leveling polyurethane (for horizontal joints, like a flat slab-to-foundation gap) and non-sag polyurethane or silicone (for vertical joints, like where the slab butts up against a stucco or brick wall face). Products like Sikaflex SL or a comparable self-leveling polyurethane work well for horizontal applications. For vertical joints or paver-edge details, a non-sag polyurethane or a paintable silicone rated for exterior use is the better choice. Avoid basic acrylic latex caulk here. It doesn't have the elongation properties to handle the movement at this junction and will crack within a season or two.
Flashing
If the wall above the patio has siding, stucco, or brick and there's no metal flashing at the base of that cladding, no amount of caulk will permanently fix the problem. Water gets behind the cladding through wind pressure and capillary action, not just through the visible gap at grade. Flashing (typically aluminum or galvanized steel bent to kick water away from the wall and out over the patio surface) is what intercepts that water and redirects it. Installing or replacing base flashing is more involved than caulking but it's the correct fix when water is entering behind the cladding rather than through the joint itself.
Expansion joint filler systems
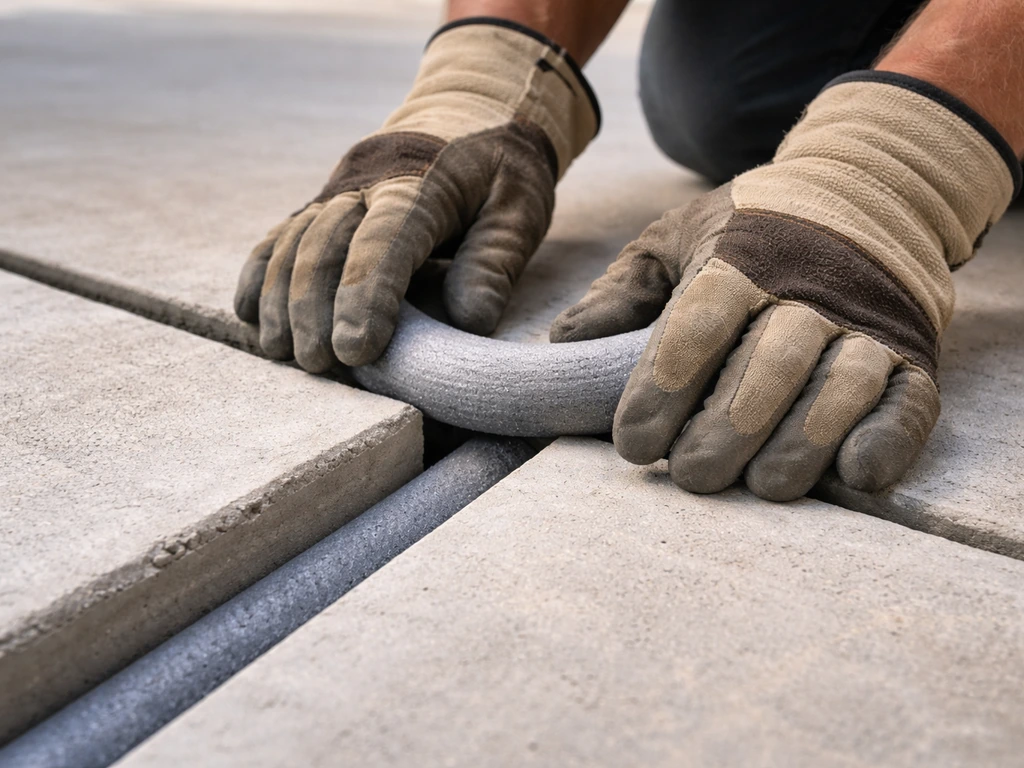
For wider gaps (anything over about 1 inch), a backer rod plus sealant is not always enough on its own. Some situations call for a foam expansion joint filler strip, a rubber expansion joint cap, or a pre-formed expansion joint system. These are common in commercial work but available at good masonry suppliers for residential use. If your gap is wider than an inch and is experiencing significant movement, look at these options rather than trying to bridge it with sealant alone.
| Situation | Correct material | Notes |
|---|---|---|
| Horizontal expansion joint, concrete slab to foundation (under 1 in wide) | Self-leveling polyurethane sealant (ASTM C920) over backer rod | Use closed-cell backer rod to control depth; 2:1 width-to-depth ratio |
| Vertical joint, slab edge to stucco or brick wall | Non-sag polyurethane or silicone sealant (ASTM C920) over backer rod | Primer required on porous substrates like concrete or stucco |
| Paver field edge to house foundation | Non-sag polyurethane sealant or flexible joint compound over backer rod | Ensure pavers are stable first; moving pavers will re-open the joint |
| Wide gap over 1 in | Expansion joint filler or rubber cap system plus sealant at edges | Sealant alone will fail on joints this wide without structural backing |
| Water entering behind siding or stucco | Metal flashing at cladding base plus sealant at flashing edges | Caulk alone will not fix this; flashing is the primary fix |
Prep work: don't skip this part
The prep is where most DIY sealant jobs fail. New sealant applied over old failed sealant, dusty concrete, or a joint that's the wrong shape will fail just as fast as what you're replacing. Give this step the time it deserves.
Remove all old sealant and caulk
Use a utility knife and a caulk removal tool to cut and pull out as much of the old sealant as possible. On horizontal joints, a stiff-blade putty knife works well. On vertical joints, a rotary tool with a grout removal bit can speed things up without damaging the substrate. Get it all out, including any old foam backer rod. If the old sealant is bonded tightly in spots, cut it as flush as possible and use a caulk remover solvent to soften what remains. The joint faces need to be bare substrate when you're done, not old sealant residue.
Clean for real adhesion
Blow out all dust and debris with compressed air or a shop vac. Then wipe both joint faces with a clean rag dampened with isopropyl alcohol or the cleaner specified by your sealant manufacturer. Concrete, stucco, and brick are porous and pick up dust, form-release residue, and efflorescence that will prevent adhesion. Let the joint dry completely before moving on. If you're sealing into porous masonry (concrete block, stucco, or natural stone), apply the manufacturer's recommended primer. For joint sealant installation, use ASTM C1193 as the guide for proper joint design and sizing, along with procedures like substrate cleaning and priming and selecting compatible sealant components such as backing and primer ASTM C1193 as the joint-sealant installation guide. Skipping primer on porous substrates is one of the main causes of sealant failure. The primer also goes on per the manufacturer's instructions, and you need to wait until it reaches the specified tack-free state before applying sealant.
Fix any underlying structural problems
If the concrete slab has cracked or settled toward the house, address that before sealing. A slab that's heaved or sunk more than half an inch has a movement or drainage problem underneath it, and resealing without fixing the root cause means you'll be back here again in a year. Similarly, if pavers have shifted significantly, re-set and compact them before you address the edge joint. Sealing a moving edge is temporary at best.
Set the right joint geometry with backer rod
This step is critical and most homeowners skip it entirely. Backer rod is a foam cylinder you press into the joint before applying sealant. It does two things: controls the depth of the sealant so it can flex properly, and prevents the sealant from bonding to the bottom of the joint (which is called three-sided adhesion and causes premature failure). Choose a closed-cell backer rod with a diameter about 1/8 inch larger than your joint width so it stays snug. For most residential expansion joints at the patio-to-house junction, that means 3/8-inch to 1/2-inch backer rod for a 1/4-inch to 3/8-inch joint. Press it in with a blunt tool so it sits at the right depth: your finished sealant should be roughly half as deep as the joint is wide (2:1 width-to-depth ratio). Keep sealant depth to a maximum of about 1/2 inch for most applications. Deeper than that and you're wasting material and reducing flexibility.
How to seal each common junction type
Concrete slab to foundation wall (horizontal joint)
- Complete all prep steps above. The joint should be clean, dry, primed if required, and have fresh backer rod set at the correct depth.
- Tape both edges of the joint with painter's tape for a clean line if the joint is near a finished surface. This isn't required but makes the job look professional.
- Cut the tip of your self-leveling polyurethane sealant tube at a 45-degree angle to match your joint width. Load into a standard caulk gun.
- Apply sealant in one continuous pass, moving at a steady pace. Self-leveling sealant will spread and self-smooth in a horizontal joint, but apply enough to fill to just above the joint faces rather than underfilling.
- If there are any voids or gaps, tool the sealant within the working time specified on the product datasheet. Self-leveling sealant usually doesn't need tooling on horizontal joints.
- Remove tape (if used) before the sealant skins over, typically within 10 to 20 minutes depending on temperature and humidity.
- Keep foot traffic and water off the joint until it reaches full cure, which is typically 24 to 72 hours depending on conditions.
Paver field edge to house foundation
The challenge here is that the joint between a paver field and a foundation wall isn't perfectly uniform, and the pavers themselves can move. Make sure your edge pavers are set firmly and your edge restraint (the plastic or aluminum channel that holds the paver field together) is properly staked. If pavers are loose, reset them first. Once stable, clean the gap thoroughly, set backer rod, and apply a non-sag polyurethane sealant into the vertical or angled joint face. Once the joints are stable, the step-by-step process for resealing patio pavers starts with cleaning, setting backer rod, and using the right non-sag sealant reseal patio pavers. Work it into the gap with a caulk tool or gloved finger. This joint will also benefit from polymeric sand filling the joints between the pavers themselves, which is a related task worth doing at the same time.
Stucco or brick wall to patio slab
These are typically vertical joints where a slab edge or paver edge meets a stucco or brick wall face. Both stucco and brick are porous, so primer is almost always required here. Apply a masonry-compatible primer with a brush into the joint faces, let it reach tack-free (follow the product spec), then apply non-sag sealant over the backer rod. Tool with a wet gloved finger or a caulk tool to press the sealant into full contact with both faces. Be careful not to bridge the joint face and cover the weep screed or weep holes if your stucco has them at the base. Those are drainage paths that need to stay open.
Wood or fiber cement siding to patio surface
This is the junction that causes the most long-term damage when done wrong. The bottom edge of wood or fiber cement siding should sit at least 2 inches above the patio surface. If it's sitting directly on the patio or less than an inch above it, water wicks up into the siding over time and causes rot. If you're in that situation, the correct fix isn't just caulk. It's cutting the siding back, installing a proper Z-flashing or kickout at the bottom course, and then sealing the flashing-to-patio joint with elastomeric sealant. If the clearance is adequate and you're just sealing the gap between the siding bottom and the patio, use a paintable polyurethane or silicone sealant, apply it to the bottom of the siding and the patio face (not on the patio surface itself), and leave the weep path at the base open so any incidental moisture that gets behind the siding can escape.
Getting drainage and movement details right
This is the part that separates a repair that lasts from one that fails in two years. The house-to-patio junction is a moving joint and a drainage junction at the same time, and you have to respect both.
On drainage: water running off the wall face or off the patio surface needs somewhere to go. The patio surface should slope away from the house at a minimum of 1/8 inch per foot, and ideally 1/4 inch per foot. If your patio pitches toward the house even slightly, you're fighting physics no matter how good the sealant is. Check your slope with a 4-foot level and a tape measure. If grading is the problem, a sealant repair is a temporary band-aid at best.
On movement: concrete slabs can move 1/4 inch or more seasonally depending on your climate and soil conditions. An elastomeric sealant rated for high elongation (typically 25% to 50% movement capability, as required by ASTM C920 for appropriate joint classes) handles this well. Rigid fillers like hydraulic cement or non-flexible grout will crack. The backer rod and correct width-to-depth ratio give the sealant the hourglass shape it needs to stretch and compress without pulling away from the substrate.
On weep paths: if your wall has stucco with a weep screed at the base, or if there are weep holes in a brick veneer, those openings must stay clear. Never caulk over weep holes or seal continuously along the base of a wall that has a designed drainage plane behind it. Water gets behind cladding through wind pressure and capillary action even when the outside looks dry. If you seal all the weep paths, that water has nowhere to go and you'll eventually get rot, mold, or efflorescence.
Curing time, how long it lasts, and when to re-seal
Sealant cure time varies by product and conditions. A self-leveling polyurethane like Sikaflex SL is typically tack-free in 1 to 4 hours and reaches full cure in 3 to 7 days depending on temperature and humidity. Sika notes that for Sikaflex SL 2, surface preparation and the waiting period before sealing are based on specified surface conditions such as sound, clean, and dry substrate and the product’s drying or curing times sound, clean, and dry substrate and specified drying/cure times. Silicone sealants are often tack-free faster (sometimes within an hour at 50% relative humidity) but can take 24 to 48 hours for full cure. Cold temperatures slow both. Don't seal when it's below about 40°F and don't apply if rain is expected within 24 hours. High heat and direct sun can also cause problems during application, as the sealant can skin over before it properly wets out the substrate. Early morning application in warm months is often the best window.
A well-installed elastomeric sealant at this junction, properly prepped and correctly sized, should last 5 to 10 years in most climates before needing replacement. UV exposure, freeze-thaw cycles, and wide joint movement shorten that range. Paintable polyurethane sealants tend to hold up better in high-UV environments than exposed silicone, which can chalk.
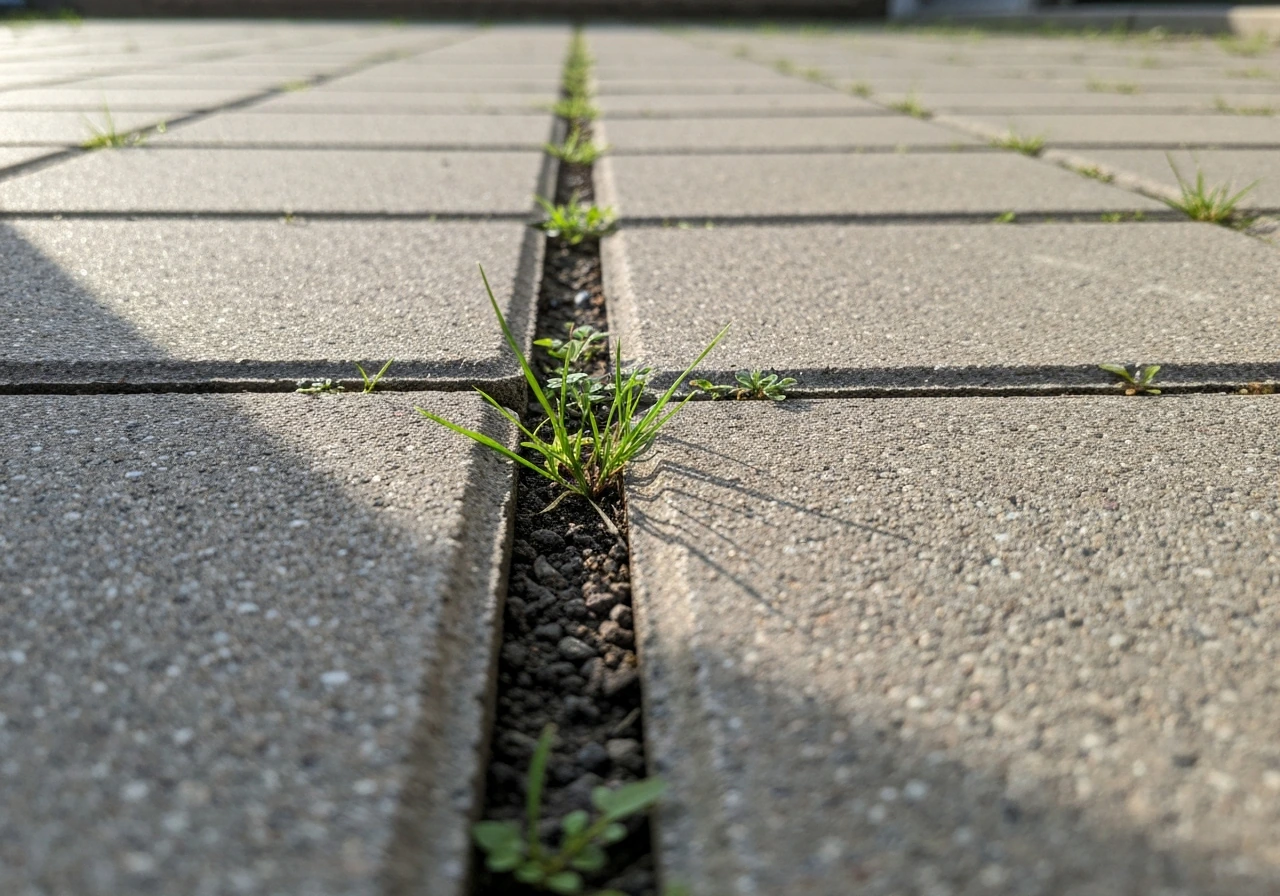
For maintenance, do a visual inspection every fall before the first freeze and every spring after the last one. You're looking for cracks in the sealant surface, places where it has pulled away from one side of the joint, or sections that feel hard and inflexible when you press them with a finger. Spot repairs on failed sections are fine as long as the underlying substrate is still sound and clean. When you see widespread cracking or adhesion failure across most of the joint, it's time for a full replacement, not spot patches. If you're also dealing with gaps between individual patio slabs or pavers, that's a related task covered separately from this perimeter junction work. If weeds are sprouting between individual patio slabs or pavers, you'll need a weed-control approach that matches the spacing and drainage at those gaps.
When to stop DIYing and call a professional
Some situations at this junction are genuinely beyond what caulk and elbow grease can fix. Knowing when to stop is just as important as knowing how to do the repair.
- Water is showing up inside the house (on walls, at the base of interior walls, or in a crawl space or basement) near the patio junction. This almost always means the issue is behind the cladding, not just at the surface joint, and diagnosing it properly requires opening up the wall assembly.
- The slab has settled more than about an inch relative to the foundation, or there are large cracks (wider than 1/4 inch) in the slab near the house. This suggests a soil or drainage issue underneath that needs to be addressed before any surface sealing will hold.
- You've resealed the same joint two or three times and it keeps failing. Repeated failure usually means either the joint design is wrong, there's still movement or drainage problem underneath, or water is entering from a source above the joint (like missing flashing).
- You see mold, rot, or staining on siding or sheathing above the patio. Once moisture has been getting behind the wall assembly, you likely have damage that needs to be assessed and remediated by a contractor before resealing.
- The stucco or brick is cracked, bulging, or showing significant efflorescence above the junction. These are signs of water intrusion and trapped moisture in the wall assembly, not just a joint sealant problem.
- You're not sure where the flashing is or whether it exists. A building envelope contractor or experienced roofer can trace the flashing detail and confirm whether it's doing its job.
Getting a professional opinion doesn't mean giving up on DIY entirely. Sometimes a single inspection call confirms that the joint sealant really is the only issue and you can proceed confidently. Other times it reveals a flashing or drainage problem that you need fixed first. Either way, you end up with a repair that actually lasts.
FAQ
Can I use spray foam or foam insulation instead of backer rod and elastomeric sealant?
Yes, but only if the gap is an actual movement joint. If the house-to-patio area is a straight interface that is meant to be continuously sealed (for example, a properly flashed siding termination), filling with foam backer alone is not enough. You still need an elastomeric sealant over backer rod in the correct width-to-depth range, and you must leave designed drainage paths (weep holes or weep screed openings) unsealed.
How can I verify I sealed the right area before the problem returns?
Do not assume it is “waterproof enough” just because the surface looks filled. After installation, test the joint for leaks by running water from the top of the wall down toward the cladding and patio for several minutes, then check the interior wet spot. If the leak shows up after the test but before the sealant fully cures, you still need to identify the source zone because the failure may be flashing or drainage behind the cladding.
What should I look for if the new caulk fails quickly?
If you see sealant pulling away from one side again within a short time, the usual causes are dirty or dusty joint faces, missing primer on porous masonry, or wrong joint geometry. A key tell is whether the sealant is still flexible but debonded, that points to adhesion prep. If it cracked through and turned hard, that often indicates a product mismatch (like acrylic latex) or movement beyond the sealant’s rating.
Can I use self-leveling polyurethane on vertical house-to-patio gaps?
For vertical joints (slab or paver edge against a wall face), use a non-sag elastomeric sealant, and tool it so it contacts both faces without bridging past the joint. If you use a self-leveling product on a vertical surface, it can slump, leave voids, and reduce adhesion where you need it most.
What if the gap size is inconsistent along the same joint?
If your joint width varies, size the backer rod and sealant based on the widest portion and keep the joint shape “hourglass” at the final depth. If the gap is irregular because of spalling or broken concrete, repair or re-form the joint first, then reseal. Sealing over crumbling or jagged edges usually fails even with the correct sealant.
Should I seal continuously along the whole base of the wall?
Sometimes. If the exterior cladding has a weep screed or weep holes, sealant should stop at the joint faces without blocking those outlets. A practical rule is to keep sealant out of any designed drainage track, then seal the junction only where water should be intercepted or redirected by flashing. If you cannot confirm the location of weeps, clear the area and inspect closely before sealing.
The bottom of my siding is close to the patio, can I just caulk the gap to stop water?
If you have siding that is too low, the priority fix is restoring clearance and installing proper Z-flashing or a kickout, then sealing the flashing-to-patio joint. When siding is within about 1 inch of the patio, sealing alone often traps moisture and leads to rot. In that scenario, caulk is at best a temporary measure.
Is it okay to seal if the concrete looks dry but the area stays damp?
Yes, but avoid applying the sealant over a damp surface. Concrete and stucco can hold moisture that prevents proper wet-out and adhesion. Let the area dry completely, then wipe with the recommended cleaner, use primer when required, and verify tack-free before sealing. If the joint is frequently wet from grading or a drainage failure, you must fix that first.
When is spot resealing enough versus doing a full joint replacement?
Spot resealing is usually fine when the problem is localized and the bond line is intact around the rest of the joint. But if you can see widespread cracking, many sections debonded along the length, or the sealant has lost flexibility across most of the perimeter, plan a full removal and replacement. Partial patches over failing substrate tend to break down at the boundaries first.
What if I’m also getting weeds in the patio expansion joints near the house?
If weeds are coming up in the gaps between patio slabs or pavers, that is a different system than the house-to-patio expansion joint. You typically want polymeric sand control for paver joints and a weed-control method that does not interfere with drainage. Do not pour weed killer or fill those internal gaps in a way that blocks runoff, because it can increase water pressure at the perimeter joint.
Next Article
How to Stop Weeds Growing Between Patio Slabs
Stop weeds between patio slabs with today’s removal steps, then repoint, seal, and prevent regrowth by fixing joint and