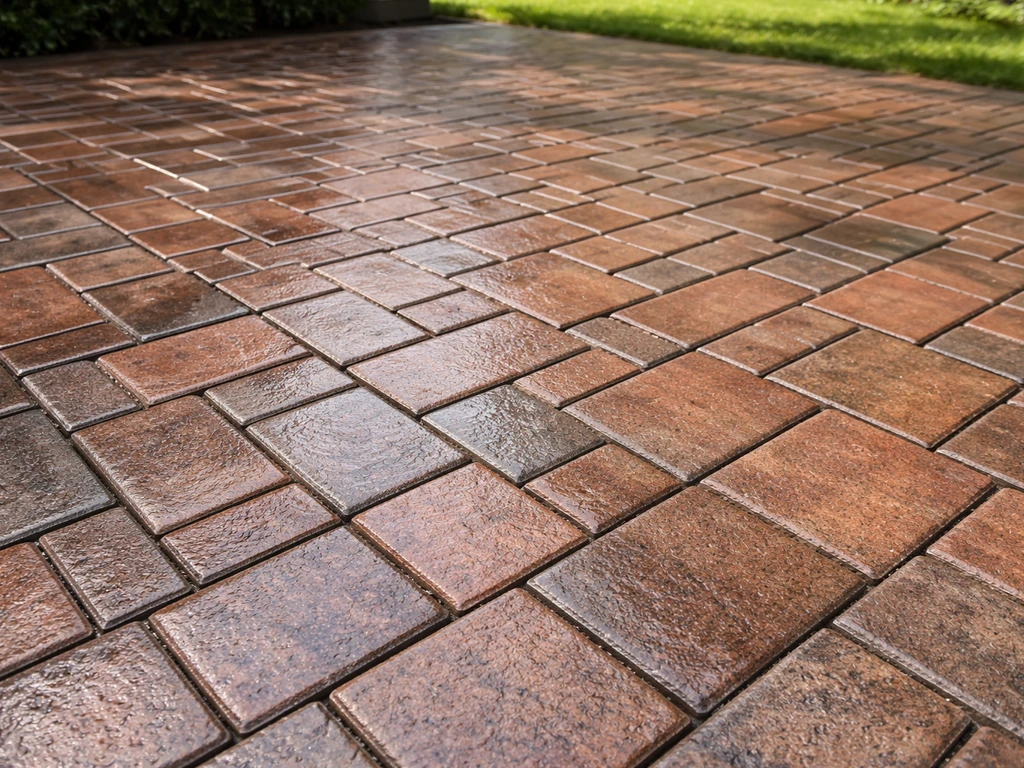
The best way to stop weeds growing between patio slabs is a two-step fix: get the existing weeds out by the roots today, then fill and seal those joints properly so seeds have nowhere to germinate. Weed killer alone won't cut it long term. If the gaps stay open, seeds blow in and the whole cycle starts again within a season. The real solution is physical removal followed by re-jointing with a product like polymeric sand, and ideally sealing the surface too.
How to Stop Weeds Growing Between Patio Slabs

Talia Lang
11 Jun 2026
Why weeds keep coming back between your slabs
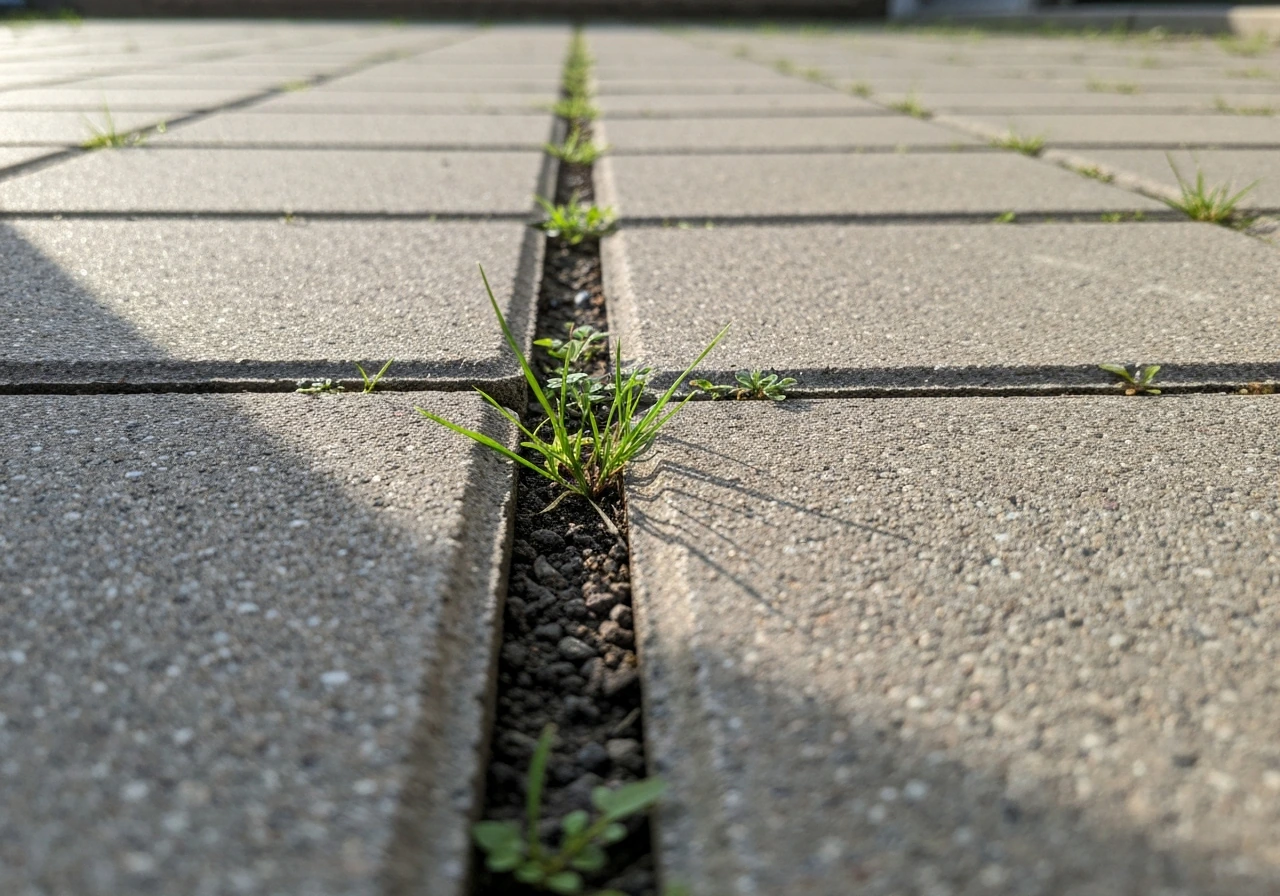
Before you reach for the weed killer, it helps to understand what's actually going on. Most patio weeds aren't growing up from deep underground. They start as airborne seeds that settle into gaps, find a bit of trapped moisture and organic debris, and germinate. The RHS notes that weed establishment on hard surfaces happens even in poor growing conditions, because most patio weeds are opportunists that only need a shallow root run to get started.
The reason weeds keep coming back is usually one of a few things: the original joint material has eroded or washed out, leaving wide open gaps; the jointing sand was never treated or was the wrong type; rainwater is collecting in joints and encouraging germination; or the slabs themselves have moved slightly, cracking any rigid jointing and opening new gaps. Each of these needs a slightly different fix, which is why diagnosis matters.
A quick check: push down on each slab as you walk across. If any rocks or wobbles, that's a bigger problem than just weeds. Loose slabs mean the bedding layer underneath has failed, and re-jointing on top of moving slabs won't hold. In that case, you're looking at lifting and resetting the affected slabs before anything else. If everything feels solid and stable, you're in good shape to tackle this as a straightforward joint repair job.
Getting the weeds out today
Timing matters more than most people think. Try to do this on a dry day, or after a day or two without rain. Weeds pull out far more cleanly when the soil in the joint is slightly moist but not waterlogged. Bone dry joints make roots brittle and prone to snapping off, leaving the root system behind to regrow.
Tools for the job
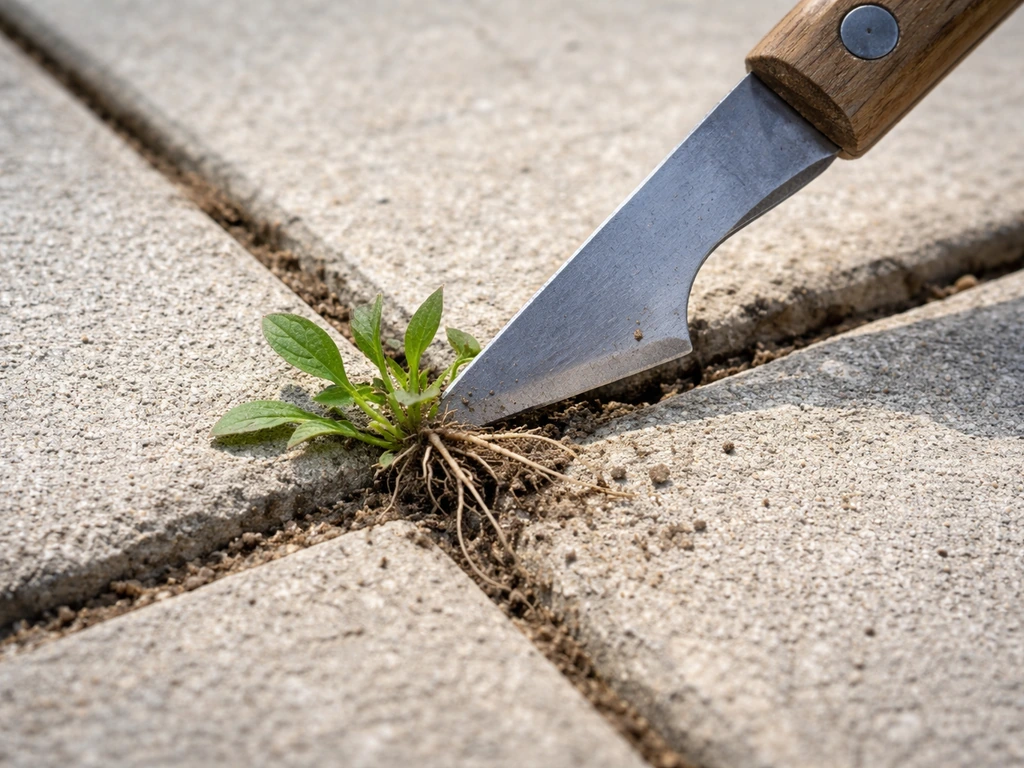
- Weeding knife (also called a paving knife or block paving knife): a thin, hooked blade designed to get into tight gaps and lever out roots. This is your primary tool.
- Old kitchen knife or trowel: works fine for wider joints or if you don't have a dedicated weeding knife.
- Soft-bristled brush: for sweeping out debris after the weeds are gone.
- Boiling water: a genuinely effective, chemical-free option for killing any remaining root material and small seedlings.
- Garden fork or kneeling pad: your back will thank you.
The removal technique that actually works
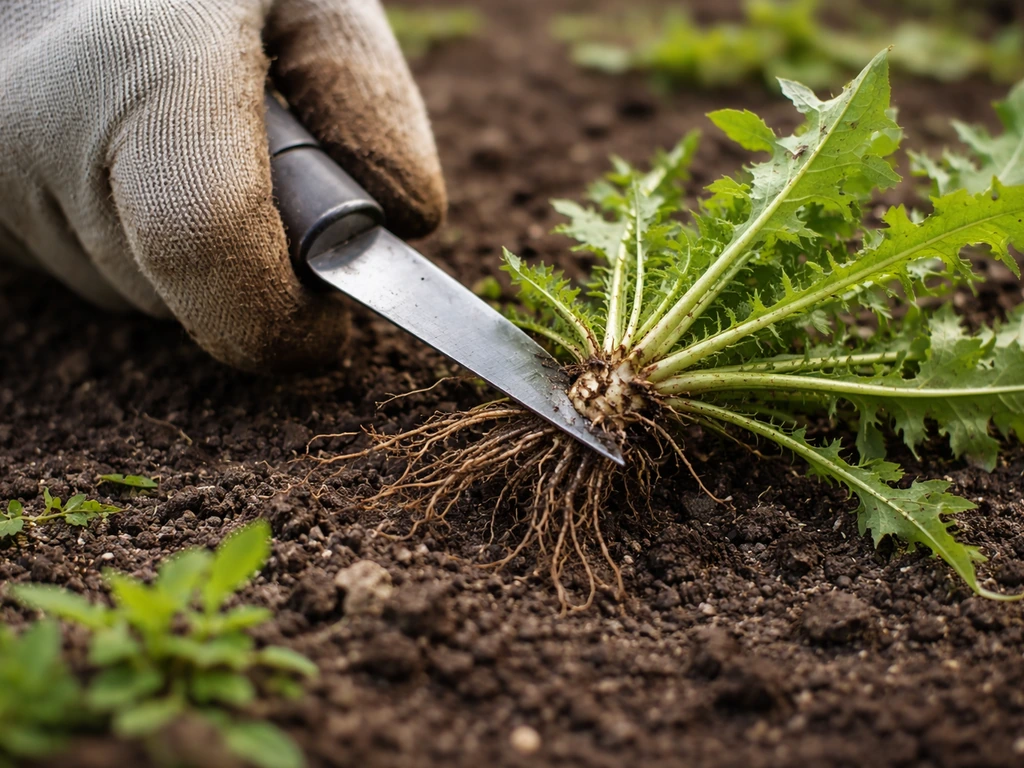
Work the weeding knife into the joint at an angle and get underneath the root crown, then lever upward rather than pulling straight up. You want to extract the whole root, not just the top growth. For larger, more established weeds like dandelions or grasses with deep fibrous roots, go in from both sides of the gap. Once the main root is out, use the tip of the knife to scrape out any remaining root fragments and debris from the joint itself. The goal at this stage is to get the gap as clean as possible, because you'll be refilling it later.
After mechanical removal, pour boiling water into the cleared joints. It's low-tech but it works: the heat kills any fine root material and seeds you couldn't physically extract. Pour slowly so it saturates the gap rather than running straight off the surface. Be careful around any plastic edging or decking nearby. Once the joints have cooled and dried, go over the whole area with a stiff brush to clear out loosened debris.
If you're dealing with a large area and the weeds are well established, a non-selective herbicide (one containing glyphosate) can help before you start the full joint-clearing process. Apply it, wait for the weeds to die back fully (usually 7 to 14 days), then do the physical removal. Dead roots are actually easier to extract than live ones in some cases, and you'll have less risk of leaving viable root fragments behind. That said, the RHS doesn't recommend weedkillers and mechanical removal alone is effective if you're thorough. If you'd rather stay chemical-free, stick to the knife and boiling water approach.
Cleaning out the joints properly before you refill them
This step is where most DIYers cut corners, and it's why the weeds come back. Once the weeds are out, you need to clear the joints down to a proper depth before adding any new joint material. Techniseal's guidance for polymeric sand specifies a minimum joint depth of 4 cm (about 1. Techniseal’s EZSAND technical data sheet also specifies that the polymeric sand level should be at least 1/8 inch (3 mm) below the top of the pavers to help prevent residue and ensure proper activation minimum joint depth of 4 cm. 5 inches). If your joints are shallower than that after clearing, the new material won't lock in properly and will be vulnerable to washout and future weed growth.
Use the weeding knife, a narrow screwdriver, or even a wire brush to scrape out old sand, grit, and organic matter from the full depth of each joint. You want clean, stable joint walls. If the joints are filled with a crumbling old mortar mix, chip it out carefully. Don't use a pressure washer at high pressure at this stage: it can blast debris deep into the joints and, as pavingexpert warns, water ingress under pressure can undermine the bedding layer beneath the slabs. A light rinse is fine, but keep the pressure low.
Choosing the right product to fill the joints
This is the most important decision in the whole job, and the options are genuinely different in terms of how well they work long term.
| Option | How it works | Weed resistance | Durability | Best for |
|---|---|---|---|---|
| Regular kiln-dried sand | Swept into joints dry | Poor: seeds germinate easily in it | Low: washes out with rain | Temporary fix only |
| Polymeric jointing sand | Swept in dry, activated with water to harden | Good: hardens to resist germination | High: resists erosion and washout | Most patios with standard joints |
| Mortar pointing | Mixed mortar packed into joints | Excellent when intact | High but prone to cracking over time | Rigid, non-moving slabs on firm base |
| Patio joint sealant | Applied over existing joints to bind them | Good as an add-on layer | Medium: needs reapplication | Already-solid joints needing a top-up |
For most homeowners with a standard patio, polymeric jointing sand is the best all-round choice. Products like QUIKRETE HardScapes Polymeric Jointing Sand or Techniseal EZSAND are specifically designed to harden once activated with water, resist erosion, and discourage weed growth and insects. They work for joints up to 2 inches wide between concrete slabs, natural stone, or brick pavers. Regular kiln-dried sand is cheap but essentially useless as a long-term weed barrier: it stays loose, washes out, and gives seeds a perfect seedbed.
How to apply polymeric sand correctly
- Make sure the surface is completely dry and the joints are cleared to at least 1.5 inches deep.
- Pour polymeric sand over the patio surface and sweep it into the joints using a soft brush, working it in from multiple directions.
- Compact it lightly by tamping, then add more sand and sweep again until joints are filled. Techniseal specifies the sand level should sit at least 1/8 inch (3 mm) below the top of the slabs to prevent surface residue.
- Blow or brush off all excess sand from the slab surface. Any sand left on the surface will haze when activated.
- Wet the joints using a garden hose on a gentle mist setting. Soak the joints thoroughly but avoid a strong jet that flushes the sand out. Repeat the wetting in passes.
- Allow to cure. Most polymeric sands are walkable in about 24 hours, but full cure takes up to 48 hours or longer depending on temperature and humidity.
- Avoid heavy rain in the first 24 to 48 hours. A hard downpour during this window can dislodge the sand before it has hardened.
Sealing the joints to lock out future weeds
Once your joints are refilled, sealing adds a useful extra layer of protection. You can also use this same approach when you’re learning how to reseal patio pavers to prevent new weeds from taking hold. A good patio sealant applied over the surface and into the joint tops helps bind the jointing material, repels water, and makes it much harder for seeds to find purchase.
Whether you plan to go with a polymeric sand jointing system or a different approach, this section on sealing between patio slabs is the next step to lock it in how to seal between patio slabs. It's also worth noting that sealing your slabs and properly sealing the gap between the patio and the house are related jobs that deal with the same root cause: water finding its way into and under the patio surface.
If you're already doing this work, it's worth tackling all of it at the same time.
For brick or natural stone patios, the sealing process is slightly different and the product choice matters more, since some sealants can affect the appearance of certain materials. Whether you're working with concrete pavers, brick, or stone slabs, the principle is the same: clean surface, filled joints, then sealer applied in thin coats with a roller or brush, following the manufacturer's cure time before foot traffic.
When the problem is bigger than just weeds
It's worth being honest about when simple re-jointing won't solve the problem. If your patio has widespread joint failure across most of the surface, multiple rocking or sunken slabs, or standing water that doesn't drain away after rain, the weed problem is a symptom of something bigger. Pavingexpert is clear on this: re-jointing alone won't fix a patio where the bedding or base has failed. In those situations, the slabs need lifting, the base needs addressing, and then re-laying before you re-joint.
Similarly, if you have significant drainage problems and water regularly pools on or around the patio, that constant moisture will keep encouraging weed growth regardless of what you put in the joints. Fixing drainage is a separate job, but it's the only real fix if that's what's driving the problem.
Keeping the patio weed-free going forward
Once you've done the hard work of clearing and re-jointing, keeping on top of it is much easier. The key is catching weeds when they're tiny, before they set seed and root in deeply. A seedling pulled out with your fingers takes seconds. A fully rooted dock plant wedged into a joint takes a lot more effort.
- Walk the patio every few weeks in spring and summer and pull any seedlings as soon as you spot them. Small weeds haven't rooted in yet and come out easily.
- Sweep the surface regularly to prevent organic debris and soil building up in joints, which is what gives seeds a growing medium.
- Re-apply kiln-dried sand or top up polymeric sand if you notice joints becoming shallow or hollow after winter. Don't let gaps open up and stay open.
- Check the joint sealant every two to three years and reapply if it's worn. A maintained sealed surface is far harder for seeds to colonise.
- Deal with any drainage issues promptly. Standing water on or near the patio will keep creating ideal germination conditions.
- If a slab starts to rock or shift, reset it sooner rather than later. Movement cracks jointing and opens gaps quickly.
The honest reality is that no patio is completely maintenance-free. Seeds blow in from neighbouring gardens and verges year-round, and some will always find a way into imperfect joints. What you're aiming for is a surface where weeds never get established, not one where they never try. With properly filled, sealed joints and a quick monthly check in the growing season, you can realistically keep the problem down to a few minutes of hand-pulling rather than the full re-jointing job you're doing today.
FAQ
Can I just pour weed killer into the gaps between patio slabs and be done with it?
You can kill the visible growth, but it usually does not stop new seeds settling into open or washed-out joints. For best results, remove roots first, then re-fill and seal joints so there is no suitable seedbed for the next wave of airborne seeds.
What should I do if I find weeds coming up from the edges, not the middle of the slabs?
Treat edging and perimeter joints as part of the joint system. Clear and re-joint along the border where water and debris collect, and if there is a gap between the patio and the house, reseal that joint too so moisture does not keep feeding germination.
How can I tell whether weeds are a sign of broken joints versus a failing base?
Walk the patio and press down on individual slabs. If any rock or wobble, the bedding layer underneath is likely failing, and re-jointing alone will wash out or crack again. In that case you generally need to lift and reset affected slabs before jointing.
Is boiling water safe for all patio materials?
It is generally fine for most paving, but use caution near decking boards, plastic edging, and any plants that you want to keep. Pour slowly so you saturate the joint, then let the area cool and dry before brushing or re-jointing.
Why do weeds reappear in the same spots after I’ve re-filled the joints?
Most repeat outbreaks come from insufficient joint depth, poorly cleaned joint walls, or polymeric sand that was not activated and protected correctly. Also check for drainage issues or joints that remain open because slabs have shifted slightly.
What joint width and joint condition are required for polymeric sand to lock properly?
Polymeric sand works best when joints are properly prepared and deep enough for the product to harden into a stable matrix. If joints are very shallow or the old material is crumbling, you need to scrape down and chip out to get clean, solid joint walls before refilling.
Can I speed up re-jointing by pressure washing first?
Avoid high-pressure washing into the joints. It can drive debris and water deeper and undermine the bedding layer below the slabs. If you rinse, keep it light and let everything dry thoroughly before adding new jointing material.
How wet should the joints be when removing weeds and scraping out old sand?
Aim for slightly moist, not waterlogged joints. Very dry joints make roots brittle and can break them, leaving fragments that can regrow. Slight moisture helps you extract more of the root crown and reduces leftover debris.
How long should I wait before walking on polymeric sand and sealing the patio?
Follow the manufacturer’s cure instructions because activation, weather, and product formulation change the timeframe. A common mistake is walking too early, which can disturb joint filling before it fully hardens.
Do I need to seal the slabs every time I use polymeric sand?
Not always, but sealing can add water resistance that helps keep joints stable and less hospitable to seedlings. If you do seal, make sure the jointing has fully hardened and cure time is complete, and use a sealer suitable for your paving material.
What’s the safest, most effective way to remove stubborn weeds like grasses or dandelions from joints?
Work from both sides of the gap for deep fibrous roots, angle the tool to get under the root crown, then scrape out remaining fragments. Finish by clearing the joint thoroughly to the full depth so you are not leaving a hidden root remnant.
If I have standing water on the patio after rain, should I still re-joint for weeds?
Re-jointing can reduce weeds temporarily, but persistent pooling keeps creating a damp seedbed, so weeds will keep returning. You generally need to address drainage, then re-joint once the area is stable and dry.
Next Article
How to Seal a Brick Patio: Full DIY Reseal Guide
Step-by-step DIY guide on how to seal or reseal a brick patio, including prep, sealer choice, application, and curing.