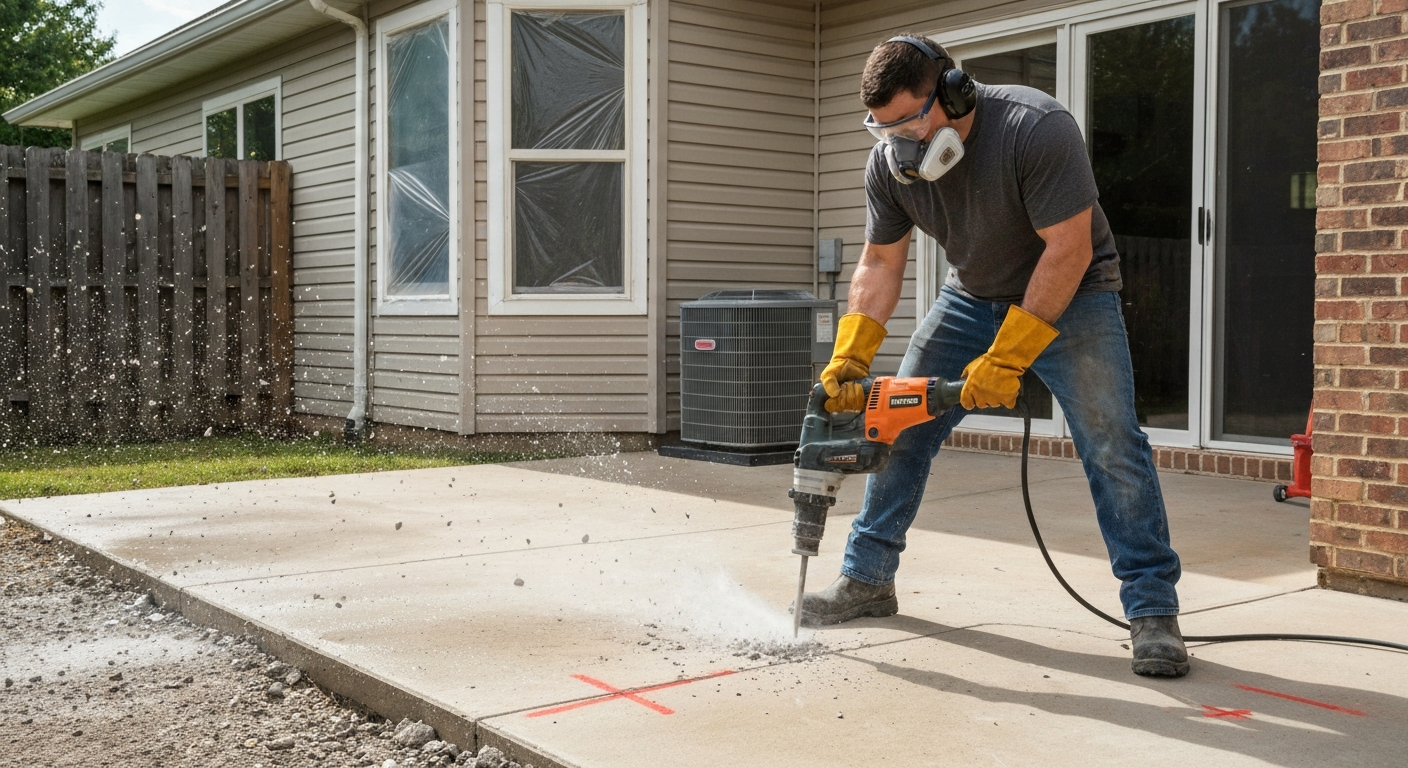
Breaking up patio slabs is genuinely doable as a DIY project for most homeowners, but the method depends almost entirely on what you're working with. A plain 4-inch concrete slab with no rebar can come out in an afternoon with a rented electric demolition hammer and some muscle. A thicker reinforced slab bonded to your house foundation is a different job entirely, and doing it wrong can crack your foundation wall, sever a buried gas line, or land you with a hazardous waste disposal problem. This guide walks through every decision you need to make before you swing a single hammer, then covers the three main techniques: hand demolition with a sledgehammer, jackhammer/demolition hammer work, and cutting control lines with a concrete saw.
How to Break Up Patio Slabs: Safe DIY Guide & When to Hire

Talia Lang
28 Jul 2026
DIY or hire a pro? Make this call before you start
Most patio slabs can be broken up by a capable DIYer in a weekend. But a handful of conditions push the job past what's safe or practical without professional equipment and expertise. Run through this checklist before you rent anything.
- Hire a pro if the slab is physically attached to or continuous with your house foundation. Cutting or prying in the wrong spot can induce cracking in the foundation wall.
- Hire a pro if the slab is reinforced with rebar (not just wire mesh) and thicker than 6 inches. Cutting through heavy rebar requires specialized blades and can bind saws unpredictably.
- Hire a pro if you have confirmed utilities running underneath and the locate markings put them close to the slab footprint. Even experienced DIYers strike utilities.
- Hire a pro if the slab shows staining, discoloration, or an oily residue that could indicate chemical contamination. Contaminated concrete waste needs special handling and disposal.
- Hire a pro if the patio is on a slope and there is no clear plan for managing debris weight and movement. Slab chunks can shift and injure you quickly.
- Do it yourself if the slab is a standard 4-inch residential patio, unreinforced or lightly mesh-reinforced, not attached to the house structure, and clear of utilities.
If you're on the fence, consider the scale. A typical 200 sq ft patio at 4 inches thick weighs roughly 6,000 to 7,500 lbs total (concrete runs about 145 to 150 lbs per cubic foot, so a 4-inch slab is around 30 to 37 lbs per square foot). That's a lot of material to move manually. Renting a mini-excavator with a hydraulic breaker attachment, which runs roughly $250 to $400 per day depending on your area, is often more cost-effective than two days of hand labor once you do the math honestly.
Know what you're working with before you pick up a tool
The type of slab you have changes everything: the tool you need, how long it takes, how dangerous the dust is, and what you can do with the debris afterward. Spend fifteen minutes on assessment before you do anything else.
Plain concrete slabs
Most residential patios are plain concrete poured at 4 inches on a compacted gravel base, with compressive strength somewhere between 2,500 and 4,000 psi (3,000 psi is the most common residential mix). These slabs break predictably, lift in manageable chunks, and can often be recycled as fill. Look for existing control joints (the intentional grooves cut into the surface every few feet) because those are natural break lines you can work from. If your slab has control joints, your job is easier.
Exposed-aggregate slabs
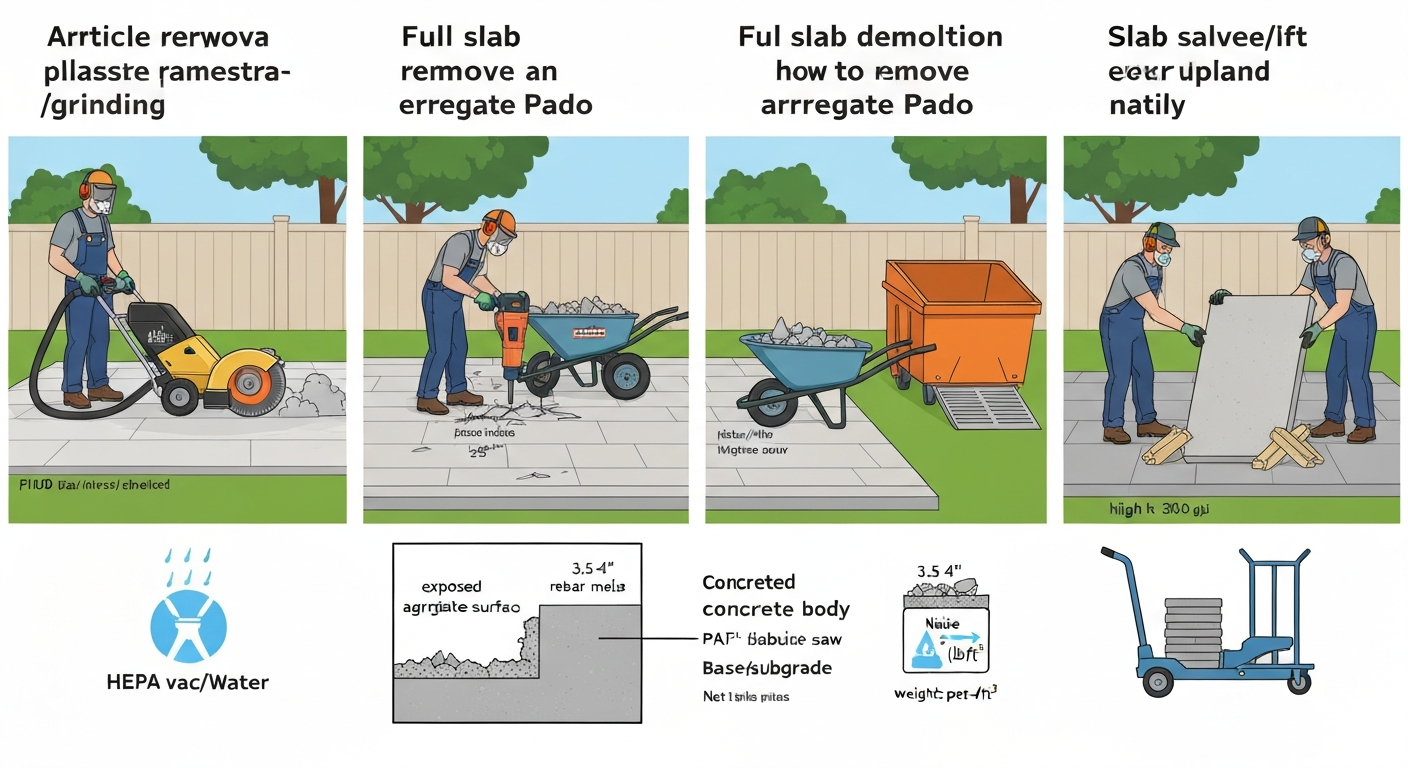
Exposed-aggregate concrete looks decorative with pebbles or stones visible on the surface, but structurally it's still just a concrete slab. The finish doesn't affect how you break it. What does matter is that if you want to save any of the surface for reuse, it's fragile once cracked, so cutting rather than smashing is the better approach. If it's coming out completely, treat it the same as plain concrete.
Reinforced and older slabs
Older slabs, especially those poured before the 1980s, may have rebar (steel reinforcing bars) or welded wire mesh embedded in them. You can usually spot rebar by looking at any existing cracks or broken edges where steel is visible. Mesh is lighter gauge wire in a grid pattern and is common in thinner residential slabs. Rebar-reinforced slabs don't break into clean pieces. They hold together in heavy, awkward chunks connected by steel, which makes them much harder to lift and requires bolt cutters or an angle grinder to separate. Old slabs may also be thicker than 4 inches if they were poured as combined patio and footing structures. Probe the edges with a pry bar to estimate actual thickness before you start.
Also check for these before starting: any paint, coating, or sealer on the surface (could affect dust hazard classification), signs of settlement or hollow spots under the slab (tap with a hammer and listen for a drum sound), and whether the slab runs under a fence, shed, or structure you want to keep. That last one catches people off guard more often than you'd think.
Safety and legal checks you can't skip
Utility locates
Before you dig or break concrete that sits on soil, you need to locate underground utilities. In the US, call 811 or submit a request through the 811 online portal at least a few business days before you start work. Utility companies will mark the ground with colored flags and paint showing where gas, electric, water, sewer, and telecom lines run. In Canada, contact your provincial one-call service (Ontario One Call, for example) before any excavation. In Australia, use Before You Dig Australia (BYDA) online or call 1100. This is not optional. Striking a gas or electrical line with a jackhammer is a life-threatening emergency, and liability falls on you if you skipped the locate request.
Permits and property-line issues
Demolition of a patio usually doesn't require a permit, but check with your local building department if the slab is large, if you plan to haul debris through a neighbor's property, or if there's any question about where your property line sits. Some municipalities require a permit for any structural work near a house foundation. A five-minute phone call to your local planning office can save a headache.
PPE: what you actually need
Concrete demolition generates respirable crystalline silica dust, which causes serious and irreversible lung damage with repeated exposure. OSHA sets the permissible exposure limit at 50 micrograms per cubic meter over an 8-hour day, with an action level of 25 micrograms. For a homeowner doing a one-time job, the practical answer is: wear a properly fitted N95 respirator at minimum, and a P100 half-mask if you're doing extended cutting or jackhammering. Don't use a dust mask from the hardware store bin. Use wet methods (water sprayed at the work point) or a HEPA vacuum on any power tools whenever possible. Beyond respiratory protection, you need safety glasses or a face shield, hearing protection rated for 90+ dB (jackhammers typically run 100 to 115 dB), steel-toed boots, and heavy leather work gloves. Flying concrete chips are fast and sharp.
Tools for the job: what to rent, what to buy
For most homeowners, renting beats buying on concrete demo. You'll use these tools once, they're expensive, and proper maintenance matters for safety. Here's what each tool is for and when it makes sense.
| Tool | Best use case | Rent or buy | Rough cost |
|---|---|---|---|
| Sledgehammer (8–12 lb) | Thin, unreinforced slabs under 4 in.; finishing breaks after scoring | Buy, ~$40–$60 | Keep it, you'll use it again |
| Cold chisel + hand hammer | Starting cracks at edges, breaking out small sections, cleaning up cuts | Buy, ~$15–$25 set | Worth owning |
| Pry bar (36–60 in.) | Lifting broken pieces, creating air gaps under slab | Buy, ~$25–$50 | Essential for any slab work |
| Electric demolition hammer (50–70 lb class) | Medium patios, 4 in. unreinforced or lightly mesh-reinforced slabs | Rent, ~$60–$90/day | Most cost-effective choice for DIY |
| Gas or electric jackhammer (65–90 lb class) | Thicker slabs, stubborn concrete, rebar-reinforced slabs | Rent, ~$100–$150/day | Upgrade if demo hammer stalls |
| Concrete/masonry circular saw (walk-behind) | Cutting control lines for cleaner breaks, reducing slab to liftable sections | Rent, ~$80–$130/day | Diamond blade required |
| Angle grinder with diamond cup wheel | Scoring, detail cuts near walls, cutting wire mesh | Buy or rent, ~$50–$80 | Useful for tight spots |
| Mini-excavator + hydraulic breaker | Large areas, thick slabs, reinforced concrete, or when time is the constraint | Rent as package, ~$250–$400/day | Best value for jobs over 300 sq ft |
Saw blades: diamond is the only answer for concrete
For any concrete cutting, you need a diamond blade, not an abrasive masonry blade. Diamond blades are either wet-cut or dry-cut. Wet-cut blades run cooler, last longer, and dramatically reduce silica dust, which is why OSHA's Table 1 recognizes wet cutting as an effective engineering control. Dry-cut diamond blades are more convenient but generate far more dust, so you need HEPA vacuum capture at the blade guard if you go that route. Blade diameter matters: a 14-inch blade on a walk-behind saw will cut to about 4.5 to 5 inches deep, which is adequate for most residential slabs. Don't try to cut all the way through a 4-inch slab in one pass. Make two to three shallower passes incrementally.
Prepare the site before demolition starts
Good site prep makes the actual demolition faster, safer, and easier to clean up. It's worth an hour or two before you start breaking anything. If you need to clear grass before installing a patio, see our guide on the best way to remove sod for patio.
- Clear the patio completely: furniture, planters, grills, lighting, and any decorative elements. Move them far enough away that debris won't reach them.
- Remove any sod or soil bordering the patio edges. You want a clear view of the full slab perimeter and you want to be able to slide debris off the edge. If you're planning to install a new patio afterward, check the guide on removing sod for patio preparation to do that step properly.
- Mark utilities (from your locate ticket) on the slab surface with chalk or marking paint so you can see them while you work.
- Set up your debris area before you start. Stack broken concrete in one staging spot close to vehicle access, not scattered across the yard. A rented dumpster placed near the work area is worth the cost for anything over a small slab. Concrete is extremely heavy and carrying chunks any distance is exhausting.
- Protect adjacent structures: tape plastic sheeting over windows, sliding doors, and any outdoor HVAC equipment within 15 to 20 feet. Concrete chips travel surprisingly far, and an AC condenser fin is easy to damage.
- If you're using a wet saw or water for dust control, plan your drainage. Water mixed with concrete dust (called concrete slurry) is alkaline and can damage plants, so direct runoff away from garden beds.
Method 1: Breaking thin or small slabs by hand
This method works well for slabs that are 4 inches or under, unreinforced, and not too large (roughly under 100 sq ft is where hand work stays reasonable). It requires more effort than power tools but costs less and is easier to control in tight spaces. Expect to spend two to four hours on a 100 sq ft slab working steadily.
- Score the perimeter first. Use a cold chisel and 3-pound hand hammer to score a crack line along the outer edges of the slab. This gives your breaks somewhere to run and prevents the cracking from traveling under adjacent structures.
- Find a weak point or existing crack. If the slab already has cracks or control joints, start there. If not, chip away with a chisel at the center of one edge until you open a small gap you can work from.
- Create an air gap under the slab edge. Slide a pry bar under the edge and lever it up slightly. This is critical: concrete breaks much more easily when there's void space underneath for it to flex into. Without an air gap, you're just transmitting energy into the ground.
- Strike with the sledgehammer at a point 6 to 12 inches back from the edge, not directly on the edge itself. Aim for the center of the area you want to break. Use full swings from your shoulders, not just wrist flicks.
- Work in sections of about 2 to 3 square feet at a time. Don't try to break the whole slab at once. Break one section completely, lift the pieces out (keep them under 50 to 60 lbs per chunk for safe manual handling), then move to the next section.
- Use the pry bar constantly between hammer strikes to widen cracks and lever pieces free. The pry bar does as much work as the hammer in this method.
- For wire mesh-reinforced sections: once the concrete is broken, the mesh holds chunks together. Cut through the mesh with bolt cutters or an angle grinder before lifting pieces, or you'll be fighting a heavy tangled mass.
- Keep the work area wet. Spray water on the concrete as you hammer to suppress dust. This matters most when you're creating fresh fractures.
Method 2: Using a jackhammer or demolition hammer
An electric demolition hammer (sometimes called a chipping hammer or breaker) in the 50 to 70 lb class is the right tool for most DIY patio removals. A full jackhammer is heavier (65 to 90 lbs) and harder to control but hits harder, which matters for thicker or reinforced slabs. Both tools work on the same basic technique. Rent one from your local equipment rental yard rather than buying.
- Attach a chisel point bit (not a flat bit) for starting breaks. Switch to a wider flat or spade bit once you have initial cracks opened up.
- Start at the perimeter edges of the slab, not the center. Edges have less support and will break first. Work your way inward section by section.
- Hold the tool at roughly a 30 to 45 degree angle to the surface rather than straight vertical. This angle drives the bit under the concrete rather than just pounding the surface, which is more efficient and creates larger usable breaks.
- Let the tool do the work. You guide and position it; you don't press down hard. Pressing hard into the work stalls the hammer mechanism and tires you out fast. If it's not breaking, reposition slightly rather than pressing harder.
- Move the breaker every 5 to 10 seconds whether the concrete is cracking or not. Staying in one spot too long with no progress means you need to reposition to create an air gap or attack from a different angle.
- Stop periodically to pry out broken sections with a pry bar. Clearing debris as you go gives you room to maneuver and reveals the next section to attack.
- If you hit rebar: stop the jackhammer and cut through the exposed rebar with an angle grinder or reciprocating saw with a metal-cutting blade before continuing. Do not try to jackhammer through rebar. It will damage the tool and can cause the bit to bind and kick.
- Keep water running at the work point whenever possible. If you're using an electric tool outdoors, use a GFCI-protected extension cord and keep electrical connections off the wet ground.
- Take breaks every 20 to 30 minutes. Vibration from demolition hammers causes hand-arm vibration syndrome with prolonged exposure, and fatigue leads to mistakes. The job will still be there after a 10-minute rest.
For very large or stubborn jobs, a mini-excavator with a hydraulic breaker attachment is genuinely the better answer. The machine does the physical work, the operator stays in an enclosed cab away from the worst dust, and the pace is dramatically faster. blank" rel="noopener noreferrer">OSHA recommends enclosed cabs and water sprays or dust suppressants during heavy-equipment demolition to reduce silica exposure for nearby workers when breaking, fracturing, or abrading concrete. Hydraulic breaker attachments run in the 1,000 to 4,500 lb force class at the rental level, and a package rental of mini-excavator plus breaker in the $250 to $400/day range often represents better value than two days of manual labor with a handheld tool when you factor in your own time and fatigue. See blank" rel="noopener noreferrer">Rent Attachments for Earthmoving Equipment (United Rentals) for rental options, breaker attachment sizes, and typical package pricing.
Method 3: Cutting control lines with a concrete saw
Cutting the slab into sections before breaking it is the cleanest and most controlled demolition method. It's especially useful when you want smaller, more manageable chunks for easier removal, when working close to structures you want to protect, or when you need clean edges (for example, if you're removing part of a slab and leaving the rest in place). It's also the right approach if you want to lift some slabs intact for reuse rather than breaking them, which is a technique covered separately in our guide on how to lift patio slabs without breaking them.
- Mark your cut lines with chalk before you start. Plan a grid of cuts that divides the slab into sections no larger than 2 feet by 3 feet (roughly 60 to 100 lbs per piece at 4 inches thick). Smaller is easier to handle manually.
- Set up your concrete saw with a wet-cut diamond blade sized for your slab depth. A 14-inch blade gives you about 4.5 to 5 inches of cut depth, which is enough for most residential patios.
- Set the blade depth to about half the slab thickness for the first pass. Don't try to cut through in one pass. Cutting too deep too fast overheats the blade, creates more dust, and can cause the saw to bind.
- Start the saw before touching the blade to the concrete. Lower it slowly into the surface at the start of your marked line.
- Keep water flowing onto the blade throughout the cut. If your saw has an integrated water feed, use it. If not, have a second person run a garden hose at the blade entry point. The water cools the blade and suppresses dust at the source.
- Walk the saw steadily along your chalk line at a pace the blade can maintain. If you feel the saw laboring or slowing, ease up on your forward pressure. You are not pushing the saw through; you're guiding it.
- Make two to three passes at increasing depth, reaching full slab depth on the final pass. After cutting, the sections will still be held slightly by the intact base. Use a pry bar at the cut lines to break the remaining bond.
- Once all cuts are complete, use the jackhammer or demolition hammer on individual sections to break them further if needed, then pry and lift. Because the slab is now in defined sections, the breaking is much more predictable and controllable.
- After cutting, clean slurry (the gray muddy water) off the surface with a broom and bucket before it dries. Dried concrete slurry is difficult to remove and can stain surfaces.
What to do with the broken concrete
Broken concrete is heavy and bulky, so think about disposal before you start, not after you have a pile of rubble sitting on your lawn. The main options are: renting a dumpster (most common, easiest, but not cheap at $300 to $600 for a small load), hauling to a concrete recycling facility yourself if you have a truck and trailer (often free or very low cost, and the concrete gets crushed for road base or fill), posting it on a local classifieds site as free fill material (landscapers and contractors often take it), or hiring a junk removal service that specializes in concrete. Check that any facility you use accepts concrete separately from mixed demolition waste, since recycling rates are better. For a step-by-step walkthrough on stripping and removing old patio slabs, see our guide on how to remove old patio slabs. If your concrete is contaminated with coatings, sealants with heavy metals, or chemical spills, it may need to be disposed of as regulated waste, which is another reason the initial slab inspection matters.
Plain concrete vs. reinforced slab: which method fits your situation
| Slab type | Recommended method | Key tool | Difficulty | Time for 200 sq ft |
|---|---|---|---|---|
| Plain concrete, 4 in., no rebar | Hand breaking or demo hammer | Electric demolition hammer | Moderate | 4–8 hours |
| Mesh-reinforced, 4 in. | Demo hammer + bolt cutters | Electric demolition hammer + bolt cutters | Moderate-high | 6–10 hours |
| Rebar-reinforced, 4–6 in. | Cut first, then jackhammer | Concrete saw + jackhammer + angle grinder | High | 8–14 hours |
| Thick slab, 6+ in., any reinforcement | Mechanical with hydraulic breaker | Mini-excavator + breaker attachment | Low-moderate (operator skill) | 2–4 hours |
| Old slab attached to foundation | Professional only | Professional assessment required | Not DIY | N/A |
One last thing worth saying plainly: most patio slab removal projects that go wrong do so in the preparation stage, not the demolition itself. People skip the utility locate, don't identify the rebar until the saw binds, or don't have a debris plan and end up with a ton of rubble they can't move. Take the preparation steps seriously and the actual breaking is just physical work.
FAQ
What safety standards do I need to know before breaking up patio slabs?
Key standards: OSHA’s silica rule (29 C.F.R. §1926.1153) sets a PEL of 50 µg/m³ (8‑hr TWA) and an action level of 25 µg/m³ for respirable crystalline silica; it requires engineering controls (wet methods, HEPA vacuums) and respirators when controls won’t keep exposure below the PEL. Use NIOSH/CDC guidance for exposure assessment and sampling if needed. Always call your local one‑call (811 in the U.S., provincial/state services in Canada/Australia) to locate buried utilities before digging or removing slabs.
What personal protective equipment (PPE) should I use?
At minimum: NIOSH‑approved N95 or, for heavy dust/long work, a half‑ or full‑face respirator with P100 cartridges; safety glasses or goggles; face shield for flying chips; hearing protection (earmuffs or plugs); heavy work gloves; steel‑toe boots; long sleeves and dust‑resistant clothing (wash separately). Use wet methods or HEPA vacuums to reduce respirable dust so PPE suffices.
How should I control concrete dust and silica exposure on a DIY job?
Use wet cutting/splitting (apply water at the point of impact) and wet down surfaces regularly; attach a HEPA‑filtered vacuum to saws or use a handheld HEPA vac for grinders/chisels; set up wind breaks and work upwind when possible; limit number of people in the area and rotate tasks to reduce individual exposures; if engineering controls are insufficient, use appropriate respirators per OSHA/NIOSH guidance.
How do I assess an existing patio slab before demolition?
Check thickness (4" is common for pedestrian patios; 5–6" for vehicle loads), visible reinforcement (rebar or wire mesh), control joints, edges/footings, attachment to house foundations, surface finish (exposed aggregate, coatings), and signs of contamination (stains, spills). If slabs tie into foundations, overlie utilities, include deep footings, or appear contaminated, stop and consult a contractor or structural engineer.
What are the basic step‑by‑step methods for breaking up slabs safely?
Typical DIY sequence: 1) Call 811 and get utility locates. 2) Mark the area and remove adjacent sod/landscape. 3) Score control cuts with a concrete saw if large panels need splitting. 4) Create an edge gap by chiseling/prying at joints. 5) Use a sledgehammer or handheld breaker to fragment panels into manageable pieces. 6) Remove fragments with pry bars/wheelbarrow. 7) Wet down frequently for dust control and load debris for disposal. Follow PPE and dust‑control practices throughout.
When should I use a sledgehammer vs. a jackhammer vs. a hydraulic breaker?
Sledgehammer: small slabs, thin concrete (~4"), minimal reinforcement—low cost but hard work. Electric/pneumatic jackhammer or demolition hammer: medium jobs, thicker slabs, some reinforcement—faster and more efficient for DIY with rentals. Hydraulic breaker (excavator/skid‑steer attachment): large areas, heavily reinforced or thick slabs, or when speed matters—rental usually includes machine; higher cost but far quicker and reduces manual labor.
Next Article
How to Remove Aggregate Patio: DIY Steps, Tools & Prep
DIY guide to remove an exposed-aggregate patio: assess, tools & PPE, demolition or lift, disposal, costs, and prep for a