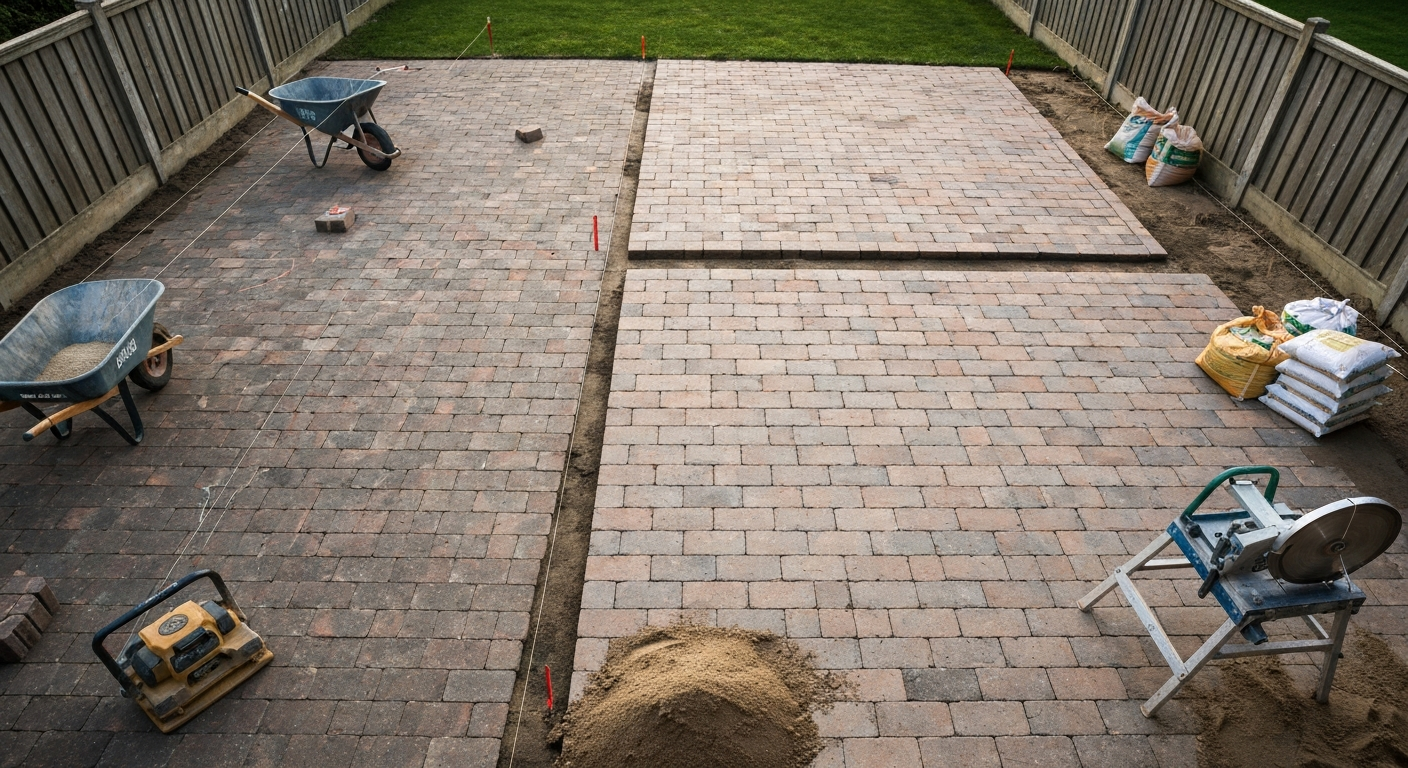
You can cover a brick patio with paint, stain and sealer, a thin-set tile or paver overlay, or a floating deck built directly over the surface. Each method works, but which one makes sense depends on what shape your brick is actually in. A patio with a few cosmetic issues is a good candidate for any of the three. One with sunken sections, crumbling mortar, or a drainage problem underneath needs repair work first, or the covering you install will fail inside a season.
How to Cover a Brick Patio: Paint, Tile, or Build a Deck

Talia Lang
18 Jul 2026
What this guide covers and who it's for
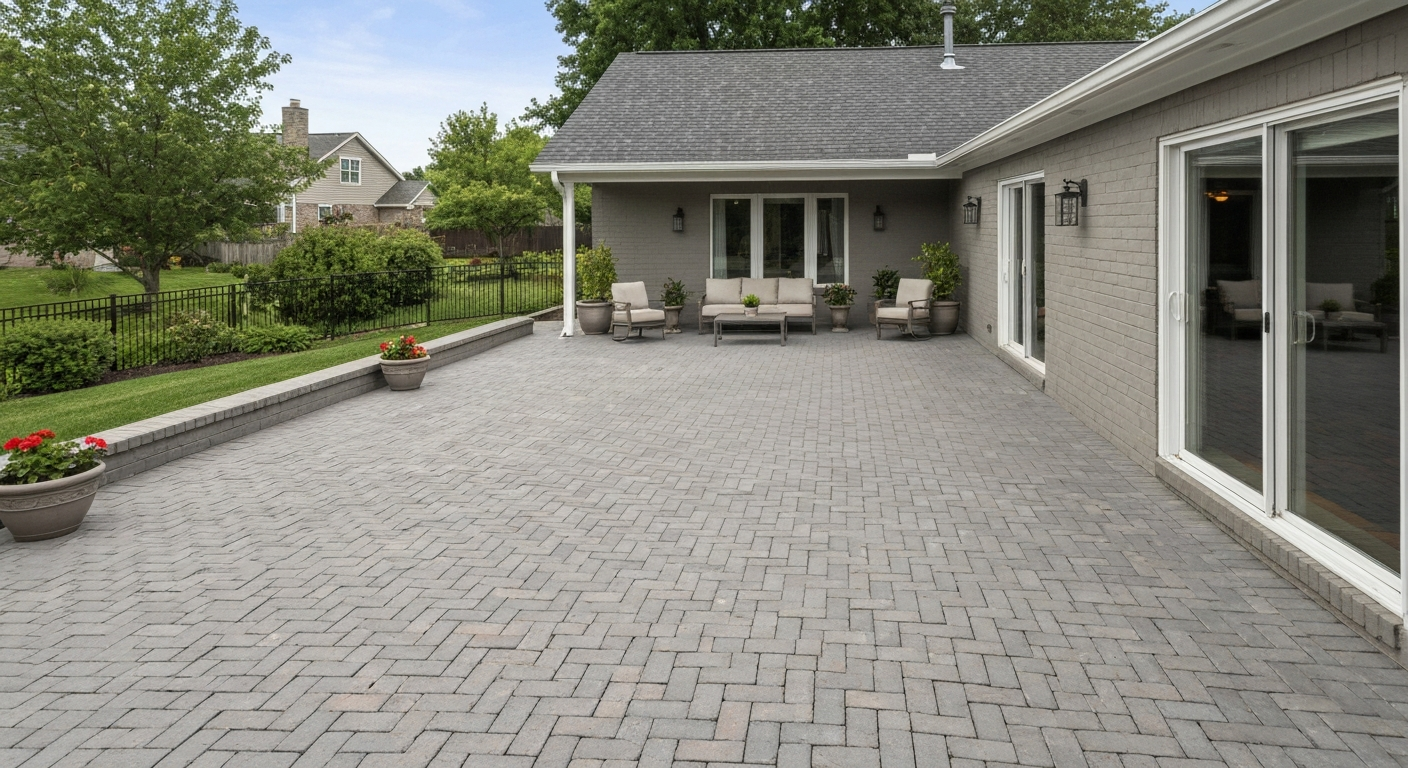
This is for homeowners who have an existing brick patio that looks tired, has some cosmetic damage, or just does not suit the space anymore, and want a practical path to fixing that themselves. I'll walk you through inspecting the patio so you know what you're actually dealing with, help you decide whether covering is the right move or whether repairing the brick is a better call, then give you step-by-step instructions for the three most common covering methods. If you plan to tile over brick, see the how to tile over brick patio guide for a step-by-step tiling method and materials checklist. Along the way I'll flag the points where a job stops being DIY-friendly and becomes something you should hand off to a professional.
Cover it or repair it first? Make this call before anything else
Covering a patio is a surface treatment. It does not fix whatever is happening underneath. If you paint over a sunken brick, the sunken brick is still sunken. If you tile over a section with failed drainage, water is still pooling under your new tile. That is why the first honest conversation you need to have is with yourself about whether the patio needs repair, not just a new look.
The good news is that many brick patios that look rough are actually structurally sound. Surface staining, faded color, light mortar crumbling between joints, or a few slightly raised bricks are all cosmetic problems that a covering approach handles well. What you are looking for are the issues that go deeper than cosmetics.
- Cover it if: the surface is stained, faded, or cosmetically damaged but the bricks are stable, the drainage is acceptable, and nothing moves underfoot.
- Repair or relay it if: bricks are loose, sunken, or rocking; mortar joints are failing across a wide area; water pools on the surface or drains toward the house; or the subbase has clearly shifted.
- Replace it if: settling is widespread, the subbase is failing, or the layout no longer drains correctly and there is no realistic fix short of starting over.
If you are weighing whether to relay or replace the brick entirely rather than cover it, that is a different project with its own scope and cost. If you want step‑by‑step instructions on relaying brick rather than covering it, see my guide on how to relay a brick patio for detailed procedures and tips. If you decide replacing the brick is necessary, see our step-by-step guide on how to replace a brick patio. If you're considering adding onto an existing paved area, read our guide on how to extend a brick patio for step-by-step instructions. The decision here really comes down to one thing: is the surface stable? If yes, covering works. If no, fix the foundation of the problem first.
Inspecting your brick patio: what to look for before you buy anything
Get down close and spend 20 minutes actually examining the patio before you commit to any covering method. You are looking for four categories of problems.
Loose or sunken bricks
Walk the entire surface and press down on each section with your foot. Any brick that rocks, shifts, or sounds hollow has lost contact with the sand or mortar bed beneath it. A single loose brick near the edge is a minor fix. A pattern of sunken or loose bricks in the center of the patio usually means the subbase has settled unevenly, which is not something paint or tile will hide.
Mortar joint failure
Rake a screwdriver along several mortar joints. Sound mortar resists scratching. Failing mortar crumbles or comes out in powder. Some joint deterioration is normal and patchable. If the mortar is coming out easily across more than about a third of the joints, the patio needs repointing (tuckpointing) before you cover it. When you repoint, standard practice is to remove deteriorated mortar to a uniform depth of about 3/4 inch to 1 inch until you hit sound material, then fill with a mortar that matches the original in strength. Using a hard Portland cement mix on older, softer brick can actually crack the bricks, so match the mortar type carefully.
Efflorescence
Efflorescence is the white, chalky, or powdery deposit you sometimes see on the surface of brick. It is soluble salt migrating out of the masonry as water moves through it. A light dusting on an old patio is not a big structural concern, but heavy or recurring efflorescence means there is ongoing moisture movement through the brick from below or the sides. That needs to be addressed before you seal or paint the surface, because sealing over active moisture migration traps the salts and causes the coating to blister and peel.
Drainage and moisture
After any rain, check whether water pools anywhere on the surface or, more critically, whether the patio slopes toward the house rather than away from it. Proper drainage pitch is a minimum of 1/8 inch per foot away from the structure. Water sitting on the patio is a problem on its own. Water running toward your foundation is a serious one. No surface covering fixes grading; that requires re-laying or regrading the base.
When to call a pro instead of DIYing it
I am a big believer in doing things yourself when it makes sense. These situations do not make sense to DIY.
- The patio drains toward your house and regrading requires excavating near the foundation.
- A large section (more than a quarter of the surface) is sunken or soft, indicating subbase failure.
- You can see or probe soil movement or washout under the bricks, especially near downspouts.
- Cracks in the brick or mortar correspond with cracks in an adjacent retaining wall or foundation.
- Standing water persists 24 hours after rain, suggesting inadequate or blocked drainage below the slab.
- You are considering attaching a deck ledger to your house wall — that requires proper flashing, engineered fastener sizing and spacing per IRC R507, and typically a building permit.
A contractor who handles hardscape drainage is worth the call in any of those situations. Getting the subbase right costs less than tearing out a tile overlay or deck that failed because the ground underneath kept moving. If you plan to add a structure such as a pergola, consult guidance on how to attach a pergola to a brick patio to ensure proper anchoring and flashing so the new load and water management are handled correctly.
Option 1: Paint, stain, and seal
Painting or staining the brick and finishing with a sealer is the lowest-cost, lowest-commitment way to transform a brick patio's appearance. It does not change the surface texture or height, works well on sound brick in good condition, and is fully reversible if you ever decide to relay or replace the brick. It is also the most maintenance-intensive of the three options, typically needing reapplication every three to five years depending on traffic and weather exposure.
This method is appropriate when the brick surface is stable and structurally sound, the drainage is adequate, and your goal is primarily cosmetic: refreshing faded color, unifying a patchy-looking surface, or adding a protective sealed finish. It is not the right choice if the brick is badly spalling, the joints are crumbling across wide areas, or there is active moisture migration causing heavy efflorescence, because the coating will not bond properly and will peel within a season.
Paint/stain/seal: tools, materials, and safety gear
- Stiff-bristle scrub brush and bucket
- Garden hose or low-pressure washer (under 1,200 PSI for brick — high pressure erodes mortar and brick faces)
- Efflorescence cleaner or dilute muriatic acid (for stubborn salt deposits only — test a small area first)
- Masonry patching compound or hydraulic cement for cracks and failed joints
- Concrete and masonry bonding primer (BEHR Concrete and Masonry Bonding Primer and Sherwin-Williams Loxon are both commonly used, well-documented products — follow the Technical Data Sheet for your specific product)
- Exterior masonry paint, concrete floor paint, or penetrating masonry stain
- Anti-slip additive (silica sand or commercial non-slip additive) for the topcoat
- Exterior masonry or concrete sealer (optional but recommended for traffic durability)
- Roller with 3/4-inch nap for textured surfaces, cut brush for joints and edges
- Safety glasses, chemical-resistant gloves, and N95 or P100 respirator when mixing patching compounds or using acid cleaners
- Painter's tape and plastic sheeting to protect adjacent surfaces
Paint/stain/seal: surface prep
Surface prep is the part that determines whether this project lasts three years or three months. Do not rush it.
Cleaning and vegetation removal
Pull any weeds or moss from the joints by hand, then treat the area with a diluted bleach solution (1 part bleach to 10 parts water) or a commercial masonry cleaner to kill roots and spores. Rinse thoroughly. For general dirt and grime, scrub with a stiff brush and soapy water, then rinse clean. If you are using a pressure washer, stay below 1,200 PSI on brick. Higher pressure erodes mortar joints and can damage the face of older bricks. The NPS guidance on historic masonry is useful here even for non-historic patios: use the gentlest means that gets the job done.
Treating efflorescence
Dry brush loose efflorescence off first with a stiff brush. For heavier deposits, a commercial efflorescence remover or a careful application of diluted muriatic acid (typically 1 part acid to 10 parts water) can help. Always wet the surface first before applying acid cleaner, test on a small inconspicuous area, let it dwell only briefly, then rinse thoroughly and neutralize with a baking soda and water solution. Muriatic acid is nasty stuff: wear chemical-resistant gloves, eye protection, and work in good ventilation. If you skip the test patch and go straight at the whole surface, you risk etching or discoloring bricks that you cannot undo.
Patching cracks and locking loose bricks
Any open cracks or crumbled mortar joints need to be filled before priming. Use a masonry patching compound rated for exterior use. For mortar joints, remove loose material to solid depth (that 3/4-inch to 1-inch standard applies here), then pack in new mortar and tool it flush. For any brick that is slightly raised or rocking, reset it by prying it up, adding a thin layer of fresh mortar or construction adhesive rated for masonry, pressing it back into place, and letting it cure fully before continuing. Do not paint over loose bricks and hope for the best.
Addressing drainage before you seal
If water pools in one spot after rain, look carefully at why. Sometimes it is just debris blocking a low joint or a slightly raised brick redirecting flow. Those are easy fixes. If the grade is genuinely wrong, sealing over the problem traps moisture under the coating. Minor pooling can sometimes be addressed by filling the low area with a patching compound to redirect flow, but check that your fix does not then send water somewhere worse. If the drainage is fundamentally off, it needs to be corrected before any coating goes down.
Paint/stain/seal: priming, application, and finishing
Bonding primer
A concrete and masonry bonding primer is not optional on a brick surface. It seals the porous substrate, improves adhesion, and ties the topcoat to the brick. Products like BEHR Concrete and Masonry Bonding Primer or Sherwin-Williams Loxon are well-established options with published Technical Data Sheets that spell out prep requirements, coverage rates (check the TDS, but expect roughly 200 to 300 sq ft per gallon on textured brick), dry times, and compatible topcoats. Follow the specific product TDS, not generic advice including mine, because manufacturers update formulations and coverage rates change.
- Make sure the surface is fully dry (wait at least 48 hours of dry weather after cleaning, longer in humid climates).
- Apply bonding primer by roller with a 3/4-inch nap, working it into joints and texture. Cut in edges with a brush.
- Allow the primer to cure fully per the TDS before topcoating, typically 4 to 8 hours but check your specific product.
- Apply masonry paint, floor paint, or penetrating stain in thin, even coats. Two thin coats almost always outperform one thick one.
- Add a non-slip additive to the topcoat or use a product that includes slip resistance. For exterior wet surfaces, TCNA and ANSI standards call for a minimum dynamic coefficient of friction (DCOF) of 0.42 on wet surfaces, so look for products rated to meet that threshold or add a commercial silica non-slip additive.
- If using a sealer as a final coat, let the topcoat cure fully (often 24 to 48 hours) before applying it.
Maintenance and touch-ups
Painted and stained brick patios in outdoor climates take a beating from freeze-thaw cycles, UV, and foot traffic. Plan on inspecting the surface each spring and touching up any areas where the coating has chipped or lifted. A full recoat is typically needed every three to five years. The better your surface prep the first time, the longer that interval stretches. Skipping the primer or painting over damp brick cuts the lifespan dramatically.
Time and cost
| Item | Typical range (200 sq ft patio) | Notes |
|---|---|---|
| Masonry bonding primer | $30–$60 | One to two gallons depending on porosity |
| Masonry paint or stain | $40–$80 | Two coats; premium floor paints run higher |
| Masonry sealer (optional) | $25–$50 | Penetrating sealers last longer on textured surfaces |
| Patching compound, efflorescence cleaner | $20–$40 | Variable depending on condition |
| Non-slip additive | $10–$20 | If not built into the topcoat |
| Total materials (DIY) | $125–$250 | Labor is your own time |
| Time to complete | 1–2 weekends | Includes prep, primer, two topcoats, and dry time between coats |
Pros and cons of paint, stain, and seal
| Pros | Cons |
|---|---|
| Lowest cost of the three options | Requires reapplication every 3–5 years |
| No height change to the surface | Will peel if applied over damp or poorly prepped brick |
| Reversible if you later want to relay or tile | Does not change surface texture or correct minor unevenness |
| DIY-friendly with basic tools | Limited durability compared to tile or decking overlays |
| Wide color and finish options | Active moisture issues will cause coating failure |
FAQ
How do I decide whether to cover my brick patio or repair/relay the brick first?
Start with a walk‑through inspection: look for loose or sunken bricks, extensive mortar loss, large cracks, active drainage or moisture issues, and heavy efflorescence. If bricks are stable, mostly level, and drainage can be fixed, covering is reasonable. If more than ~10–15% of the patio has loose/sunken bricks, mortar is missing beyond a shallow depth, or the surface is actively shifting, relaying or repointing is the better long‑term choice. Structural settlement, serious freeze–thaw damage, or widespread undermining (voids under bricks) usually requires professional repair before any covering.
What are the common problems I should inspect for before covering a brick patio?
Check for: loose, hollow, or sunken bricks; mortar failure/recessed joints; efflorescence (white salts); organic growth (moss/weed); clogged joint sand; poor slope or ponding water; cracks indicating underlying movement; and nearby grading or downspouts directing water toward the patio. Also check subgrade firmness and any signs of ongoing settlement.
How should I prepare the brick surface before painting, overlaying tile, or building a floating deck?
General prep steps: clean with a broom and low‑pressure rinse; remove moss/weeds and joint sand debris with a stiff brush or pneumatic tool; dry the surface; test for efflorescence and remove loose salts by dry brushing and gentle wash (follow NPS guidance—avoid aggressive blasting); reattach or reset loose bricks and fill voids; fix drainage/slope (regrade or add channel drains if needed); apply a bonding primer or leveling compound where required; and allow proper cure/dry time per product instructions. For tile/paver overlays, additional leveling with a mortar bed, sand base, or backer board/DITRA may be required.
Method 1 — What are the step‑by‑step DIY instructions, tools, materials, time, cost, pros/cons, and maintenance for paint/stain and seal?
Steps: 1) Inspect and repair loose bricks and joints. 2) Clean surface (sweep, low‑pressure wash, remove efflorescence per NPS guidance). 3) Allow to dry 48+ hours depending on weather. 4) Apply a concrete/masonry bonding primer (per TDS). 5) Apply masonry/porch paint or concrete stain as recommended (2 coats typically). 6) After curing, apply a breathable masonry sealer or non‑slip additive topcoat if needed. Tools & materials: broom, pressure washer (low setting), masonry primer (e.g., Loxon/Behr), masonry paint or concrete stain, rollers/brushes, respirator, non‑slip additive, filler for joints. Time & cost: weekend project for small patios; materials $100–$600 depending on product; labor DIY. Pros: fastest, lowest cost, refreshes color, breathable systems available. Cons: wears with traffic, needs recoat every 3–7 years, can hide but not fix structural issues, slippery when wet unless treated. Maintenance: clean annually, touch up worn areas, recoat per product TDS.
Method 2 — How do I install a thin‑set tile or paver overlay over brick (step‑by‑step, tools, materials, bonding/underlayment, time/cost, pros/cons, maintenance)?
Steps overview: 1) Inspect and fix loose bricks, address drainage and slope. 2) Clean and allow to dry. 3) Prime or mechanically prep the brick if required by manufacturer. 4) Install an appropriate underlayment: options include an uncoupling membrane (Schluter‑DITRA) bonded with the correct thin‑set, or build a mortar/sand bed with cement backer board where framing allows. 5) Choose a polymer‑modified thin‑set mortar appropriate for substrate and tile size (consult TDS). 6) Back butter and set tiles or thin‑format pavers, use spacers, grout with exterior grout, and seal grout if recommended. Tools & materials: broom, stiff brush, thin‑set mortar (manufacturer recommended class), trowels, notched trowel, rubber mallet, tile spacers, tile cutter or wet saw, DITRA or cement backer board (if needed), grout, grout float, safety gear. Bonding/underlayment notes: follow Schluter/DITRA handbook for mortar type and priming; for plywood/framed decks use cement backer board per manufacturer instructions and silica dust precautions. Time & cost: moderate to high—several days to a week depending on size/curing; materials $500–$3,000+ DIY (tiles/pavers and membrane add cost). Pros: durable, attractive, wide material choices. Cons: more expensive, requires careful prep and correct mortar selection, heavy tiles may need LFT mortars. Maintenance: grout upkeep, monitor joints, winter freeze/thaw considerations; follow TCNA guidance for slip‑resistance (choose tile with DCOF ≥0.42 for wet walking areas).
Method 3 — How do I build a floating deck over an existing brick patio (step‑by‑step, tools, materials, bonding/underlayment, time/cost, pros/cons, maintenance)?
Steps summary: 1) Verify local code/permit needs—small unattached floating decks may be exempt (see IRC R507 exemptions) but attaching a ledger requires code‑compliant attachment and flashing. 2) Solve drainage: ensure water can pass under the deck or provide adequate drainage. 3) Lay compacted support pads or concrete piers as needed, or use adjustable pedestal supports over a stable brick base. 4) Build treated lumber perimeter and joists with correct spacing and joist pads; use plastic shims or sleepers to avoid wood‑to‑brick moisture contact. 5) Install decking boards (composite or wood) per manufacturer spacing, add railings if required. Tools & materials: circular saw, drill, level, carpenter’s square, treated lumber, joist hangers or sleepers, pedestals or concrete piers, fasteners rated for exterior use, deck boards, flashing. Time & cost: weekend to several weekends; materials $800–$5,000+ depending on size and materials. Pros: raises surface, hides imperfections, ventilated space under deck. Cons: reduces patio height clearance, may require permit if attached, potential moisture trapping against house if not detailed properly. Maintenance: deck care per material (staining/sealing wood, cleaning composite), ensure under‑deck ventilation and periodic inspection for moisture and pests.
Next Article
How to Extend a Brick Patio: Step-by-Step DIY Guide
Extend your brick patio: step-by-step DIY guide for matching pattern, prep, drainage, cutting, sealing, and costs.