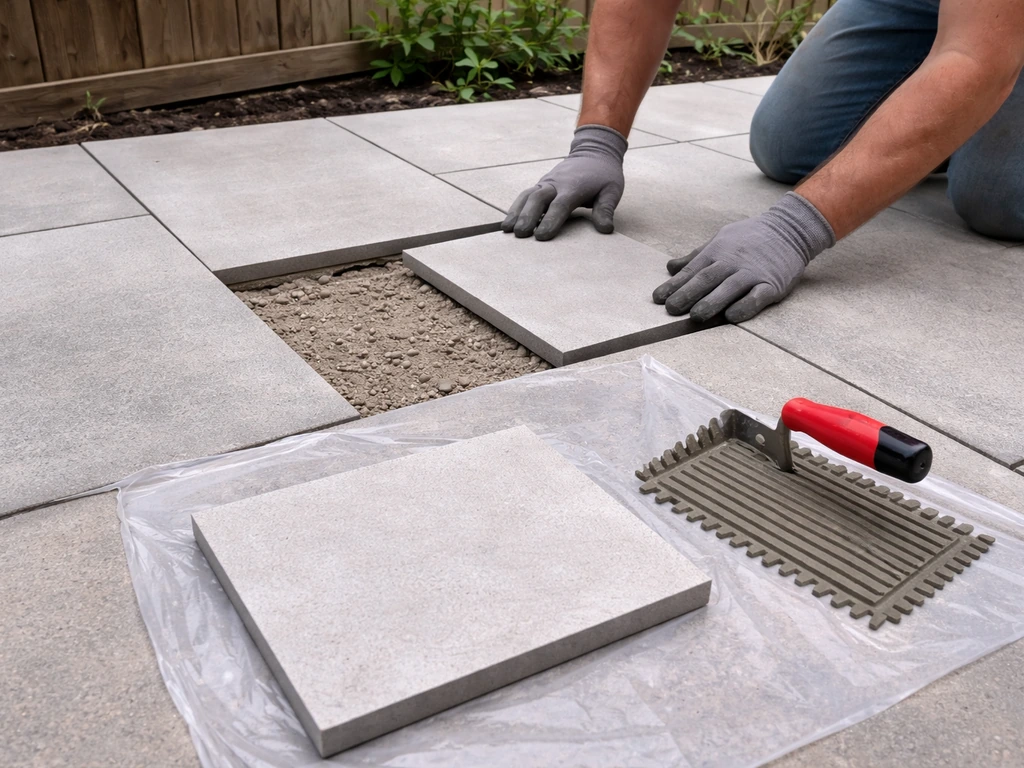
Loose patio tiles almost always come down to one of three things: the bedding mortar failed, the base shifted, or water got in and did its damage over time. The good news is that a single rocking tile is usually a quick fix you can sort out in an afternoon. The bad news is that multiple loose tiles usually mean something deeper is going on, and slapping them back down without addressing the root cause just means you'll be doing this again next summer. This guide walks you through diagnosing the real problem, choosing the right fix for your situation, and doing it properly so the tiles actually stay put.
How to Fix Patio Tiles: Loose Tiles DIY Guide

Talia Lang
10 Jul 2026
How to confirm a tile is truly loose (and why it matters)
Before you pull anything up, take five minutes to actually map out the problem. A tile that rocks when you step on it is obvious, but there are often nearby tiles that look fine but have already lost their bond underneath. These are called "drummy" tiles, and finding them now saves you from having to re-open the patio later.
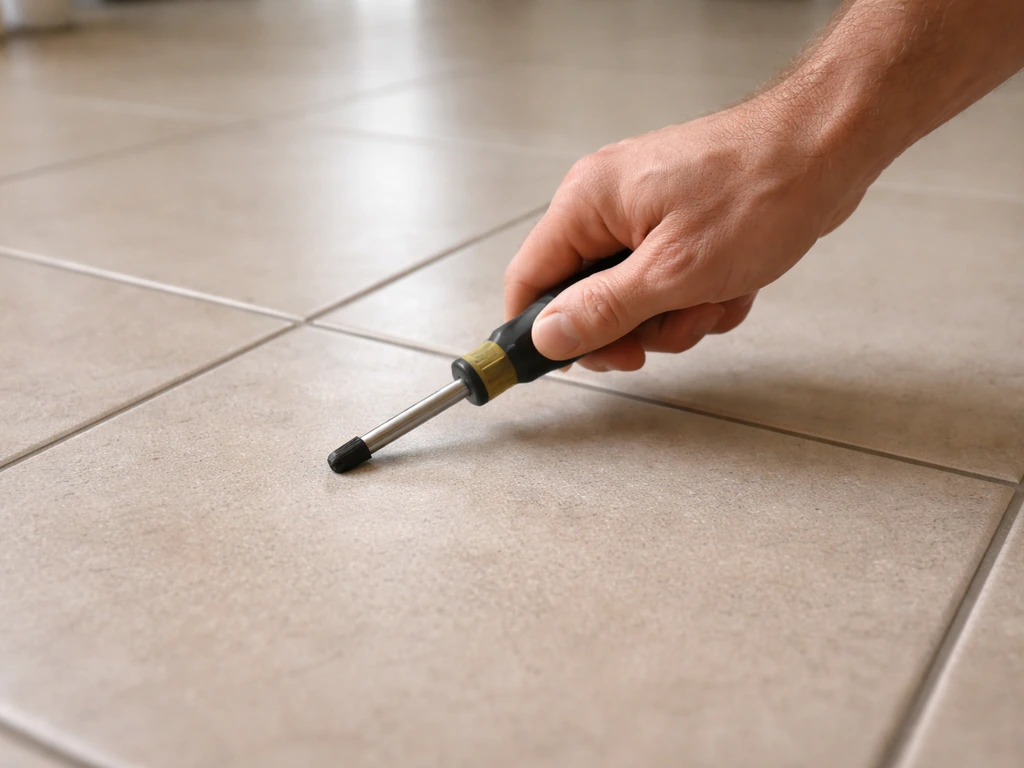
The test is simple: grab a screwdriver and tap the handle end (the non-metal end) firmly across the surface of each tile in a grid pattern. A fully bonded tile gives a dense, solid thud. A tile with an air gap underneath sounds hollow and slightly higher-pitched, almost like tapping on a drum. That hollow sound tells you there's a void under the tile where the mortar has separated or was never fully there to begin with. Professional inspectors use a purpose-built shaft with a rolling ball for the same reason, but a screwdriver handle works just as well for a DIY check.
Mark every drummy tile with a piece of painter's tape as you go. You may find that one loose tile you noticed is surrounded by three or four others that are also compromised. That pattern is important: if the drummy tiles are clustered in one area, it often points to a localized drainage problem or a section of base that has moved. If they're scattered randomly, it's more likely a mortar coverage issue from the original installation.
Also check for these alongside your tap test, as they change which fix you'll need:
- Visible cracks running through the tile or through the grout joints between multiple tiles
- Any section of the patio that sits visibly lower or higher than the surrounding tiles
- Grout that has washed out, crumbled, or turned powdery
- Water pooling on the surface or near the affected area after rain
- Tiles that have actually lifted at a corner or edge rather than just rocking in place
Quick safety and prep before you start
This is outdoor work, and depending on the time of year, heat stress is a real concern. If you're working in summer, plan to do the heavy lifting in the morning before it gets hot, take regular breaks in the shade, and keep water nearby. That sounds obvious but it's easy to get absorbed in the job and push through in 95-degree heat.
The bigger safety issue with patio tile repair is silica dust. Any time you're chipping out old mortar, grinding residue off a concrete base, or cutting tiles, you're generating respirable crystalline silica dust. OSHA explains that respirable crystalline silica dust is created when cutting, grinding, drilling, crushing, or similar work affects stone or concrete materials [respirable crystalline silica dust is created when cutting or grinding stone or concrete](https://www. osha.
gov/silica-crystalline). If you are cutting tiles to fit, use the same silica precautions and technique described here for cutting tiles safely, since the dust risk goes up fast with dry cutting. This stuff is genuinely dangerous to your lungs over time. At minimum, wear an N95 respirator rated for fine dust.
If you're doing any grinding or saw cutting, a P100 half-face respirator is a better choice. Wetting down the work area and the old mortar bed before chipping significantly reduces the dust created during that process. OSHA's guidance on silica in construction specifically calls out applying water to the work area as a primary dust control method, and it works.
- N95 or P100 respirator (not just a dust mask)
- Safety glasses or goggles
- Knee pads
- Work gloves
- A bucket of water to wet the work area before chipping
- Stiff brush for cleaning out old mortar
- Painter's tape or chalk to mark drummy tiles
- Cold chisel and hammer (or oscillating tool for cleaner removal)
Before you lift anything, also take a photo of the patio section you're working on. It sounds unnecessary, but if you're matching grout color or tile orientation later, that photo will save you a headache.
Simple fixes for lightly lifted or rocking tiles
If a tile is rocking slightly but is otherwise intact, not cracked, and the surrounding grout is in reasonable shape, there's a good chance you can re-bond it without fully removing it. This only works when the tile has lifted just enough to create a void underneath but the perimeter is still mostly attached. If there's any cracking, if the tile has risen at the edges, or if the grout around it has completely failed, skip ahead to the full re-setting section.
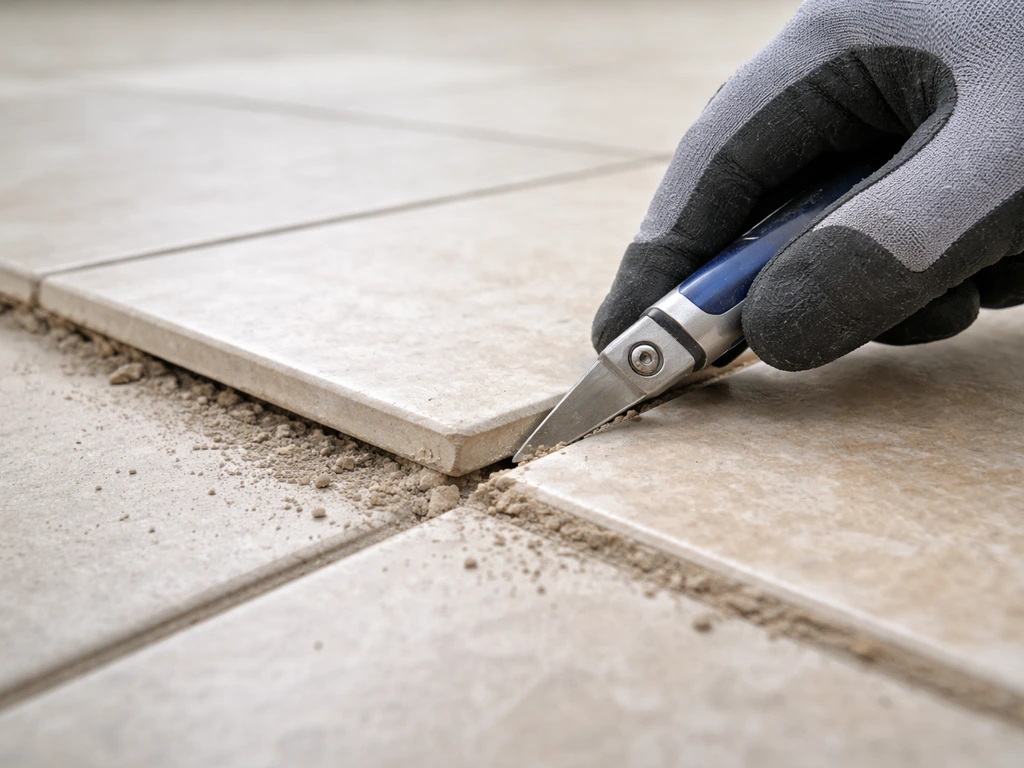
For a lightly rocking tile, the approach is to carefully remove the grout around the tile's perimeter using an oscillating multi-tool or a grout saw, being careful not to crack the tile. Once the grout is cleared, try to gently lift one corner with a wide putty knife.
If the tile comes up easily and the mortar below it has separated as a clean layer, you can clean both the back of the tile and the substrate, apply fresh exterior-rated thin-set, and reset it. If it barely moves and only one corner is rocking, sometimes injecting a small amount of flexible tile adhesive under the lifted edge (using a low-viscosity tile repair adhesive and a syringe applicator) and then weighting the tile down for 24 hours is enough.
Be honest with yourself about whether this is a genuine fix or a temporary patch, though. If the mortar coverage underneath was poor from the start, injection won't give you the 95% contact that exterior tile work really needs.
Step-by-step: re-setting loose patio tiles properly
This is the core process for any tile that has come fully loose, is drummy across most of its surface, or that you've decided needs a proper re-bed. Plan a full day for this if you're doing more than two or three tiles, because the mortar cure time means you won't be grouting the same day.
Step 1: Remove the tile cleanly
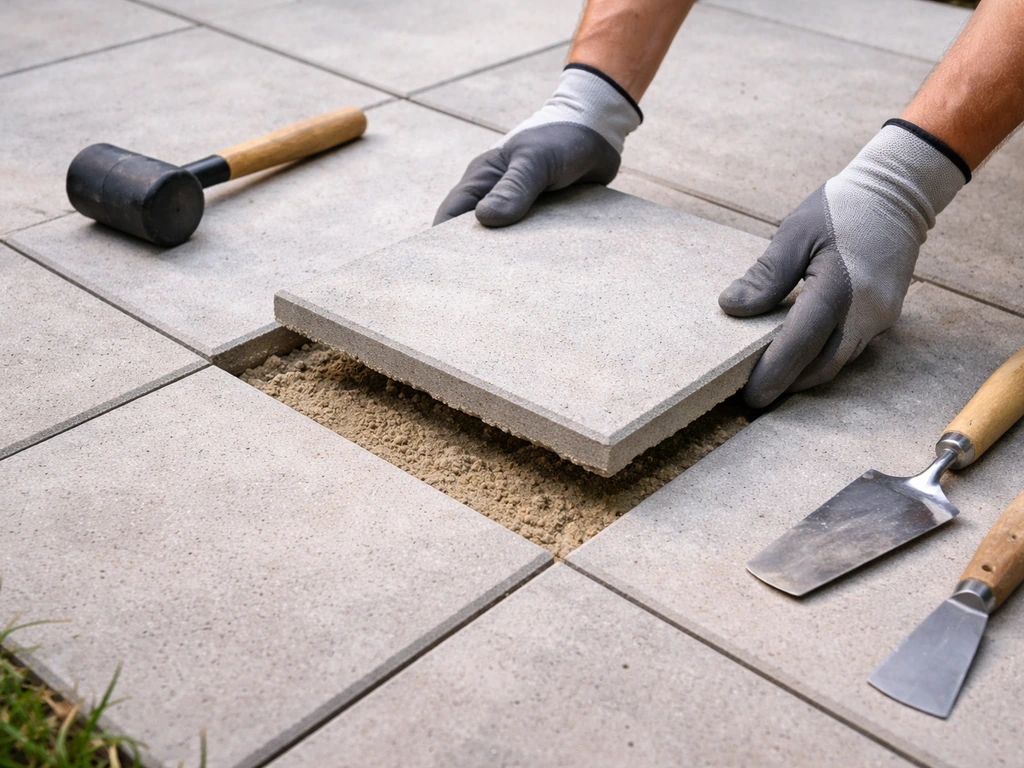
Start by cutting out all the grout around the tile with an oscillating tool or grout saw. Wetting the grout first reduces dust. Once the grout is cleared, work a wide, stiff putty knife or margin trowel under a corner of the tile and lever it up gently. For tiles that are still partially bonded, a cold chisel and light hammer taps along the edge can help. Go slow. Breaking the tile means you'll need a replacement, which brings its own headaches around matching the original. If you're concerned about cracking, this is also where a suction cup tile lifter earns its keep on larger format tiles.
Step 2: Clean the substrate and the tile back
Once the tile is out, you'll see exactly why it failed. Old mortar will be either on the back of the tile, still on the substrate, or split between both. Chip and scrape all of it off. Use a cold chisel and wire brush to remove loose material from the concrete base, then wet the surface and scrub it.
You want bare, clean, structurally sound concrete (or existing mortar bed) before you apply anything new. Check the back of the tile the same way: any old mortar residue needs to come off completely. If the tile back is dusty or has a release agent on it (some tiles do), wipe it with a damp sponge and let it dry before applying new thin-set.
Step 3: Inspect the base before you re-bed anything
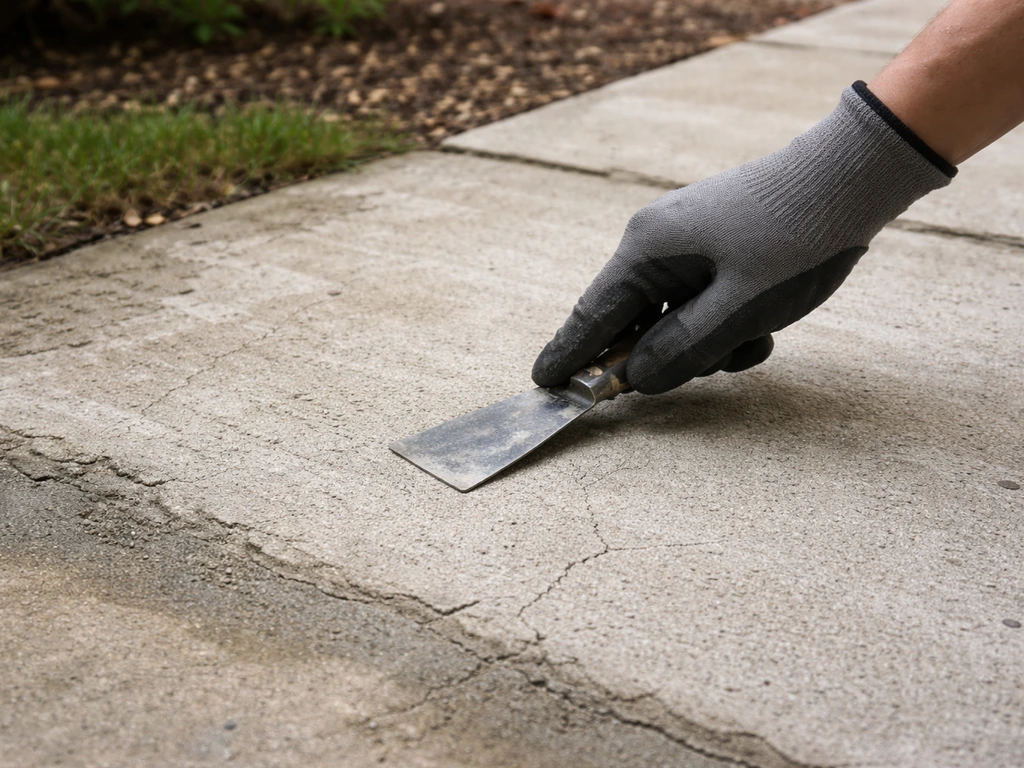
With the tile out, look at the substrate carefully. Is the concrete solid with no cracks? Is the mortar bed (if there is one) still firm and level? Is there any sign of moisture damage, soft spots, or crumbling? Also check whether the surrounding tiles slope slightly away from the house or toward a drain. Exterior tiles need a minimum slope to drain water away. If water is sitting under your tiles, it's going to keep causing problems regardless of how well you re-bed this one tile. A slope of roughly 1/8 inch per foot is a practical minimum for outdoor tile installations.
Step 4: Apply exterior-rated thin-set mortar
For outdoor patio tiles, you must use an exterior-rated thin-set or mortar, not a basic interior tile adhesive. For most patios in moderate climates, a good polymer-modified thin-set works well. In climates with heavy freeze-thaw cycles or significant rainfall, a two-component flexible mortar system gives you better long-term durability. Apply the thin-set to the substrate using a notched trowel, then back-butter the tile as well. This two-sided application is how you hit that 95% mortar coverage that exterior work requires. Flat the ridges on one surface and keep them on the other so they collapse when the tile is pressed down, not trap air.
Step 5: Set the tile and allow proper cure time
Press the tile firmly into place using a slight back-and-forth motion to collapse the trowel ridges and eliminate air pockets. Use a rubber mallet and a beating block (a piece of scrap wood to protect the tile surface) to tap it level with the surrounding tiles. Check it with a straightedge. Leave the tile spacers in place to maintain even joint width, aiming for joints of at least 3mm (about 1/8 inch) for exterior tile work.
Most exterior thin-sets need at least 24 hours before grouting and before any foot traffic. Some rapid-set formulas allow grouting in as little as 2-3 hours, but for outdoor work where temperature and moisture vary, giving it a full 24 hours is the safer call. Keep the area dry and off-limits during that window.
Step 6: Re-grout the joints
Once the thin-set has cured, remove the spacers and apply grout. For outdoor patio tiles, use a grout specifically rated for exterior use. Products like MAPEI's Ultracolor Plus FA or similar sanded exterior grouts are designed to handle UV exposure, moisture, and temperature swings. For joints wider than about 1/8 inch, you need a sanded grout. Mix to a firm peanut-butter consistency, pack it into the joints with a grout float held at a 45-degree angle, and wipe excess off with a damp sponge in circular motions. Let the grout haze up, then wipe again with a clean damp sponge. Keep foot traffic off it for at least 24 hours.
When the problem is deeper: damaged mortar, leveling issues, or a failing substrate
Sometimes re-setting individual tiles is treating a symptom, not the cause. If you're finding that more than a handful of tiles are drummy, or if tiles keep coming loose in the same area despite previous repairs, the patio has a deeper structural problem. Here are the main ones to know about.
| Problem | What you see | What it means for your repair |
|---|---|---|
| Failed mortar bed | Old mortar crumbles or comes off in powdery layers; tiles across a whole section are loose | The entire mortar bed may need to be removed and replaced, not just spot repairs |
| Sunken or heaved section | A group of tiles sits visibly lower or higher than the rest; water pools in one area | The base layer (compacted aggregate or concrete) has shifted; re-setting tiles won't fix this without rebuilding the base |
| Cracked concrete substrate | Cracks in the concrete below the tile run through multiple tiles or along grout lines | Movement cracks will telegraph through new mortar; you may need crack isolation membrane before re-tiling |
| Drainage failure | Water consistently collects near the loose area; tiles feel soft or spongy in wet weather | Slope and drainage need to be corrected before repair; otherwise water saturation will keep destroying the mortar bond |
| Original poor mortar coverage | Old tile back shows mortar only in spots (dots, not full coverage) | A workmanship problem from the original install; all tiles in that area likely need to be lifted and properly re-bedded |
A sunken section is the most common deeper problem on older patios. If part of the base has settled or washed out, you'll need to remove the tiles in that zone, excavate to the base layer, add compacted fill material or a new concrete build-up to restore level and slope, then start fresh. It's a bigger job, but trying to shim individual tiles over a sunken base is a short-term fix that will fail again. If the patio has cracks running through it, applying a crack-isolation membrane over the concrete before you re-tile is the right move. It allows the concrete to continue its minor movement without transmitting that stress directly to the tile and mortar above.
Preventing future loosening: drainage, joints, sealing, and maintenance
Most patio tile failures are water failures. Water gets into the joints, saturates the mortar bed, freezes and expands, or just slowly erodes the base. Addressing this after your repair is what determines whether the fix lasts five years or twenty.
Keep water moving off the surface
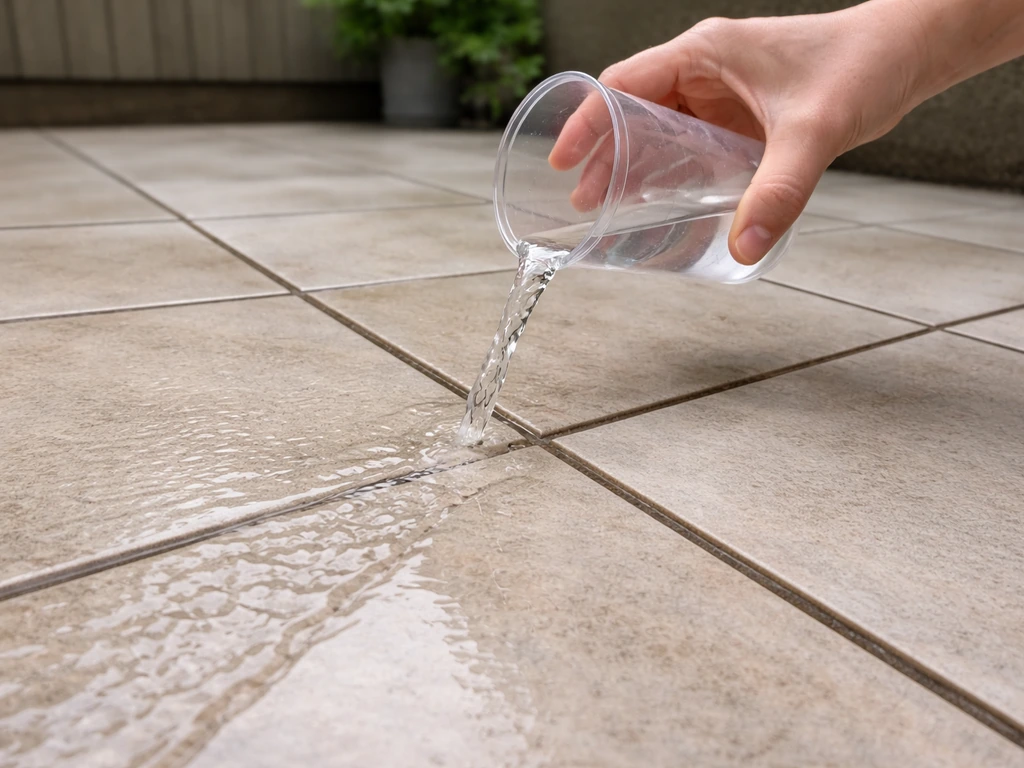
If your patio doesn't have adequate slope, water will sit on the surface and work its way into every joint it can find. Check the slope after your repair by pouring a small amount of water and watching where it goes. It should run toward the garden, a drain, or away from the house. If it sits, that's a problem to address in the base before you seal or grout anything. The TCNA specifically ties exterior tile system durability in freeze-thaw climates directly to whether the installation drains properly.
Use the right joint filler
The grout or joint filler you choose matters a lot outdoors. If you’re working with porcelain, focus on selecting an exterior-rated joint filler that matches your installation and joint width to help keep the patio edge stable ceramic or porcelain patio tiles. For ceramic or porcelain patio tiles, an exterior-rated sanded cement grout or a more durable epoxy-hybrid option gives you better resistance to weathering.
For paver-style tiles or large-format stone tiles with wider joints, polymeric jointing sand is a practical alternative that resists washout from rain and reduces weed growth. Make sure the product you choose matches your joint width, because using the wrong formulation for very narrow or very wide joints is one of the most common reasons polymeric sand applications fail.
Sealing: worth doing, but not a substitute for good installation
Sealing grout joints on an outdoor patio helps slow water ingress, especially in climates that go through freeze-thaw cycles. A penetrating silicone or impregnating sealer applied after the grout has fully cured (typically 28 days for cement grout to reach full cure) is a solid preventative step. That said, sealant won't save a poorly installed patio. If the base isn't right and the slope isn't right, sealing the top is window dressing. Also check the sealer manufacturer's guidance on reapplication; most exterior grout sealers need refreshing every one to three years depending on foot traffic and climate.
Annual maintenance check
Once a year, do a quick tap test across your whole patio, especially after your first winter post-repair. Catching a newly drummy tile early means a simple re-bed, not a whole patio section. Also check for cracked or eroded grout joints and re-grout them before water gets a foothold. Staying ahead of small joint failures is the cheapest patio maintenance you can do.
When to call a pro (or think about replacing tiles)
Not every patio repair is a DIY job, and there's no shame in knowing where the line is. Here's a straightforward way to think about it.
Call a professional if: more than a quarter of your patio tiles are drummy or loose, there's visible structural movement or a sunken section that affects multiple tiles, the concrete substrate is significantly cracked or damaged, or the patio has failed before after previous repair attempts. These are signs of a system-level problem that requires proper diagnosis and likely base work before any tile can be re-set successfully.
Think seriously about replacing rather than repairing if: the tiles are cracked (not just loose), the original tile style is discontinued and you can't match it, or the patio is more than 15-20 years old and showing widespread failure. Repairing individual tiles on a patio that's generally failing is expensive and frustrating. At some point, a full re-tile on a properly prepared base is a better use of money than chasing individual repairs. The sibling guide on how to replace patio tiles covers that process in full, and the guide on fixing cracked patio tiles is worth reading if cracking is part of your diagnosis.
For a single loose tile or a small cluster with a clear cause, though, this is genuinely DIY territory. Do the tap test, understand what you're looking at when you lift the tile, use the right mortar for outdoor work, and give the repair proper cure time. If you need to take tiles up and re-bed them, use the steps in how to replace patio tiles. Do those things and a re-set tile should outlast the rest of the patio.
FAQ
Can I just glue down a loose patio tile with an adhesive instead of removing grout and resetting?
Usually no. Outdoors, the bond needs full mortar contact over the tile underside, not just edge glue. Adhesives can fail when water gets into joints, and they do not provide the same ridge collapse coverage that exterior thin-set does. If the tile is only slightly rocking, injection may work as a temporary measure, but if the tap test shows widespread hollow sound, plan on grout removal and a proper re-bed.
What’s the best way to tell if the tile is only partially detached versus fully loose?
Use the screwdriver tap test first, then confirm after grout removal. If you can lift a corner and the mortar comes away as a clean, separated layer on one side (tile back or substrate), that indicates a re-bond is possible. If the tile lifts with crumbling mortar, messy residue, or grout failure around the perimeter, treat it as a full re-set job.
How do I keep from cracking the tile when removing grout around it?
Wet the grout line before cutting to reduce dust and to soften the grout bond. Cut the grout only to the tile edges, stop at the first sign of the tile moving, and use a wide putty knife to lever slowly from a corner. If the tile is large-format or has thin edges, using a suction cup lifter after you clear the grout helps prevent twisting stress.
Do I need to remove all mortar from the tile back and the concrete before re-setting?
For any tile that has fully loosened, yes. Scrape and chip off all old residue, then use a wire brush on the base to remove loose material. Even thin patches of dusty or contaminated old mortar can reduce bond strength and cause the tile to rock again. Also check for manufacturing release residue on the tile back, and wipe with a damp sponge before letting it dry.
How long should I wait before walking on a re-set patio tile?
Plan for at least 24 hours on exterior thin-set setups before grouting and before foot traffic. Some rapid-set mortars can be shorter, but temperature and moisture on patios vary, and rushing increases the chance of movement during cure. Keep the area dry and off-limits during the cure window.
What thin-set or mortar should I use for patio tiles in freeze-thaw climates?
Use an exterior-rated system. For moderate climates, a polymer-modified thin-set is often sufficient, but in freeze-thaw or heavy rainfall areas, a two-component flexible mortar system generally performs better long-term. The key is matching the product rating to outdoor exposure, not just using “thin-set” from an indoor project.
How do I know if my patio has enough slope after I fix the tiles?
After the repair is complete, do a simple water test. Pour a small amount of water across the area and observe where it goes, it should run toward a drain, garden, or away from the house. If water sits or pools, the base needs adjustment, because sealing or re-grouting over a pooling problem rarely stops recurrence.
What grout should I use outdoors, sanded grout, epoxy, or polymeric sand?
For typical ceramic or porcelain tile with smaller joints, use an exterior-rated sanded cement grout or an epoxy-hybrid option for better weather resistance. For wider joints or paver-style and some large-format stone installs, polymeric jointing sand can help resist washout and reduce weed growth. Use the formulation matched to your joint width, because using the wrong product for narrow or wide joints is a common failure reason.
Should I seal patio grout after repairing loose tiles?
Sealing can help slow water ingress, especially in freeze-thaw areas, but it is not a substitute for correct installation. Apply a penetrating/impregnating sealer only after the grout fully cures, and follow the reapplication schedule (often every 1 to 3 years depending on traffic and climate). If you still have pooling water or poor slope, address that first.
Will re-setting a few drummy tiles fix the real cause if the rest of the patio is stable?
It might, but cluster patterns matter. If the drummy tiles are grouped, the cause is often localized drainage or a moved base segment, so fixing just the tiles can still fail if the underlying water pathway remains. If they are scattered randomly, poor initial mortar coverage may be the issue, and re-bedding those tiles with correct exterior mortar and two-sided coverage is more likely to hold.
When is it smarter to call a professional instead of DIY repairing patio tiles?
Call for help if more than about a quarter of the patio tiles are drummy or loose, if there is visible structural movement or a sunken section affecting multiple tiles, or if the concrete substrate is cracked or deteriorated. Also consider professional assessment if previous repairs already failed, because that often indicates base or drainage problems that need excavation and rebuild rather than tile resets.
Next Article
How to Replace Patio Tiles Step-by-Step DIY Guide
Step-by-step DIY guide to replace patio tiles, match materials, prep base, install, grout, seal, and fix drainage issues