For most patio repairs, you want a 3:1 sand-to-cement ratio (three parts sharp sand to one part Portland cement) mixed with just enough water to reach a stiff, peanut-butter-like consistency. Efflorescence is caused when dissolved salts travel with moisture and then crystallize as the moisture evaporates, which is why it can show up in cement-based mortar or patio blocks dissolved salts moving with moisture and crystallizing as moisture evaporates. That's the workhorse mix for repointing joints, patching cracked areas, and resetting loose pavers. Get that ratio right, don't add too much water, and you'll end up with mortar that's strong, workable, and won't crumble out again next winter.
How to Mix Mortar for a Patio: Step-by-Step Guide

Talia Lang
18 Jun 2026
When you actually need patio mortar
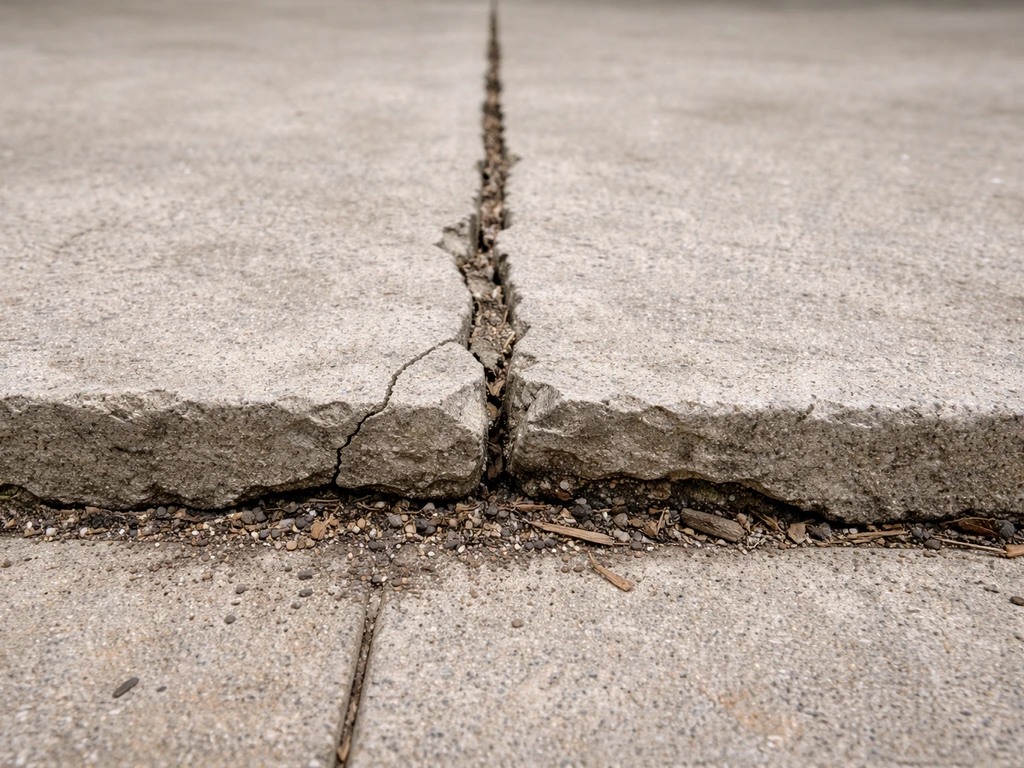
Mortar fails on patios for a few predictable reasons: freeze-thaw cycles crack the joints open, water gets underneath and erodes the bed, or the original mix was just too weak or too wet when it went down. Whatever the cause, you'll typically see crumbling or hollow-sounding joints between pavers or flags, small patches of sunken or rocking slabs, cracks in a cement patio surface, or loose bricks around the edges.
Repointing (raking out old mortar and replacing it) is the most common job, and it's genuinely DIY-friendly if the damage is limited to the joints. Patching a cracked base or resetting a sunken slab involves a mortar bed underneath, which takes a bit more prep but is still very manageable. What's not DIY territory is widespread structural failure, major settlement across a large area, or anything involving drainage problems below the sub-base. For those, mixing fresh mortar on top is just papering over the real issue.
Choose the right mortar type before you mix anything
Mortar types are classified under ASTM C270, and for outdoor patios the two you'll care about are Type S and Type N. A table from EngineeringToolBox summarizes blank" rel="noopener noreferrer">ASTM C270 mortar types (including M/S/N/O/K) and the cement-to-sand aggregate ratios by volume for quick reference, though it is secondary to the ASTM standard itself. Type S is stronger (higher compressive strength) and better suited for below-grade or ground-contact work like patio joints and setting beds that face freeze-thaw stress. Type N is softer and more forgiving, typically used for above-ground work where movement is less of an issue. For most UK-style flag or paver patios, a standard sand-and-cement mix at 3:1 or 4:1 behaves similarly to Type S or N respectively.
| Mortar Type | Approx. Sand:Cement Ratio | Best Use on a Patio | Freeze-Thaw Suitability |
|---|---|---|---|
| Type S (or equivalent) | 3:1 (sand to cement) | Repointing joints, paver setting beds, ground-level repairs | Good |
| Type N (or equivalent) | 4:1 to 5:1 (sand to cement) | Above-grade patches, decorative pointing in sheltered areas | Fair |
| Polymer-modified setting bed mortar | Pre-blended (follow bag) | Thick mortar beds under pavers, can also act as grout between horizontal pavers | Excellent |
Polymer-modified mortars (sometimes sold as setting bed mortars) are worth considering if you're relaying a whole section of pavers or working in a climate with hard winters. They contain latex or other polymers that improve adhesion and flexibility, which reduces the chance of joints cracking open again. They cost more, but for a large resetting job they earn their price. For simple repointing of a few joints, a standard sand-and-cement mix is all you need.
What goes into the mix: ingredients and ratios
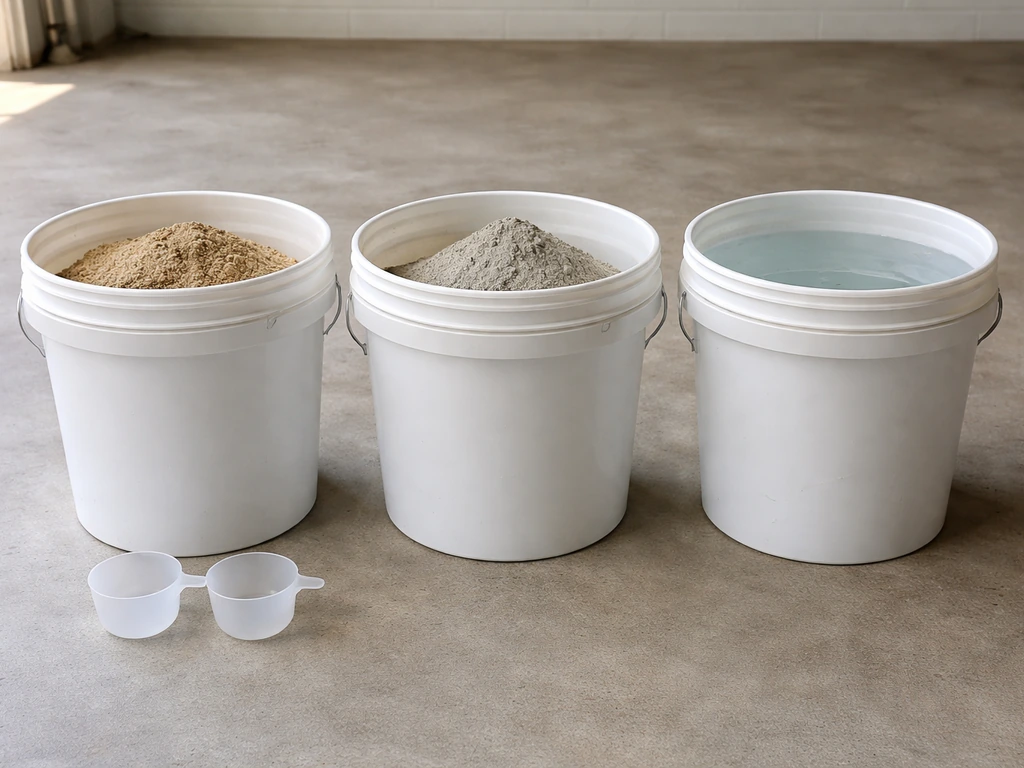
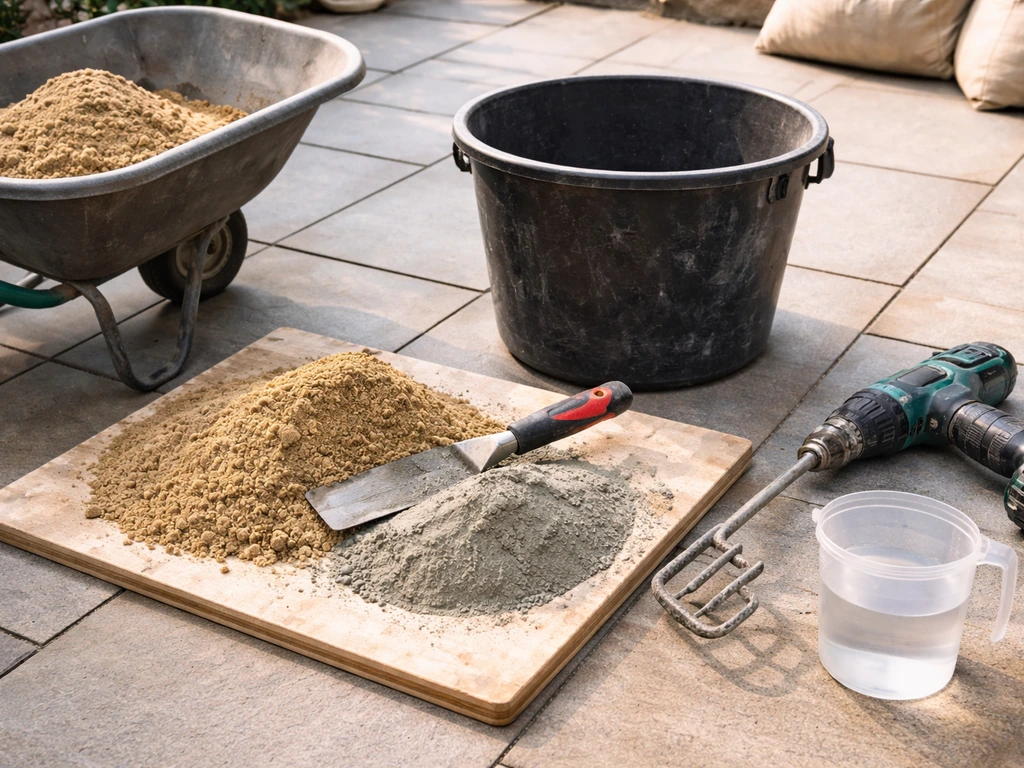
For a standard DIY patio mortar, you need three things: sharp sand (also called builder's sand or coarse sand), Portland cement, and clean water. If you want patio magic in practice, follow the mixing ratios and ingredient guidance above so your mortar stays workable and durable how to mix patio mortar. Sharp sand has angular particles that give mortar its grip and body. Never use fine beach sand or play sand. Some mixes include hydrated lime, which improves workability and reduces cracking, but it's optional for most repair jobs.
- Repointing patio joints: 3 parts sharp sand to 1 part Portland cement (3:1). For softer, older stone that needs a gentler mix, go 4:1.
- Mortar bed for resetting pavers: 4 parts sharp sand to 1 part Portland cement (4:1), sometimes with a splash of lime for workability.
- Patching a concrete patio surface: use a pre-mixed repair mortar or a straight 3:1 mix with a bonding agent applied to the patch area first.
- Polymer-modified mixes: follow the bag instructions exactly. These are calibrated at the factory and you can easily ruin the performance by guessing the ratio.
A simple batch for repointing a few square meters: 3 shovels of sharp sand to 1 shovel of Portland cement. Mix dry first, then add water slowly. Keep batches small because mortar has a working life of around 2 hours from first mixing, and in hot or dry weather it goes off even faster.
How to mix patio mortar: step by step
What you'll need
- Sharp sand and Portland cement (or a pre-blended bag mix)
- Clean cold water
- A mixing bucket, wheelbarrow, or spot board
- A stiff margin trowel or mixing paddle on a drill
- Measuring containers (two buckets work fine for consistent ratios)
- Gloves and eye protection (cement is caustic)
The mixing process
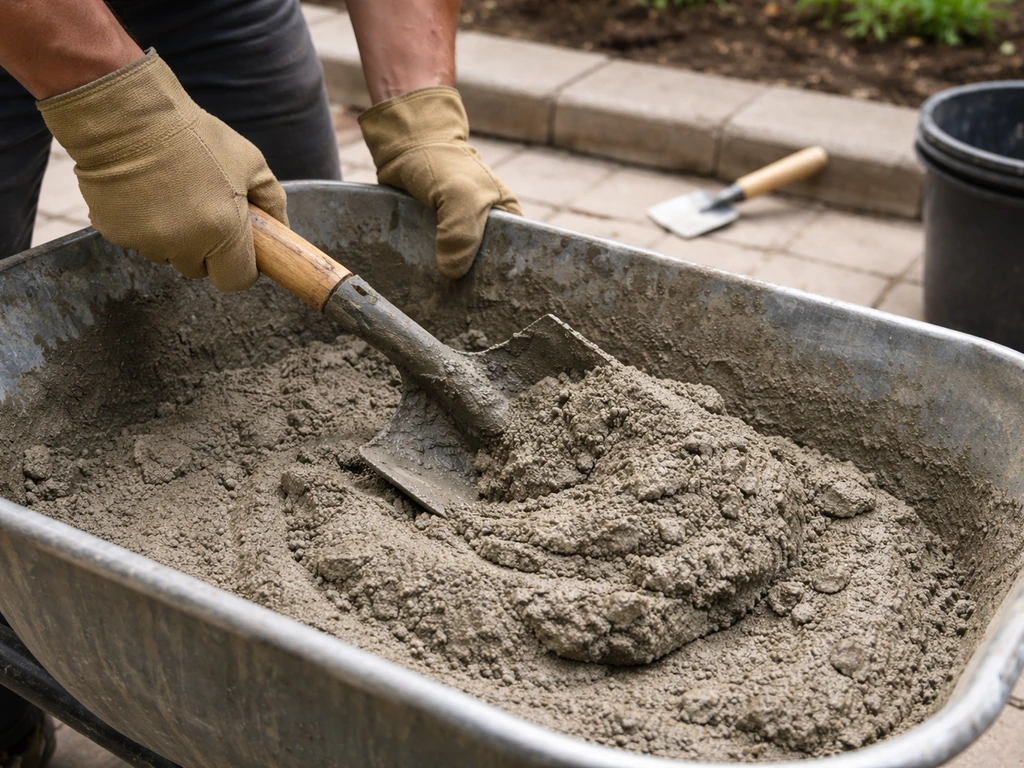
- Measure your dry materials first. Add the sand to your mixing container, then add the cement on top. Always measure by volume using the same container for consistency.
- Mix the dry ingredients thoroughly before adding any water. This is important: fold and turn the mix until the color is completely uniform, with no streaks of grey cement or brown sand. Skipping this step is one of the most common reasons for weak, patchy mortar.
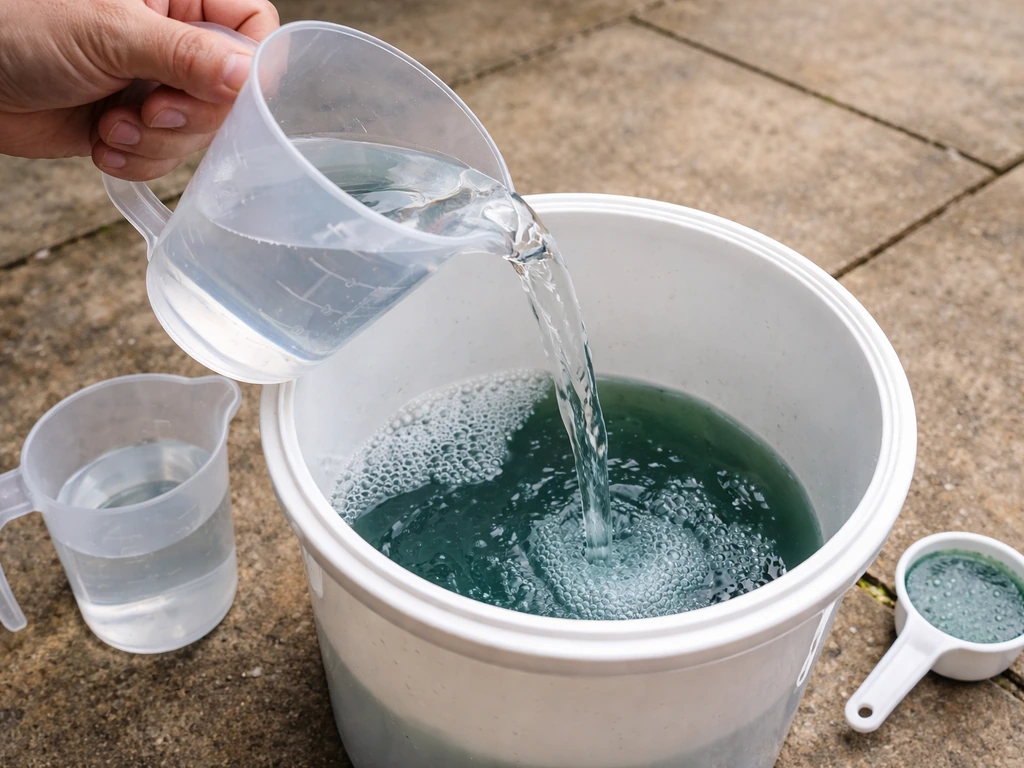
- Make a well in the center of the dry mix. Add a small amount of clean, cold water into the well. Start with roughly half the water you think you'll need.
- Work from the outside in, folding the dry material into the water. Don't pour all the water in at once.
- Keep adding small amounts of water and mixing until the mortar holds its shape when you squeeze a handful, but is firm enough that it doesn't slump or run. Think peanut butter: stiff, smooth, and cohesive.
- Do a slump test: take a ball of mortar and drop it from about waist height onto a hard surface. A well-mixed batch will flatten slightly but hold together. If it splats flat, it's too wet. If it crumbles and breaks apart, it's too dry.
- Use the mortar within 2 hours of initial mixing. In temperatures above 25°C or in direct sun, that window shrinks to around 1 hour.
Retempering: when you can add more water and when you can't
If your mortar starts to stiffen while you're working, you can retemper it once by adding a small amount of cool water and remixing. This restores workability and is perfectly acceptable practice as long as you're still within the 2-hour window from initial mixing. What you can't do is keep adding water to mortar that has started to chemically set (it will feel noticeably stiffer and start to resist mixing). That batch is done. Trying to salvage over-set mortar by drowning it in water will result in weak, crumbly joints that fail quickly. Bin it and mix a fresh batch.
Prepping the area and applying the mortar
Prep the surface first
Good prep is what separates mortar repairs that last from ones that fall out again by next spring. If you're repointing, rake or chisel out all the old loose mortar to a depth of at least 15mm (about 3/4 inch). If you want the exact workflow for repointing mortar joints, see how to repoint a patio with sand and cement for the full approach. Brush the joints clean and remove all dust, debris, and any crumbly material. For a patch repair, cut the edges of the damaged area clean so you're not feathering mortar to a thin edge, which always cracks.
Dampen the surface before you apply mortar, but don't soak it. A dry surface will suck moisture out of the mortar too fast and cause it to crack. A wet, puddled surface will dilute the mix and weaken adhesion. Mist the joints or patch area and let the water soak in for a minute until the surface looks damp but has no standing water.
Placing and tooling the mortar
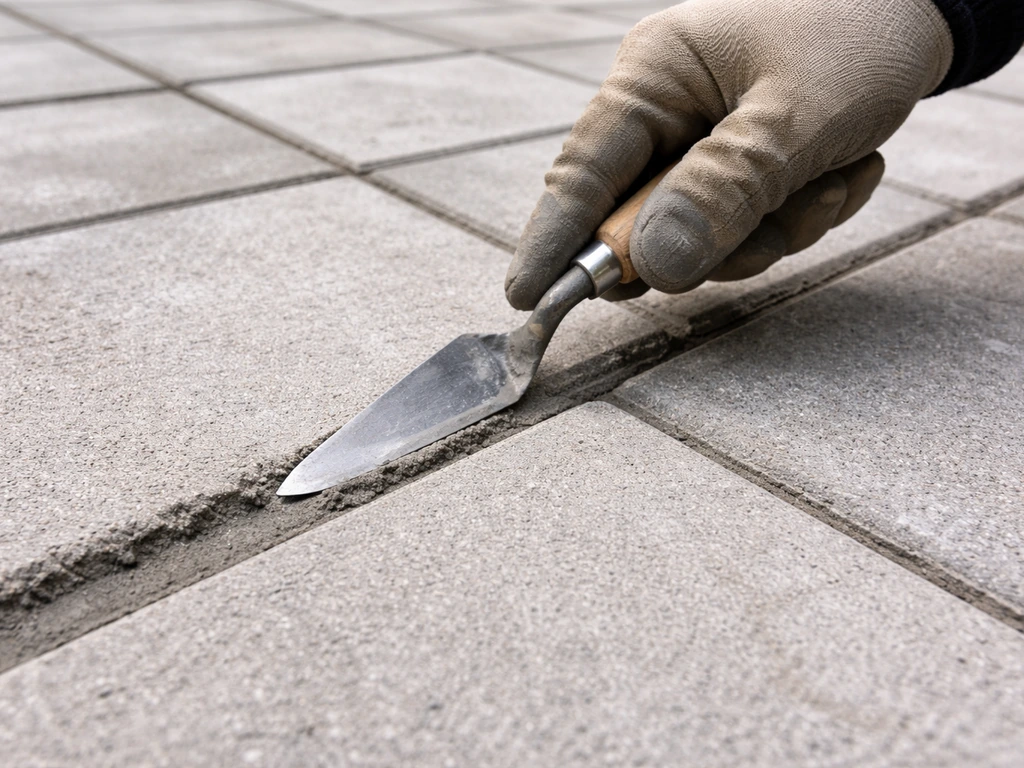
For repointing, pack mortar into the joint in layers if it's a deep gap. Fill to half depth first, let it firm up for 20 to 30 minutes, then fill the remaining depth. Don't try to fill a very deep joint in one go as it's likely to shrink and crack as it cures. Press the mortar firmly into the joint with a pointing trowel or a specialized pointing iron to make sure there are no air pockets. Tool the surface to match the surrounding joint profile while the mortar is still workable (usually within 30 to 60 minutes of placement).
For a mortar bed under pavers, spread the mix to an even depth, roughly 25 to 50mm, and screed it level before laying the paver. Tap the paver down with a rubber mallet and check it's level with its neighbors. If you're using a bond coat approach (applying a thin skim of latex-fortified mortar directly to the back of the paver before bedding it), work quickly because the bond coat skins over fast.
Curing, drying time, and aftercare
Mortar doesn't dry, it cures. That's an important distinction. Drying just means losing water. Curing is the chemical reaction that makes mortar hard and strong, and that reaction needs moisture to happen properly. If mortar dries out too fast in hot or windy conditions, it won't cure fully and you'll get weak, crumbly joints.
Keep new mortar damp for at least the first three days. In dry or warm weather, mist the repaired area with a fine spray two or three times a day. You can also lay a damp hessian sack or sheet of polythene loosely over the repair to slow moisture loss. Don't walk on repointed areas for at least 24 hours, and don't let traffic (foot or otherwise) onto a mortar bed repair for at least 48 to 72 hours.
In cold weather, protect fresh mortar from frost for at least 48 hours. Frost will destroy uncured mortar by freezing the water inside it before the cement has set. If overnight temperatures are dropping below 5°C, hold off on the repair or use frost protection sheeting. Mortar laid into cold, wet joints in late autumn is rarely a job that ends well.
Troubleshooting common mortar problems
| Problem | Likely Cause | Fix |
|---|---|---|
| Mortar crumbles out within months | Mix was too dry or too wet, or cured too fast | Rake out and redo with correct 3:1 ratio, proper consistency, and damp curing for 3 days |
| Hairline cracks across the surface | Mix was too stiff, dried too fast, or applied in thin layers | Keep mortar damp while curing; add a small amount of lime to future batches for flexibility |
| Mortar won't stick to the surface | Surface was too dry or dusty before application | Clean thoroughly, dampen the substrate, consider a bonding agent for patch repairs |
| White powder appearing on joints (efflorescence) | Salts from cement migrating to surface via moisture | Brush dry, then treat with a diluted brick acid wash; improve drainage to reduce moisture movement |
| Mortar sets too fast while working | Hot weather, direct sun, or mix was too small | Work in shade or cooler part of day; mix smaller batches; keep mix covered between uses |
| Mortar stays soft or spongy | Too much water in the mix, or water contamination | Discard and remix at correct consistency; never add water to salvage over-watered mortar |
When to call a professional
Repointing a few joints or patching a small area is a realistic DIY job. But there are situations where mixing mortar yourself and pressing on isn't the right answer. If you're seeing widespread joint failure across the whole patio, persistent sinking or rocking slabs across a large area, cracks that keep coming back after repair, or any sign that the sub-base has failed (soft or springy ground underneath), you're dealing with a structural or drainage problem that mortar alone won't fix. At that point, you need someone who can assess and rebuild the foundation, not just resurface it.
Similarly, if the patio is more than around 20 to 25 square meters and needs a complete relay, getting a professional in is often more cost-effective than multiple failed DIY attempts. A pro can also diagnose whether the issue is the mortar itself or something underneath it, which saves you from doing the same job twice.
What comes next after mixing
Once you're comfortable mixing and applying mortar, the natural next steps are repointing the full patio (raking out and replacing all the joints systematically) or recementing larger damaged sections. If your joints have deteriorated mainly because of fine sand washing out rather than crumbling mortar, it's worth understanding the difference between sand-and-cement repointing and other jointing options before you commit to a full job. And once any repair work is done, keeping the surface clean and sealing it properly is what makes the repair last, rather than just delaying the next failure.
FAQ
Can I use regular cement instead of Portland cement for patio mortar?
For patio work, use Portland cement (or a premixed sand and cement product that is primarily Portland cement). If you use a different cement type, strength and curing behavior can change, which may shorten joint life in freeze-thaw conditions.
What happens if I use fine sand instead of sharp sand?
Fine sand fills voids but reduces the mortar’s grip and body. The joints are more likely to crack or crumble out over time, especially if water gets under the patio and erodes the bed.
How do I measure 3:1 or 4:1 accurately if I do not have scales?
Use consistent volume scoops (for example, identical shovels or buckets) for all batches. If you switch scoop sizes mid-job, the sand-to-cement ratio will drift and you will see uneven strength and color in repointed joints.
Is it okay to mix mortar in advance and use it later the next day?
No. Mortar has a limited working life, and once it starts to set you should not retemper by adding more water. Plan to mix only what you can place within about 2 hours from first mixing, and keep batches small in hot weather.
How can I tell whether my mortar has gone too far, and retempering will not work?
If the mix starts resisting your trowel, feels noticeably stiffer, and thickens even after a remix with cool water, it is beyond salvage. At that point, the cement has already begun chemical set, so the joint will be weaker.
Should I add lime to every patio mortar mix?
Lime can improve workability and reduce cracking risk, but it is optional for many small repointing repairs. For simple joint repairs with a standard sand and cement mix, adding lime is not necessary and can complicate ratio control if you do not measure carefully.
What is the right thickness for repointing deep joints?
Pack deep joints in layers rather than in one continuous fill. Filling to half depth first, then allowing it to firm up briefly before topping helps reduce shrinkage and cracking as it cures.
How wet should the surrounding patio surface be before applying mortar?
Mist so the area is damp and has no standing water. Over-soaking can dilute the mortar at the interface and weaken adhesion, while a dry surface can pull moisture out too fast and prevent proper curing.
Do I need to seal a patio after repointing and patching?
Sealing is not always required for every mortar repair, but it can reduce water penetration and slow down the freeze-thaw driven deterioration of joints. If you do seal, wait until the mortar has fully cured, and avoid trapping moisture under the seal.
Why do new joints still crack soon after repair?
Common causes are over-wet mortar, too much water added to “make it easier,” inadequate joint depth preparation, or rushing curing in hot wind. Also check for underlying movement or drainage issues, since mortar can fail even if the mix was correct.
When should I stop DIY and get someone to assess the patio?
If the patio shows widespread sinking or rocking across multiple slabs, repeated joint failure in different locations, or signs the sub-base is soft or springy, mixing new mortar will not fix the cause. In these cases, foundation drainage and ground stability need assessment.
Next Article
How to Mix Patio Magic: DIY Ratios, Prep, and Fixes
Learn how to mix patio magic ratios, prep, and fixes for concrete or pavers, plus application, curing, and troubleshooti