You can re-sand a concrete or cement patio yourself in a weekend if the surface is rough, dull, or lightly uneven but structurally sound. The process comes down to four things: confirming sanding will actually fix your problem, prepping the surface properly, running through a coarse-to-fine grit progression with the right tools, and sealing the result so it lasts.
How to Re-Sand a Patio: DIY Steps, Tools, and Tips

Talia Lang
27 May 2026

After you level and stabilize the base, using a compactable gravel mix and proper edging helps keep a pea gravel patio from shifting over time sealing the result so it lasts. Skip any of those steps and you'll either waste a Saturday or make things worse. Here's exactly how to do it right. If you need a complete refresh beyond sanding, follow the full guide on how to restore a patio.
When sanding a patio is (and isn't) the right solution
Sanding fixes surface problems. It smooths rough texture, removes a burnished or glazed finish that's causing slipping, levels out minor high spots, opens up sealed concrete so a new coating can bond, and strips away old paint or sealant residue. If your patio looks tired and feels rough underfoot but is otherwise solid, sanding is absolutely the right call.
It does not fix structural problems. If your slab has active cracks that are widening, sunken sections caused by soil movement underneath, or a significant drainage issue where water pools and doesn't leave, sanding is at best cosmetic and at worst a waste of effort before a bigger repair. A rough or spalled surface that also has delamination (layers of concrete separating from each other) needs patch work first, not sanding first. The rule is simple: sanding is a surface solution, and your patio has to be structurally sound before it's worth doing.
One quick test that's worth doing before you rent any equipment: knock on the concrete surface with a hammer or drag a chain across it and listen. Sound concrete gives you a clear, solid ring. A dull or hollow thud means there's delamination underneath, a void where layers have separated. That area needs patching, not sanding. Map out any hollow-sounding spots with chalk before you start so you know what you're dealing with.
- Rough, gritty, or porous surface that catches dirt: sanding is the fix
- Glazed or burnished finish that sheds sealer: sanding opens the pores back up
- Old paint, peeling sealer, or adhesive residue: sanding (or chemical strip + sanding) removes it
- Minor high spots or trowel ridges: coarse sanding levels them
- Active cracks or slab movement: sanding won't help — patch or re-pour first
- Sunken sections or drainage problems: drainage needs to be fixed at the grade level
- Deep spalling or delamination: patch with a polymer-modified repair mortar before sanding
- Scaling from freeze-thaw damage: assess depth first — light scaling can be sanded, heavy scaling needs resurfacing
Identify your patio surface and what condition it's in
Concrete and cement patios are the most common candidates for sanding, and they respond well to it. Flagstone, slate, or natural stone patios have their own approach (and their own quirks worth reading about separately). To restore a slate patio, you still need the right cleaning and prep, but the process differs from concrete sanding because slate is a natural stone with its own best practices Flagstone, slate, or natural stone patios.
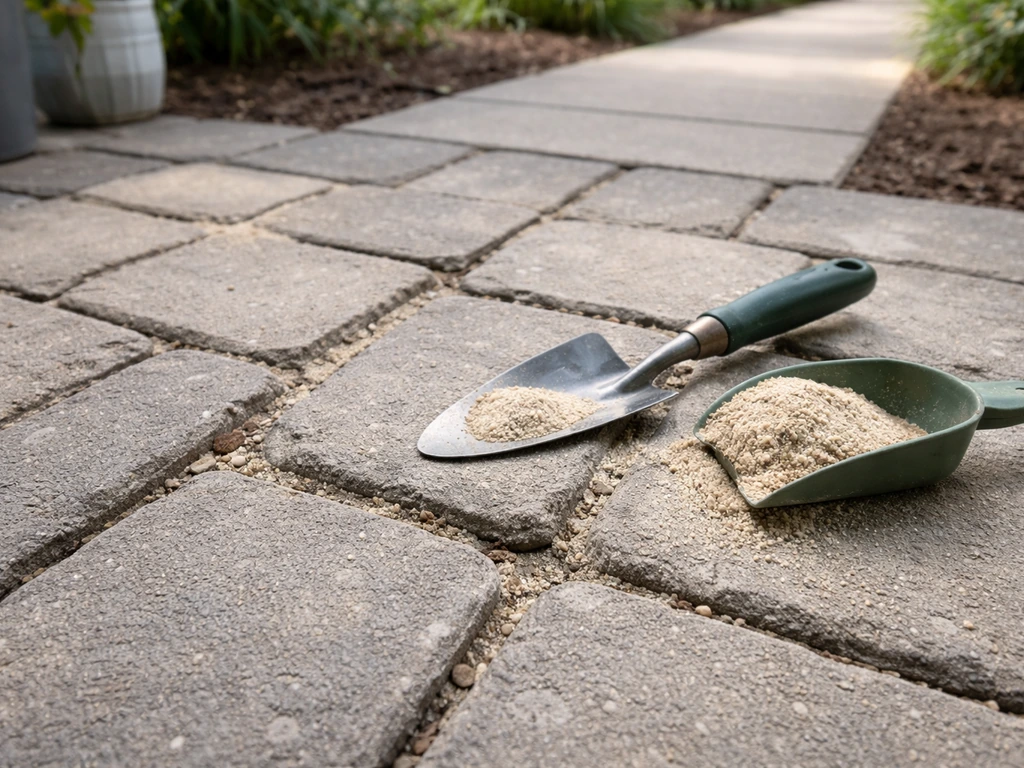
Mortared paver joints are a different scenario again, if you're specifically dealing with loose or eroded jointing sand between pavers rather than the surface of the pavers themselves, that's a re-sanding job rather than a sanding job. If you’re dealing with loose or eroded jointing sand, you can follow the same re-sanding approach used for patio pavers to restore the joints and stability.
Before touching the surface, do a proper condition check. Look for visible cracks and note whether they're hairline surface cracks or wider structural ones. Press on any areas that look sunken or soft. Check for efflorescence, that white, chalky deposit that appears on concrete surfaces. An easy field test: wet the area. If the white stain disappears when wet and comes back after drying, it's efflorescence (mineral salts migrating through the slab with moisture). Sanding it off without addressing the underlying moisture source just means it comes back. Look for blisters, flaking, or areas where the surface layer is lifting, these are signs of delamination that need patching before you sand.
Also check what's currently on the surface. Run your fingernail across it, if it comes away with a film, there's a sealer or coating on there. Sanding through an old sealer without removing it properly just clogs your abrasive and smears the residue around. Know what you're working with before you start.
Prep work: clean, remove coatings, protect the area, and patch damage
Good prep is honestly 60% of the job. Rushing this part is how people end up with a patchy result they have to redo. Give yourself proper time here.
Clean the surface thoroughly
Pressure wash the entire patio at a minimum. A 2,500 to 3,000 PSI washer with a 25-degree nozzle will remove dirt, loose material, and most surface debris. Let it dry completely, at least 24 hours in warm weather, longer if the weather is cool or humid. Sanding wet or damp concrete clogs your abrasives fast and produces a slurry that's difficult to clean up.
Strip old coatings if present
If you have an old sealer, paint, or adhesive on the surface, decide between mechanical removal (grinding or sanding it off) and chemical stripping. For thick paint or a film-forming sealer, chemical strippers are usually faster and less aggressive on the underlying concrete. Apply the stripper per the product instructions, let it dwell, then scrub and pressure wash it off. Here's the part a lot of people miss: [after chemical stripping, you must do a neutralizing wash](https://www.
concretenetwork. com/products-sealer/remove. html). Stripper residue left on the surface will prevent your new sealer from bonding.
Scrub with a neutralizer solution, rinse thoroughly, and let it dry again. If you're using acid etching to open up dense or very smooth concrete, the same rule applies, rinse with water and a baking soda neutralizer, check that the pH is close to neutral before you move on.
Patch damage before sanding
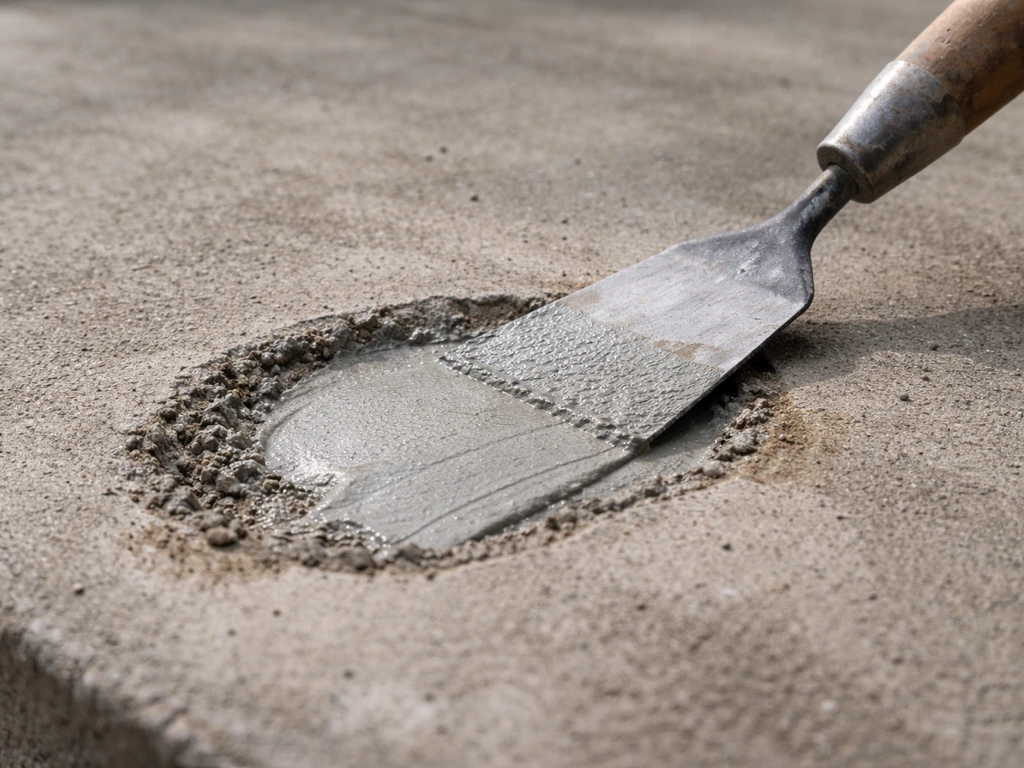
Any delaminated areas, deep spalls, honeycombing, or significant cracks need to be repaired now, before sanding. Sanding over them just makes the problem worse. For surface spalls and shallow repairs, a polymer-modified thin patch product (like QUIKRETE Polymer Modified Thin Patch or similar) works well and can be feathered into the surrounding surface. For deeper repairs up to about 2 inches, a polymer-modified resurfacing mortar is the right tool. Let repairs cure fully before sanding over them, typically at least 24 hours, check the product instructions.
Protect plants, the house, and adjacent surfaces
Concrete dust travels. Cover nearby plants with drop cloths, mask off the house siding and any glass doors, and tape plastic sheeting over anything you don't want coated in a fine grey film. If you're working near a drain, block it temporarily, you don't want concrete slurry flushing into drainage lines. Set up a perimeter with plastic sheeting to contain dust, especially if you're dry sanding.
Tools and materials: what you actually need
Here's the honest rundown on equipment. For a standard concrete patio, you're not doing this job with a hand sander alone unless the patio is tiny, maybe under 30 square feet. For anything larger, you need a machine.
| Tool | Best for | Notes |
|---|---|---|
| Angle grinder with diamond cup wheel | Aggressive material removal, high spots, paint/coating removal | Rent or buy; good for spot work and edges |
| Concrete floor grinder (walk-behind) | Large flat areas, full-surface leveling and smoothing | Rent from a tool hire shop; the right tool for patios over ~50 sq ft |
| Random orbital sander | Finishing passes, blending, smaller areas | Use with concrete sanding discs, not wood sandpaper |
| Hand sanding block | Corners, edges, tight spots | Use with wet/dry silicon carbide paper |
| Wet/dry vacuum with HEPA filter | Dust extraction during sanding | Essential — attach directly to grinder where possible |
| Garden hose or pump sprayer | Wet sanding to control dust and finish | Useful for final finishing passes |
Abrasives and grit progression
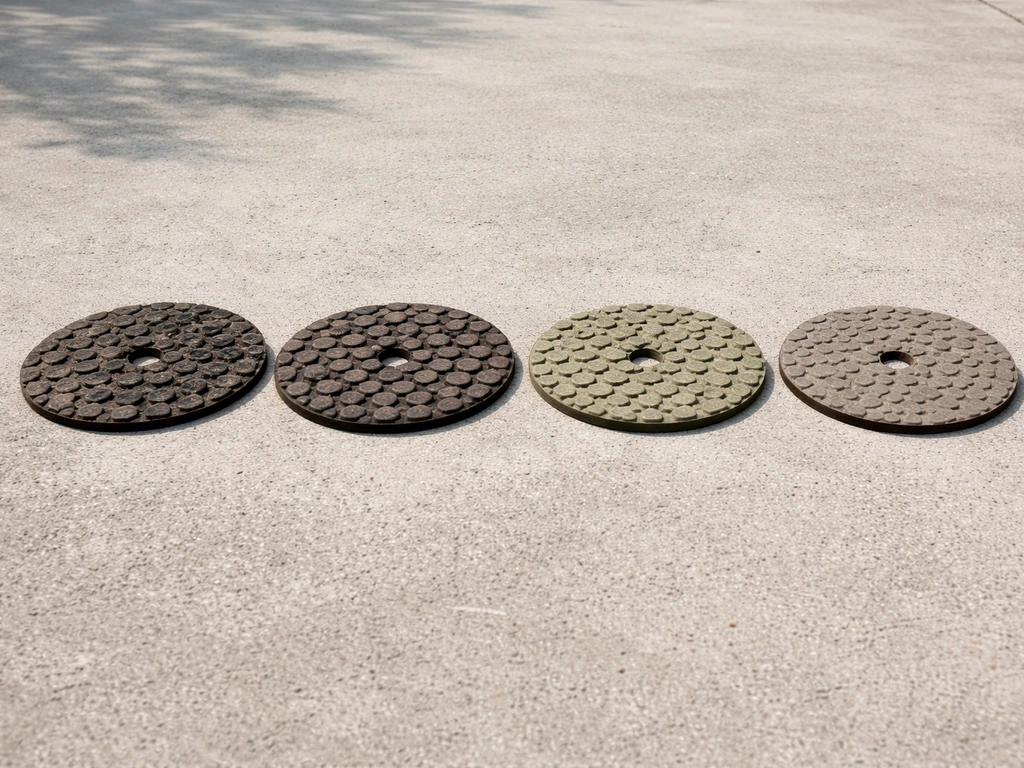
Concrete sanding uses a coarse-to-fine progression, just like wood, but the grits work differently because you're dealing with an aggregate material. For a typical patio re-sand, start around 40 to 80 grit to knock down rough areas, remove residue, and address any surface irregularities. Then step up to 120 to 150 grit to refine the surface and remove the scratches left by the coarser pass. Finish with 220 to 320 grit (or finer, if you want a polished look) for a smooth result that takes sealer well. Don't skip grits, jumping from 80 to 220 leaves deep scratches that show up under sealer and are frustrating to fix.
Use diamond grinding pads for machine work on concrete, they last far longer than standard abrasive discs and give more consistent results. For hand sanding or detail work, silicon carbide wet/dry sandpaper is the go-to. If you find that dry sanding is leaving a burnished, cream-like finish that won't accept sealer, switch to wet sanding with 320 to 400 grit silicon carbide paper. The water prevents the heat buildup that causes that glazed effect.
Dust control and safety gear, don't skip this
Grinding concrete produces respirable crystalline silica dust, and this is genuinely dangerous. OSHA's construction silica standard (29 CFR 1926.1153) exists because silica exposure causes irreversible lung disease. Studies have found concrete grinding can generate silica levels 35 to 55 times the safe exposure limit. You need to take this seriously. At a minimum, use a P100 or N95 half-face respirator rated for silica dust, a dust mask is not sufficient. Ideally, attach a local exhaust shroud to your grinder and connect it to a HEPA-filtered wet/dry vac to capture dust at the source before it becomes airborne. Wear safety glasses, hearing protection, and work gloves. Keep bystanders and pets out of the work area.
Step-by-step sanding process
- Set up dust control: attach your vacuum/shroud to the grinder, cover drains and plants, put on your respirator, glasses, and hearing protection before you start the machine.
- Do a test pass in an inconspicuous corner with your coarsest grit (40–80) to see how the surface responds. Some concrete is very hard and progresses slowly; some is softer and cuts fast.
- Work the coarse pass in overlapping, consistent strokes across the entire surface. On a walk-behind grinder, work in parallel rows overlapping by about 2–3 inches. Don't linger in one spot — keep moving to avoid grinding a divot. On an angle grinder, use a sweeping arc motion.
- Vacuum up all dust and slurry before moving to the next grit. Don't grind over accumulated dust — it reduces cutting efficiency and can cause swirls.
- Step up to your medium grit (120–150) and repeat the process. Your goal here is to remove the coarse scratches from the previous pass and refine the surface. Work in a direction perpendicular to your first pass if possible — this helps you see when the prior grit's scratches are fully gone.
- Vacuum again thoroughly. If wet sanding, rinse the surface and allow it to drain.
- Finish with your fine grit (220–320). Work in smooth, consistent passes. This pass determines the final texture — how rough or smooth it feels and how well it accepts sealer.
- Final cleanup: vacuum, then wipe the surface down with a slightly damp cloth to remove all fine dust. Allow to dry completely before sealing.
Hand sanding vs. machine sanding
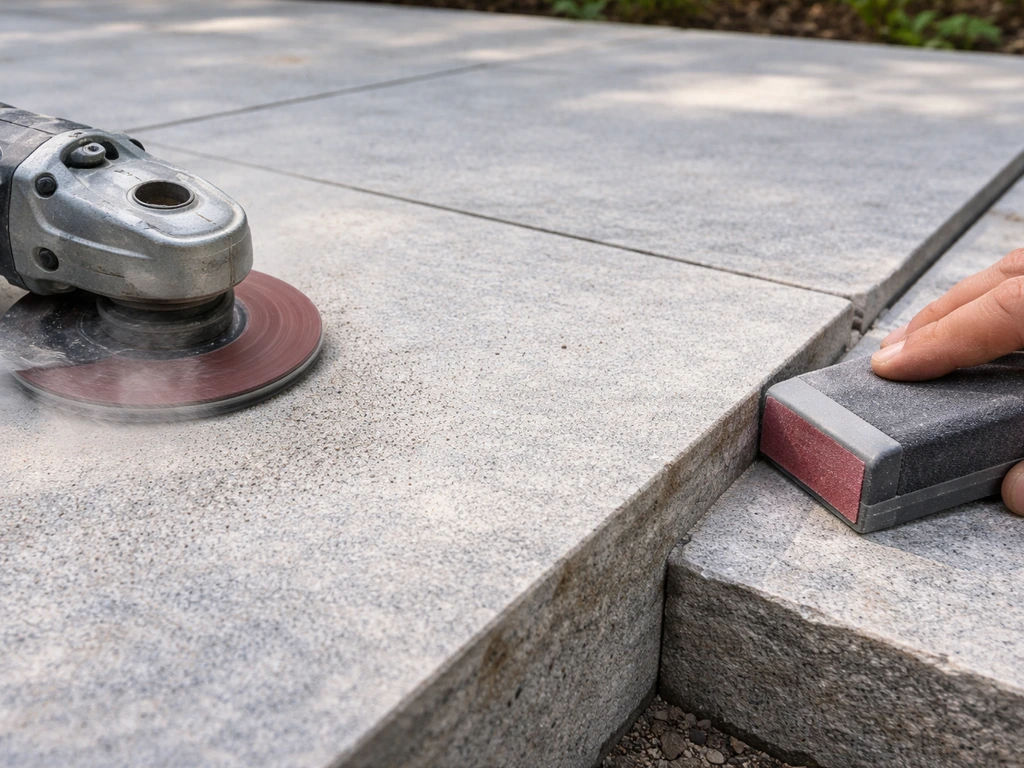
Use a machine for the bulk of the work on any patio larger than a tabletop. Hand sanding is genuinely useful for edges, corners, steps, and areas the machine can't reach. Use a firm sanding block (not just the paper held loose in your hand) so you're applying even pressure. For wet hand sanding, keep the surface damp and rinse frequently so you're not pushing slurry into the surface pores.
Wet vs. dry sanding
Dry sanding with dust extraction is the standard approach for most patios. It's faster, easier to see your progress, and works well with diamond tooling. Wet sanding is better for finishing passes when you want a smoother result and when you're concerned about heat buildup causing a burnished finish that won't accept sealer. If you're using a floor grinder with LEV (local exhaust ventilation), dry sanding is fine throughout. If you're using a hand grinder without great dust extraction, wet sanding for the final passes reduces both dust risk and the chance of a glazed result.
Common mistakes to avoid and how to fix uneven spots
The most common mistake is dwelling too long in one spot, especially with an angle grinder. It creates a visible low spot (a divot) that then needs extra work to blend. Keep the machine moving constantly. The second most common mistake is skipping grit steps, it feels like you're saving time but you end up with deep scratches that show clearly under sealer.
Swirl marks are the other big one. They usually appear when you change direction abruptly, when you're grinding too fast through a grit step, or when you step up grits before the previous scratches are fully removed. If you see swirl marks after finishing, the only real fix is to go back to the grit that created them and re-sand the area properly, blending well beyond the visible defect so the transition is gradual. Don't try to spot-fix swirls by just hitting the swirled area; you need to work out from the center and re-screen with the finer grit across the whole affected section. Trying to coat over visible swirl marks just makes them more apparent under sealer.
If you end up with visible high or low spots after your coarse pass, use a long straightedge or level to identify where they are. High spots get extra passes with the coarse grit. Low spots are trickier, if a low spot is more than about 1/8 inch below the surrounding surface, fill it with a polymer-modified thin patch rather than trying to grind the entire surrounding area down to it.
Sealing and finishing after sanding
Once the surface is sanded and fully dry, it's open and porous, which means it absorbs sealer well, but also means it will pick up stains fast if you leave it unsealed. For how to seal a pea gravel patio, choose a sealer meant for this surface so the finish protects the stones without trapping moisture. Seal the same day you finish sanding if conditions allow, or the next morning at the latest.
For outdoor concrete patios, a penetrating silane-siloxane sealer is generally the most durable and lowest-maintenance choice. It soaks into the surface rather than forming a film on top, so it doesn't peel or require stripping later. If you want a specific look, matte, wet-look gloss, or a tinted finish, a film-forming acrylic or polyurethane sealer gives you those options, but it will need stripping and reapplication every few years. Whatever you choose, apply in thin coats (two thin coats beats one thick coat), work in sections, and keep a wet edge so you don't get lap lines.
If the concrete is very dense and tight (old, well-cured slabs often are), the sealer may bead up rather than soaking in after sanding. Test with a few drops of water, it should absorb within a few minutes. If it beads, you may need a light acid etch to fully open the surface before sealing. Follow the etch with thorough rinsing and neutralization, then let it dry again before applying sealer.
Ongoing maintenance to keep it looking good
Sweep and rinse the patio regularly to prevent surface dirt from grinding into the concrete underfoot. Reapply penetrating sealer every 2 to 3 years, or as needed when you notice water no longer beads on the surface. Avoid using deicing salts in winter, they accelerate surface scaling. If you start to see efflorescence returning after sealing, that's a signal to investigate the moisture source rather than just sanding it off again.
When to stop and call a pro
Some patio problems look like surface issues but aren't. If you find during your prep work that your patio has more than minor delamination, or that cracks are wider than about 1/4 inch and appear to go through the full depth of the slab, sanding isn't your solution and neither is a DIY patch. A structural crack, especially one where the two sides are at different heights, usually means movement in the subbase. Sanding the surface and putting a new coating over it will crack again, often within one season.
Similarly, if water pools on the patio surface and doesn't drain away after rain, that's a grade problem. You can sand the surface perfectly smooth and it will still collect water in the same low spots, which accelerates freeze-thaw damage and algae growth. Drainage needs to be fixed at the structural level, either by regrading, adding a drain channel, or in bad cases, breaking out and repourin the affected section.
Heavy, widespread scaling across the entire surface, especially if the aggregate is exposed or the surface is crumbling rather than just rough, is often better handled with a full resurfacing overlay than sanding. Sanding deteriorated concrete just removes more material and makes the problem worse. If you're unsure whether your patio is a sanding job or a resurfacing job, a one-hour consultation with a concrete contractor is worth it before you spend money on equipment rental and materials.
The bottom line: if the patio is solid underfoot, holds no water, and its issues are surface texture and appearance, you can re-sand it yourself with a weekend and a rented grinder. If there's any doubt about what's underneath, find out before you start. Fixing a surface problem on a structurally compromised slab is money and effort wasted.
FAQ
Can I re-sand a patio if it’s still wet or raining out?
Yes, but the concrete has to be dry and sound. Sanding damp concrete causes abrasive clogging, slurry smearing, and can create a glazed look that sealer will not bond to reliably.
What if my patio already has an unknown sealer or coating?
If you plan to seal, you generally should not coat over paint or an unknown sealer system without full removal. A quick check is to apply a drop of water, if it beads you likely have a film that must be opened (by stripping or light etching) before sanding and sealing.
How do I know I opened the surface enough for sealer to bond?
Do a patch test in a small area: use your intended grit and check whether the abrasive cuts evenly and whether water still beads after sanding. If it beads quickly or the surface stays glossy, you likely need additional prep (often mechanical profiling or light etch) before the sealer step.
Should I sand over hollow-sounding or delaminated areas if they look okay from far away?
Stop and fix voids, hollow spots, and delamination first. If the patio sounds dull when tapped in an area, sanding will not “tighten” it, the loose layer can continue to separate under your new coating.
What’s the best way to handle low spots or divots created during grinding?
Use a straightedge after every major grit change. If you find a low spot deeper than about 1/8 inch, fill it with a polymer-modified patch and cure fully, then return to the grit progression starting at the level needed to remove patch edges.
Is it better to re-sand the patio dry or wet?
For most patio work, dry sanding with proper dust capture is fine, wet sanding is better for the final passes or if you do not have local exhaust ventilation, either way keep the previous scratch pattern fully removed before stepping to a finer grit.
How long can I wait between sanding and sealing?
Fresh sanded concrete typically needs sealing soon to prevent fast staining and to reduce dusting, if conditions are decent you can seal the same day, otherwise seal the next morning. Waiting days can make it harder to get even penetration.
Can I use any sealer I want after I re-sand?
Yes, but only if the product is compatible with your substrate and prep. Reputable penetrating sealers are usually the most forgiving, while film-formers can show lap lines if applied in thick coats or when the concrete is still warm or damp.
What should I do if white chalky staining (efflorescence) comes back after sealing?
If you see efflorescence returning after sealing, do not just re-sand again. It usually means moisture is moving up from below, you may need to address grading, drainage, or a moisture source before sealing or the white salts will keep migrating.
Will sanding help with winter damage from deicing salts?
Not usually. Deicing salts can contribute to scaling and surface deterioration, and once scaling starts, sanding alone often removes only the weakened surface layer. Consider alternatives (non-salt traction aids) and keep deicer off the slab as much as possible.
Why do swirl marks and burnished patches keep showing up after I re-sand?
Angle grinders can burnish and create divots if you linger, instead use a moving, consistent contact pattern and let the tool do the work. If you need to correct burnish or swirls, go back to the grit that created the defect pattern and rework a blended area larger than the visible spot.
If my patio is pea gravel and shifts, does re-sanding still work?
A good rule is to ensure the underlying base can compact and drain, if you have a pea gravel patio with shifting stones, sanding the surface sand will not solve movement. Stabilize with proper edging and a compactable base so the “top layer” is not re-disrupted after you finish.
At what point should cracks mean I should not re-sand and instead repair?
If cracks are wider, show vertical offset, or look like they pass through the slab, treat it as a structural or movement issue. Sanding and sealing over a structural crack often fails quickly, sometimes within a season, because the movement telegraphs through the surface.
What if water pools on the patio after rain, even after re-sanding?
Do not ignore drainage even if the slab looks smooth. If water pools after rain, you can end up with algae, freeze-thaw damage, and recurring staining, fix grade or add drainage first, then re-sand once the water behavior is corrected.
Next Article
How to Re-Sand Patio Pavers for Stable, Weed-Free Joints
DIY steps to re-sand patio pavers: refill joints, compact properly, stop wobble and weeds, and prevent washout.